DIY Pirate Costumes for Kids
Our Guest Contributor is Lindsey Boardman of Filth Wizardry
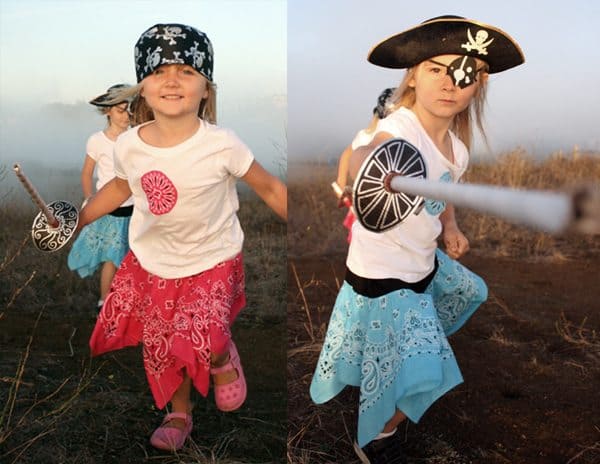
Yaaarrr me hearties! It be “Talk Like A Pirate Day” again this September 19th! Your mini pirates will be needing some pirate swords made from rolled up newspaper, that they can’t actually hurt each other with! Plus, if you have wee pirate girls like I do then you might like to make them a piratess bandanna skirt to plunder and pillage in. Just because you are the scourge of the open seas, doesn’t mean you have to wear boy clothes.
Rolled Newspaper Pirate Sword
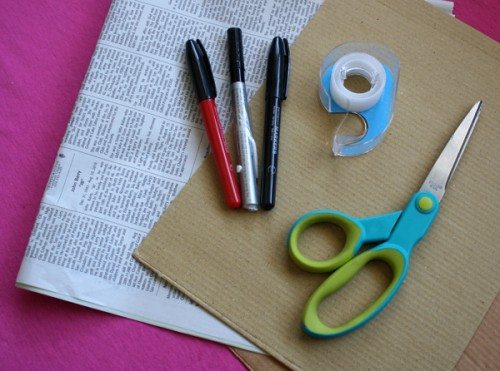
So, first thing’s first, you’ll need some newspaper, some sticky tape and a little bit of cardboard. Any cardboard really (cereal box/corrugated card/whatever you can get your hands on) If you want to decorate the handle of your sword then you’ll need some markers too.
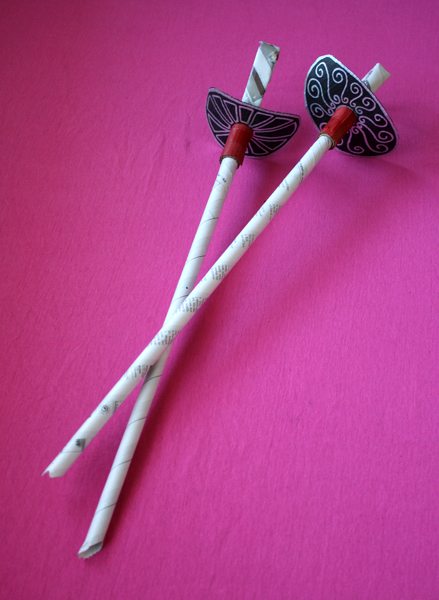
These little swords are so quick and easy to make, and they are really popular with the kids because they look so convincing. The totally great thing about them from a parent’s perspective is that they are really hard to hurt anyone with, because they are just made out of rolled up newspaper!
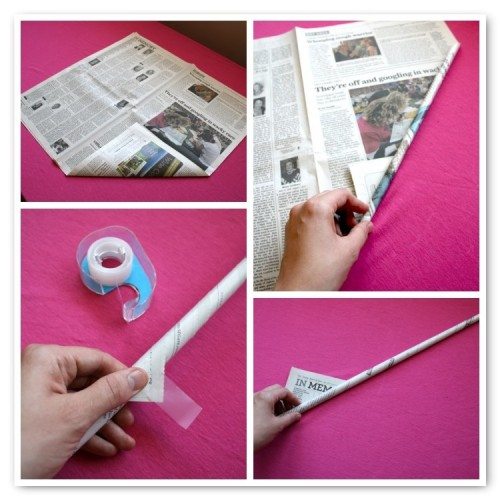
Grab two sheets of newspaper and lay them down on top of each other. Now fold over one of the corners. From here you can start to roll up the newspaper into a reasonably tight roll along the diagonal. The key here is rolling it on the diagonal, because this means that a) the sword is longer and importantly b) the end of the point is only a couple of layers of paper thick, you can’t poke anyone really hard with it and it will buckle if you hit too hard with it. They still stand up to a good bit of battling, but in two years of making these at home and for parties, I’ve never seen a kid get hurt with one! Once you’ve rolled it all the way up, tape the roll closed.
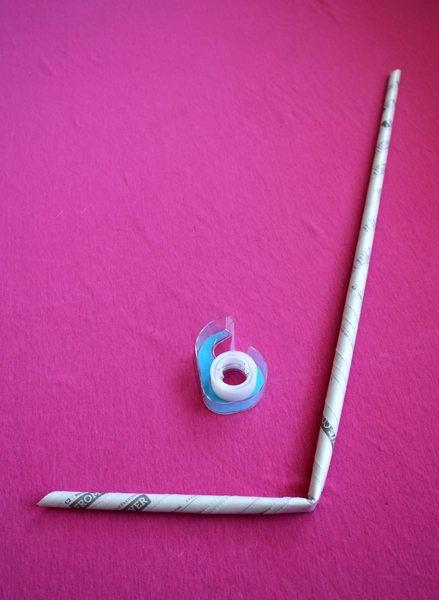
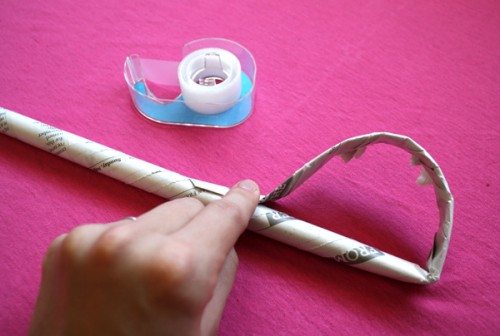
Now fold over the bottom third like this…
…and tape it back on itself to make the handle of the sword.
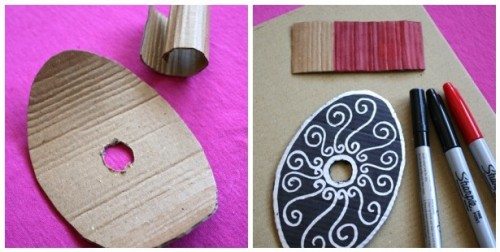
Next you need to cut out from your card an oval with a hole in the middle big enough to thread onto the sword blade and a small rectangular bit that will be wrapped around the blade to hold the hilt in place. Then, color these up with markers or paint if you fancy.
Then thread your hilt on and wrap the cardboard rectangle around and tape it in place. Voila! Your mini pirates are now equipped to board an unsuspecting vessel.
Now that they are busy laying into each other with the swords and screaming things like “Shiver me timbers!!!” you can have a go at making the pirate girl bandanna skirts.
How to Make a Pirate Girl Bandanna Skirt
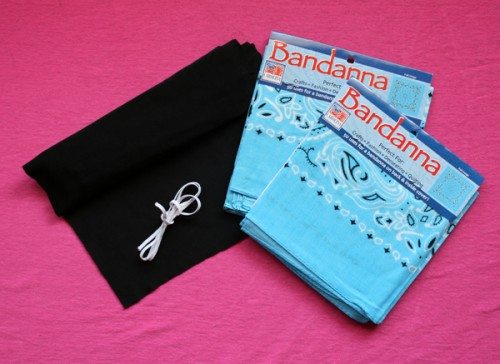
All you need for this craft is two bandannas, a long section of scrap material that you can use for the waist band (I used a dollar store t-shirt material scarf), and a little bit of elastic for the waist.
This skirt is a bit different to the usual bandanna skirt. The first steps you’ll look at and wonder where on earth we’re going with it, but trust me, it works out and it’s really rather nifty! Incidentally, there are a nice range of bandannas at the dollar tree, so this is a super cheap project!
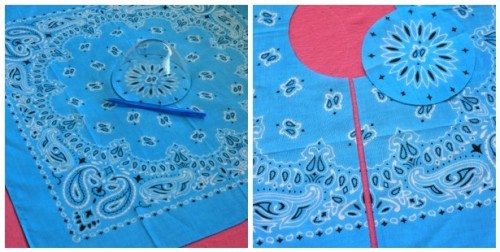
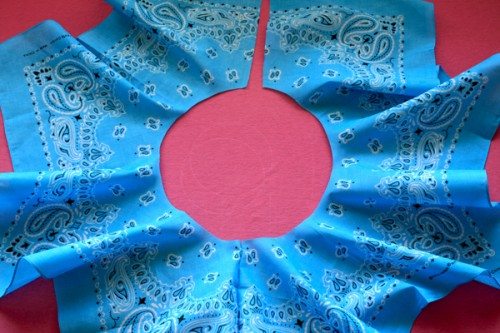
So, lay out your first bandanna and give it an ironing. Then get a small circular plate or dish (the one I’m using has a diameter of about five inches) and put it right in the center of the bandanna. The bandannas I’m using are cotton ones from Joanne’s and the pattern is really easy to eyeball the middle with on them. Draw around the bowl to mark a circle. You need to do this for both bandannas.
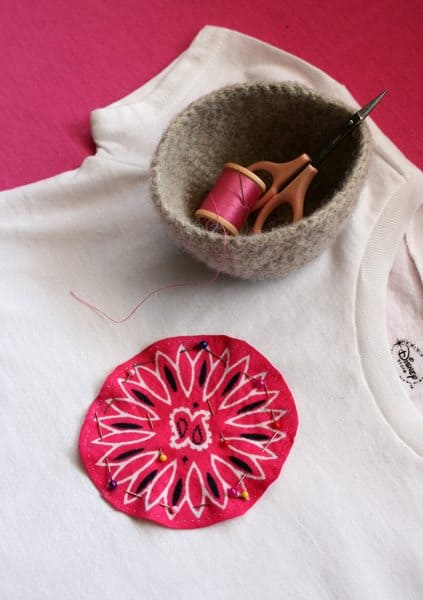
Next cut out those circles from the center, and also cut one straight line from the center of one of the sides up to meet the circular hole you just made on each bandanna. Save these circles that you cut out of the middle if they have a nice pattern on like the ones I have here.
You can use them to appliqué onto a matching t-shirt!
OK, you have all your cutting done for the bandannas now. Next you need to place them one on top of each other with their right sides facing together. Pin one side of the straight cut that you made and sew that up. I’m doing all hand sewing here, but if you’re machine sewing then this whole project will be super quick!
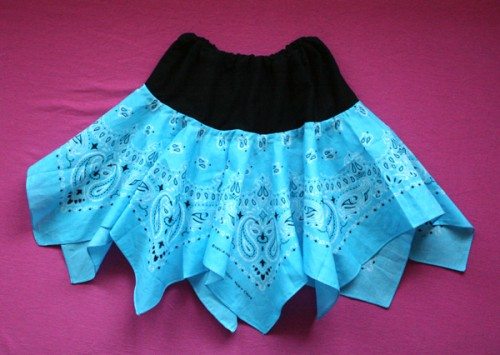
This part is where what we have been doing will start to make sense! Open up your two bandannas that are now joined along one seam and spread them out. You can see that the two circular holes that you cut have been joined to create one larger one with twice the circumference of those smaller ones! Cool huh! You have the beginnings of a nice twirly eight pointed skirt!
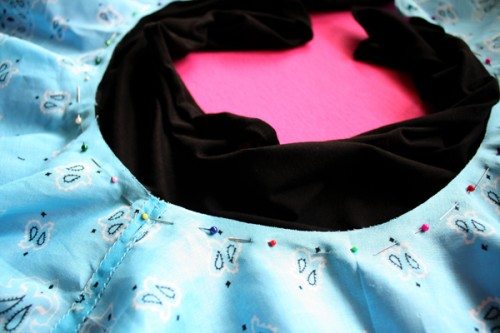
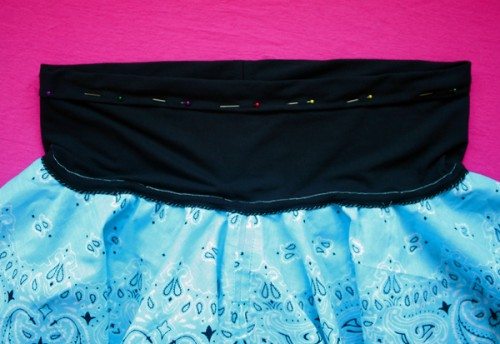
Now you need to make the waist band for it. For this I used a black t-shirt material dollar store scarf, but if you have some old t-shirts handy you can always cut off the bottom five inches or so to use for this (that would actually make this project even faster, because the bottom of the t-shirt hem can have elastic threaded directly into it) working with right sides together again, pin and sew the length of waist band material all around the large circular hole you have made in the bandannas.
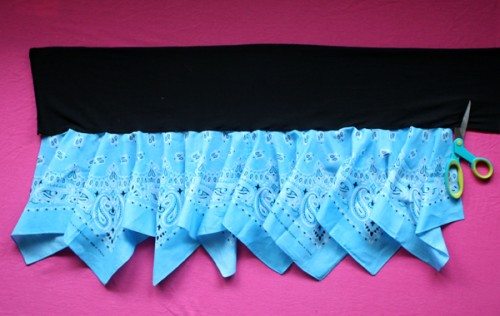
When you open this up you can see how nicely fluted the skirt will be. Trim off the excess waistband material. It’s best to overestimate how much you’re going to need in length, but to estimate, it’s going to need to be roughly 2πd in length (where d is the diameter of the bowl that you used to cut the small circular holes in each bandanna).
The other measurement you need to think about for a moment is the width of the waist band. Mine was about five inches, so the waist band would be about four inches deep when it has the elastic sewn in, this added to the length of the hem you sewed between the two bandannas will give you the shortest length of the skirt (between the pointed edges). If you’re using a small bandanna like those from the Dollar Tree then you’ll want to make a slightly wider waist band, so that no one’s underwear is showing when they wear it, although the shorter ones I’ve made look rather cute over the top of a pair of jeans!
Last thing before you sew in the elastic is to fold the skirt over right sides together and hem up that last side that runs from the bottom of the bandanna right up to the top of the waist band.
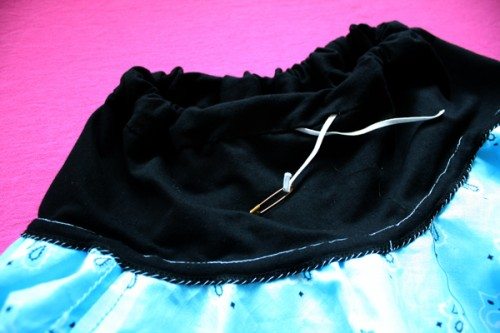
Fold over the waist band and hem it all up, leaving a gap to thread in the elastic.
Finally, pop your elastic into the waist band using a safety pin to thread it through, sew together the two ends of the elastic at the required size for your mini pirate’s midriff and then sew closed the little hole that you threaded it all in through.
Turn right side out and admire! Then call skurvy sea dog kid to try it on.
I’ve made a whole load of these types of skirts for my girls because they LOVE them! Obviously you can make them out of any squares of material, but scarfs and bandannas are ideal, because you don’t have to sew any of the hems around the bottom of the skirt!
Yo ho ho! It’s a pirate’s life for me! Have a hearty Talk Like a Pirate Day mateys!
_______________________________________
Lindsey Boardman is a creative genius. You should visit her personal blog, Filth Wizardry, every day like I do.
If You’re Looking for DIY Costume Ideas Check These Out:
- Easy Superhero Tank Tops for Halloween
- The Space Needled Halloween Costume
- DIY Ruth Bader Ginsburg Kid’s Costume


