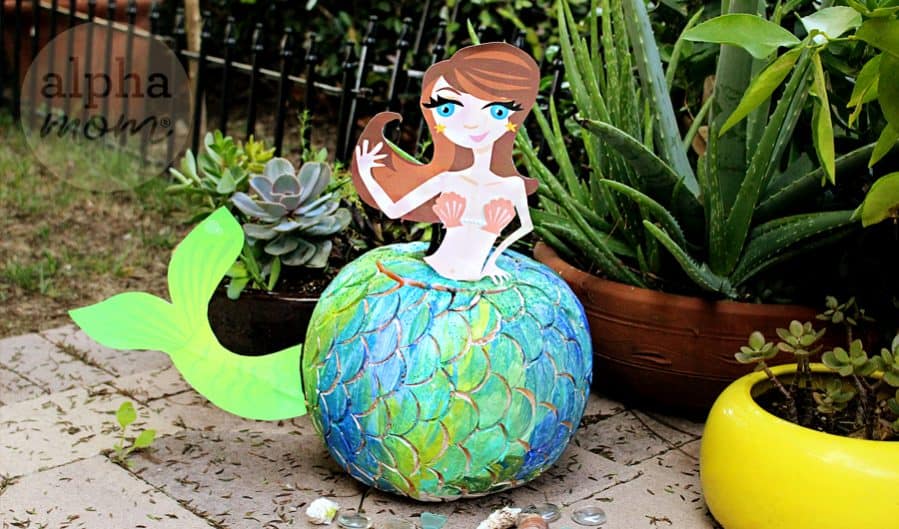
How to Make a Mermaid Pumpkin for Halloween
The other day as I was perusing Pinterest I happened upon a craft on how to make mermaid scales and it got me thinking about pumpkins and pumpkin texture… What if I could make a Mermaid Pumpkin?! I was so fascinated with the idea I had to try it.
Supplies needed to make a Mermaid Pumpkin
- a clean, dry, hollowed-out pumpkin
- white spray paint (always use spraypaint outdoors or in a very well-ventilated room)
- craft paint in shades of blue and green
- paintbrush
- green or blue glitter
- a sharp metal object** like a can or a cup measurer or a fish-tail gouge carving tool
- two skewers
- tape (we used washi tape but any kind will do)
- our mermaid printables
**Be careful whenever using any kind of sharp object, especially a sharp metal measuring cup or can. I didn’t have any trouble cutting my scales with my sharp metal measuring cup but I’m sure this would not be a good craft for little fingers. Let them do the painting part which is more fun anyway.
How to Carve “Fish Scales” on your Mermaid Pumpkin
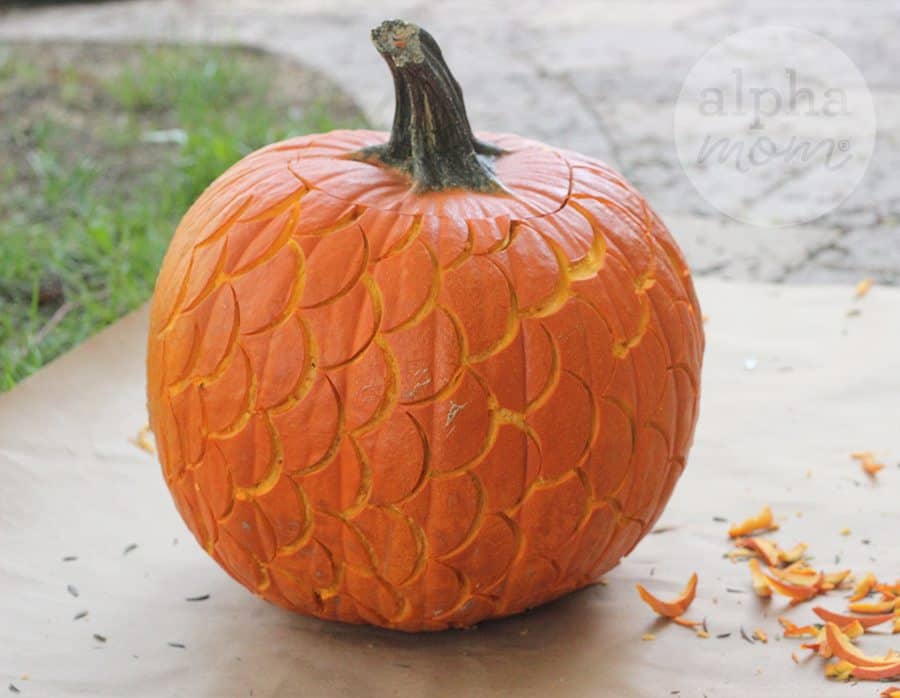
I tried a bunch of different methods but the one that finally worked successfully for carving fish scales into our pumpkin included cutting into the pumpkin rind with a sharp round-shaped object. I used a metal cup measurer, but I’m sure if I had a fishtail gouge that would have worked great too. I made a scallop pattern all over the outside of the pumpkin. It wasn’t perfectly lined up or anything, but my pumpkin wasn’t perfect either and I felt like the organic imperfections made the mermaid scales seem more authentic. Like a creature from the depths below, growing barnacles even.
When I finished punching out all the scales I sat back and admired my beautiful scaly pumpkin! I almost stopped crafting right there but I didn’t think it said “mermaid” enough. This pumpkin needed paint.
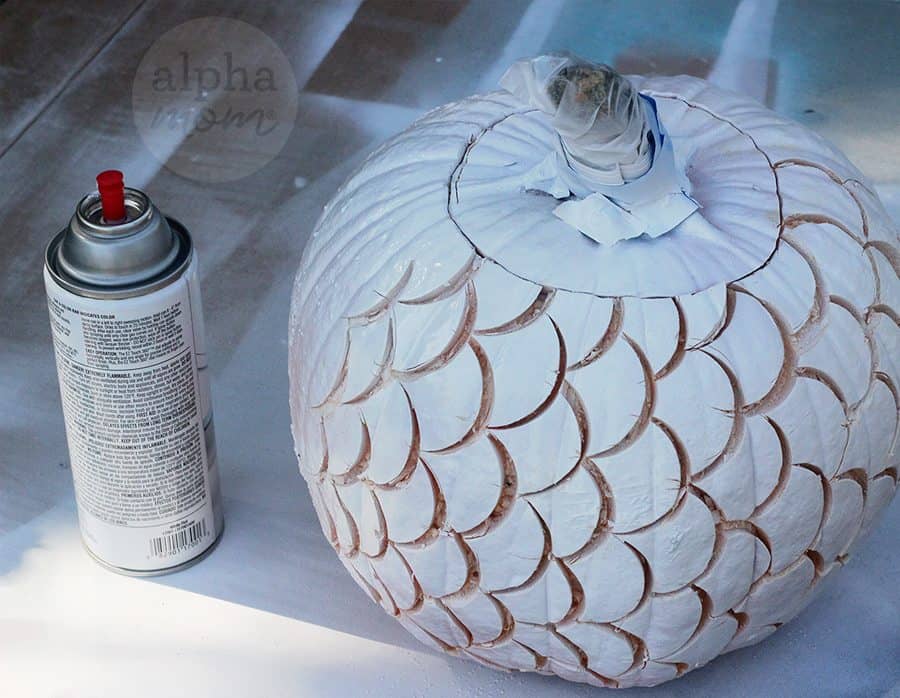
I taped a plastic bag over the stem carefully so that the stem would retain it’s original color and then I got to work with a can of white spray paint (always use spray-paint outdoors or in a very well-ventilated room). I covered the pumpkin entirely with white paint and then let it dry.
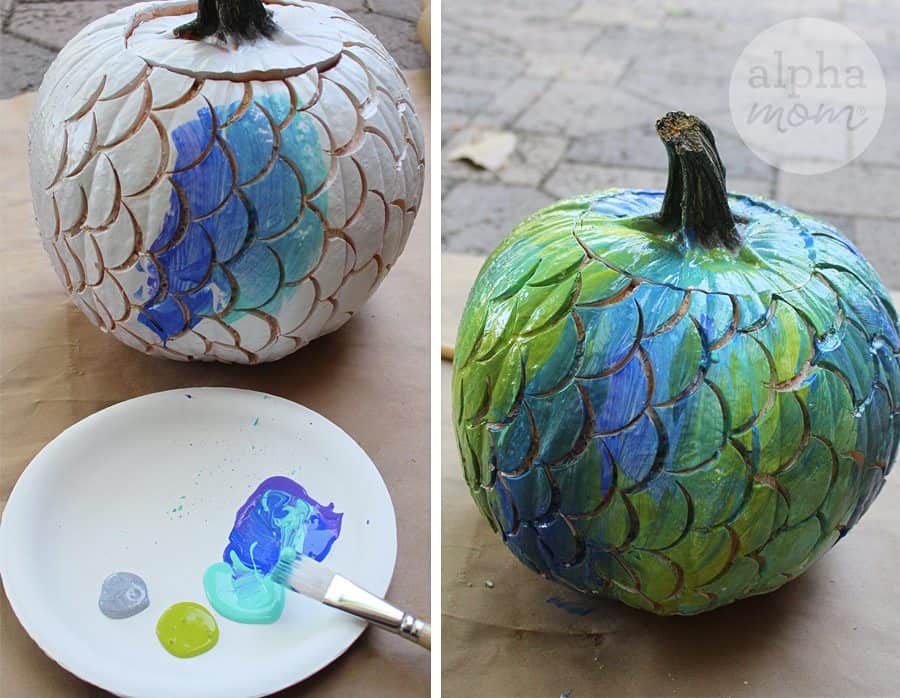
Then I mixed up some green and blue craft paint and painted the entire pumpkin in sloppy ombre stripes like so (see pictures above).

I just happened to have some mermaid art left over from an Under-the-Sea party so I split my mermaid in half and made some printables!
You can download the mermaid head and upper body here and the tail here.
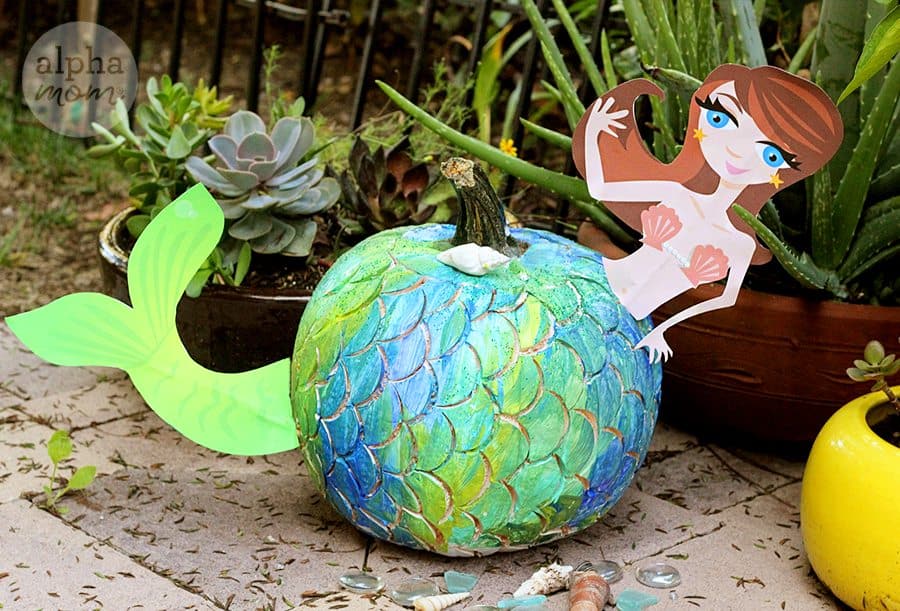
I cut my mermaid art out and then attached skewers to the back of each piece with small pieces of washi tape. The skewers ended up being a little too long so I clipped them shorter with some heavy-duty scissors. Toothpicks might have even worked well here too.
Then I stuck the mermaid body and tail skewers into the pumpkin, one on each side like she was just hanging out in the garden, chilling on a chilly October day in California. I added some shells around the base and a candle inside for later. That night I did light the candle and the scales did show up but very faintly and not really photographable. I could have gone back with a screw driver and created little light holes in each scale corner but I thought the pumpkin was fun enough in the daytime it didn’t really need to work overtime at night.
And that is the story of how my Mermaid Pumpkin came to life!


