Halloween Sugar Cookies: Skulls and Monsters
All the fun of playdough, but without that distressing salty taste you get when you can’t stop yourself from putting it in your mouth, plus some lovely colorful cookies without a load of drippy sticky frosting. Yay!
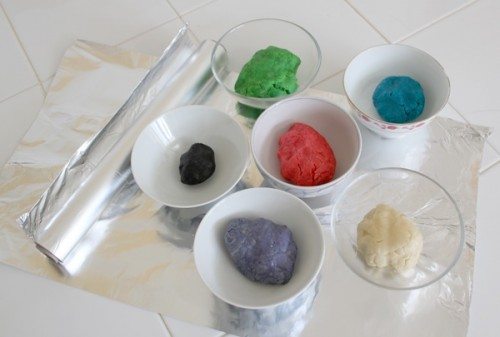
All you need for these Halloween Cookies is some plain old sugar cookie dough, some food coloring and some aluminum foil. We were cheaters “cheaters pumpkin eaters” and used store bought sugar cookie dough mix that we just had to add butter and a bit of water to, but in the past we’ve had success with using this recipe from Allrecipes.
We mixed up a batch of the dough, making sure that it was the right consistency for cookie cutter type cookies, rather than the sloppier consistency of the spoon dropped type. Then we broke it into sections and kneaded a different food coloring into each. We also kept one section plain with no coloring to use as a sort of off white.
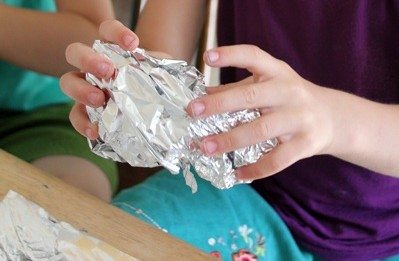
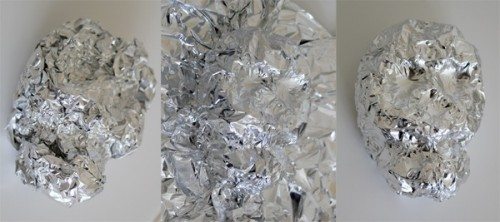
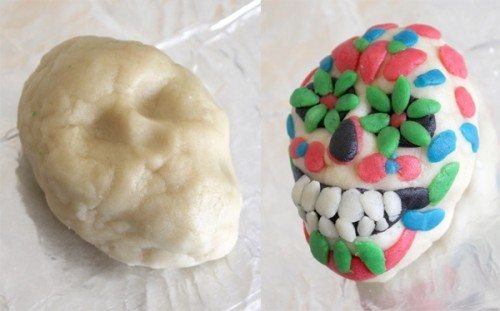
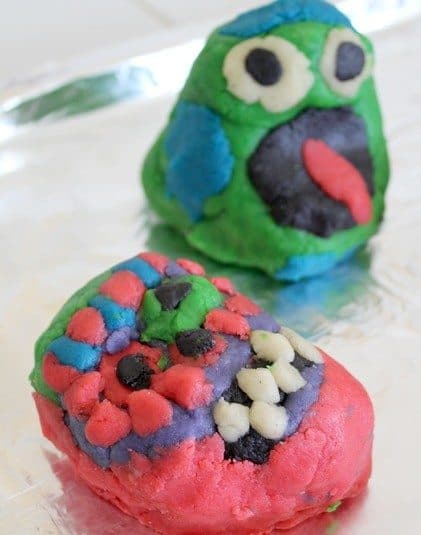
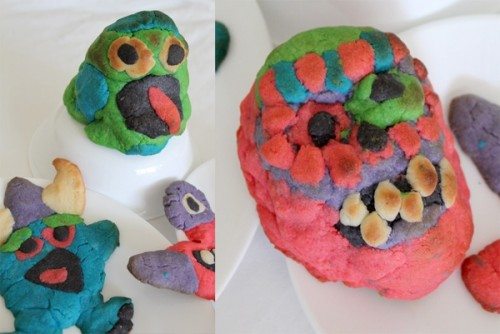
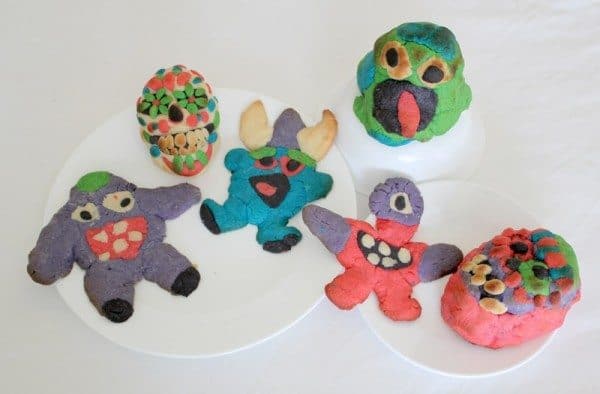
Next we used pieces of aluminum foil to crunch up into the shape of the sculpture we wanted to make. My older daughter and myself had a go at making some skulls in the style of Día de los Muertos sugar skulls and my younger daughter made a monster that ended up looking a bit like Slimer from Ghostbusters.
Once we’d crunched up our foil into the shapes we wanted then we put another layer of foil over the top so that there were fewer crevices for the cookie dough to get lost in. That way it’s easier to crack off your baked cookie to eat it when you’re done.
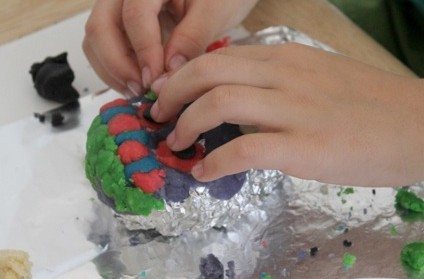
Once you have the shape you want then you can have fun picking colors of dough to smoosh onto it. For the decorated sugar skull I squished on a layer of the uncolored dough before decorating it with little pieces of the colored dough. My daughter took a different approach of just squishing the colors she wanted on as she went and both ways worked out fine.
All you have to make sure of is that the layer of dough that you put on isn’t really thick in some places and really thin in others, or you’ll have an unevenly baked cookie when you’re done. You don’t have to be terribly precise, but about a quarter of an inch thickness works out well.
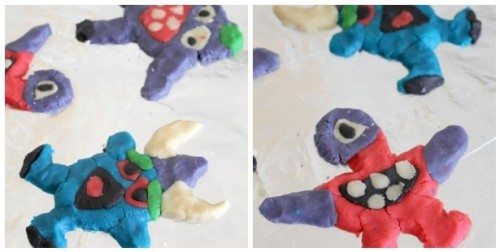
Once we’d made our sculptures, we used the rest of the dough to make flat cookie monsters, so you can see that even if you have younger kids that can’t manage the sculpture aspect of this project, just smooshing the dough flat onto a foil baking sheet works out fine. Also, if the kids are really little you probably wouldn’t want them to be pulling chunks of cookie off the crumpled up foil base of a cookie sculpture in case they took a bite out of the foil.
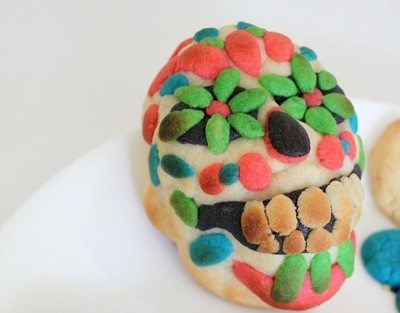
The cookie dough sculptures went into the oven on their aluminum foil forms until they were baked and the uncolored dough had a bit of a golden color to it.
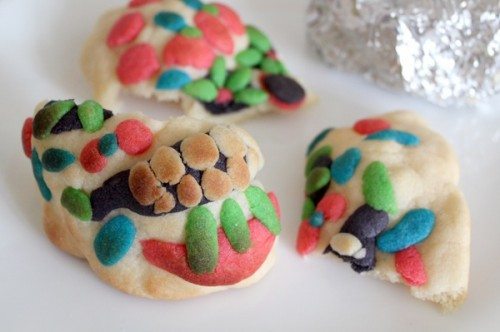
We left them to completely cool before cracking our skull sculptures like eggs and eating the cookie pieces with a glass of milk. Very yum!
Of course you can use this method for making any kind of holiday-themed cookie. You could make orange pumpkins around balls of foil with jack-o-lantern faces on them, or come the winter you could try snowmen in the same way. Easter eggs in the spring? Or no theme at all, just some open ended cookie creations for baking fun one rainy day.
This is a great excuse to play with your food and also a great way to make just a little bit of cookie dough go a long way in terms of how long your kids will want to spend making them.
Check Out More Halloween Ideas Here:


