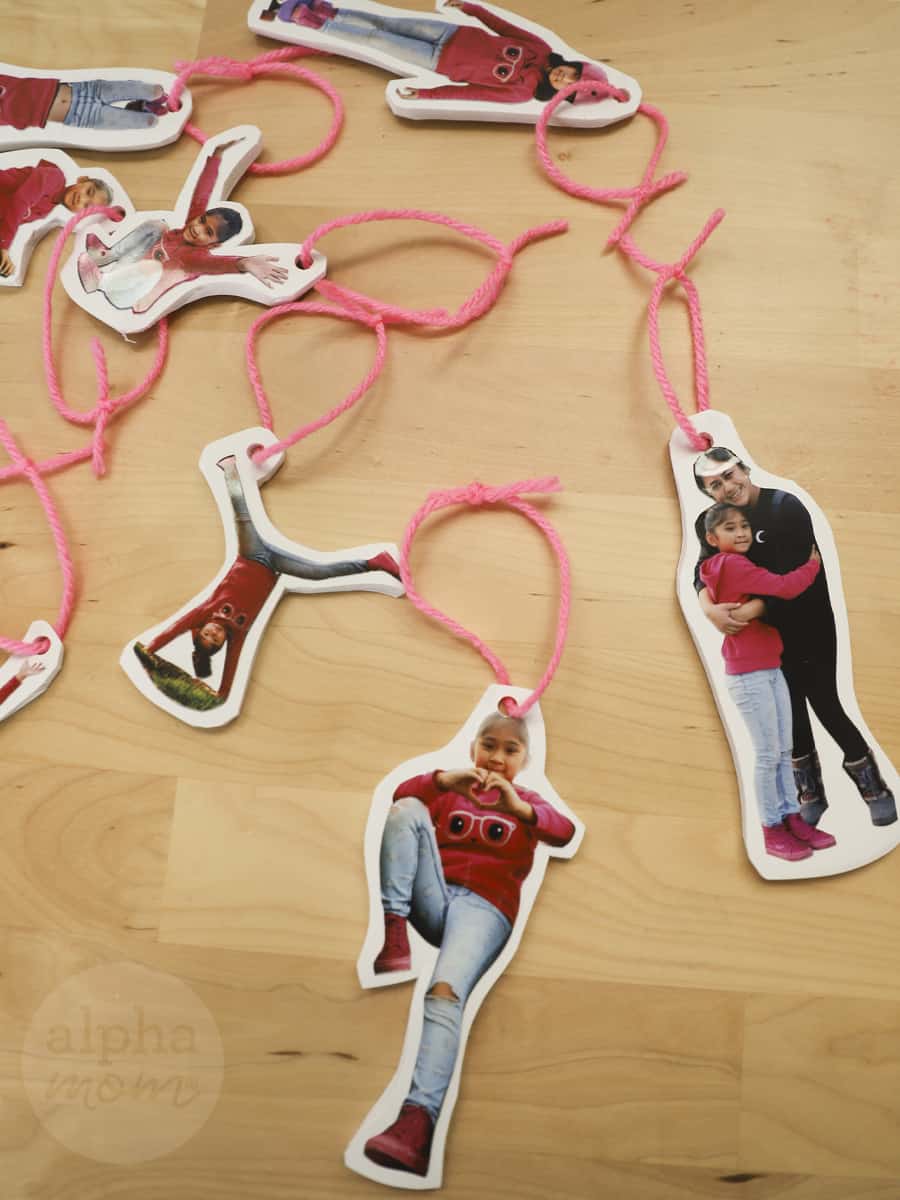
Family Photo Ornaments for your Christmas Tree
Do you know what’s just as fun as those baby handprint ornaments? How about Chrismas tree ornaments of your active kids jumping and acting like they are climbing on your tree? Just kidding… but we do LOVE photo ornaments and here we teach you how to make these ones that are mounted on foam board and make for awesome decorations, keepsakes, and even homemade and personalized gifts for the grandparents and others who love your children and family.
These Christmas tree photo ornaments are a great way to savor memories and you can make them yourself at home!
Let us show you how!
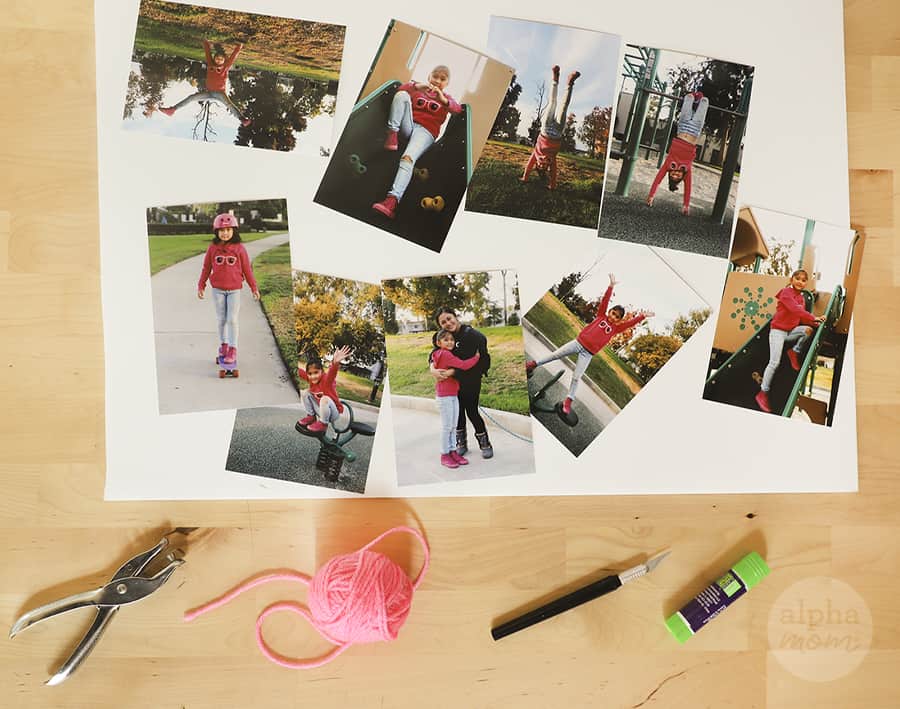
First, gather your supplies.
Supplies needed to make your Christmas Tree Photo Ornaments:
- photos (we did a special photoshoot but any photo will work, old, new–anything you like!)
- foam core
- a sharp blade or Exacto knife
- self-healing mat
- archival glue stick
- a large piece of paper for covering your surface while gluing
- hole punch
- yarn or string
Now let’s get started.
How to make your Christmas Tree Photo Ornaments:
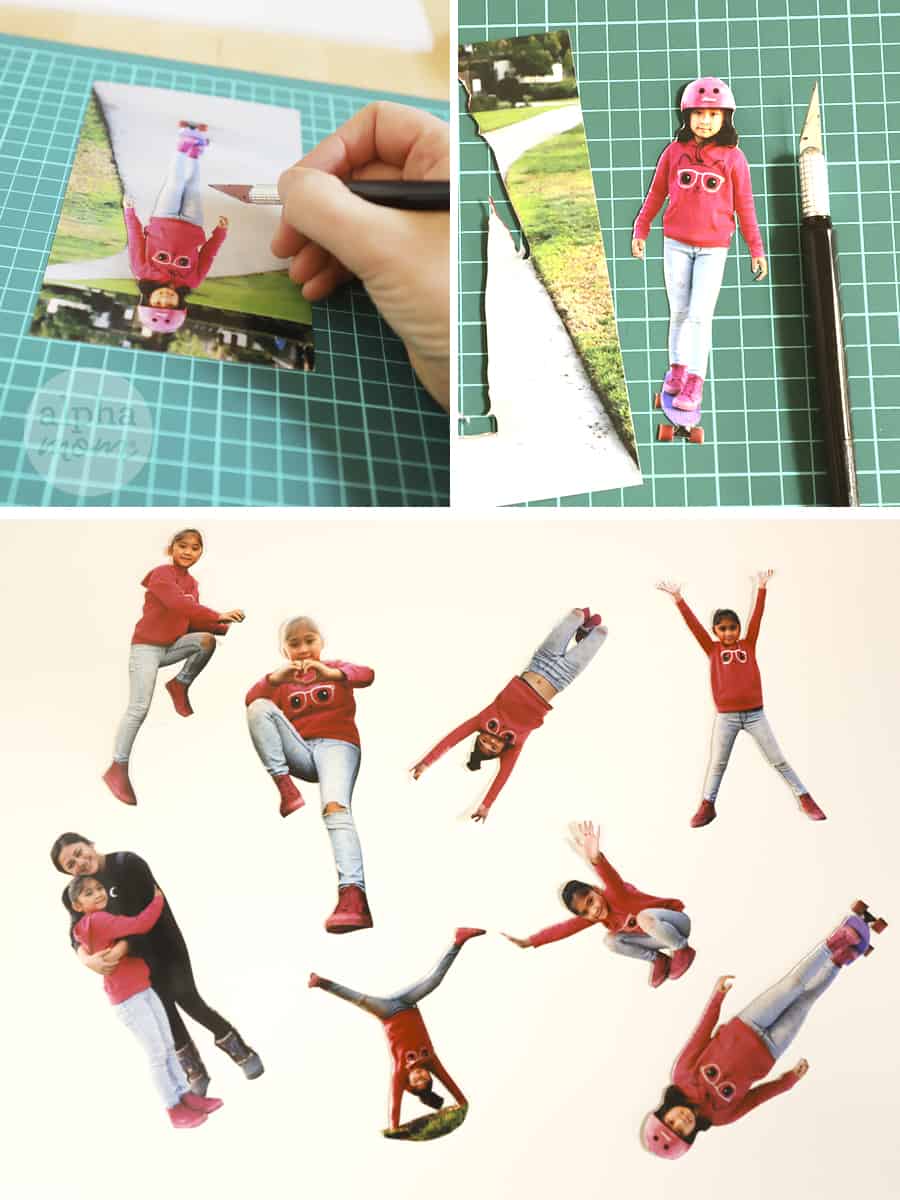
Step 1: First, cut out your photos carefully with your sharp blade or Exacto knife. This can be tricky if you are cutting around small features like fingers but it really does look better if you cut away all the distracting backgrounds.
Next, it’s time to glue!
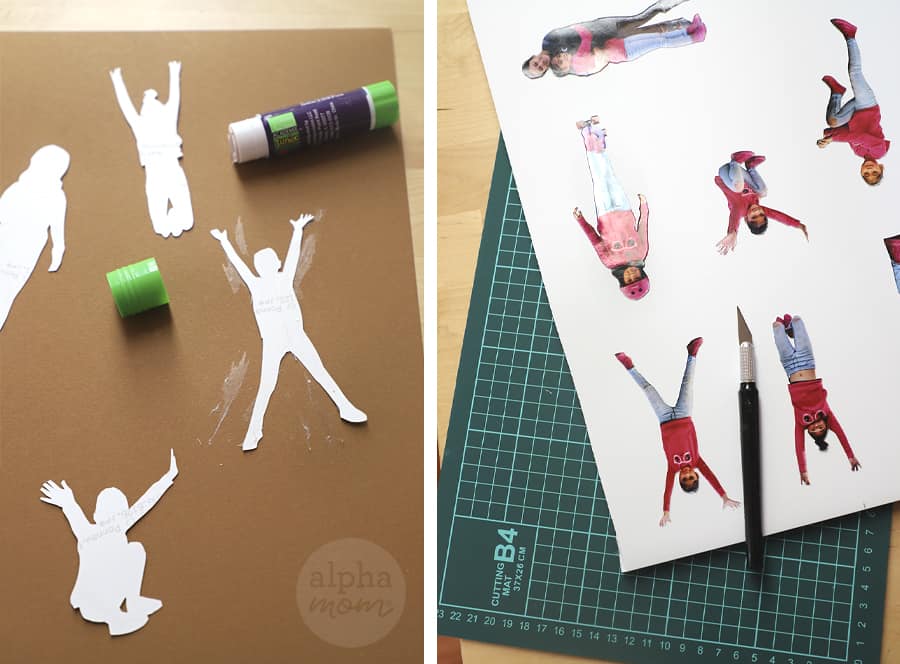
Step 2: Lay your cut out photos on your gluing surface (paper) and make sure to cover the entire photo with glue from your glue stick. Use smooth movements so that you don’t have any globs. If you get glue on your hands, wash it off when you are done so you don’t accidentally transfer smudgy fingerprints to the front of your photos in the next step.
Step 3: Next, lay your glued photos onto your foam core with the glue-side down. Be sure to leave enough room to leave some white space and room for a hole-punch to hang your ornaments.
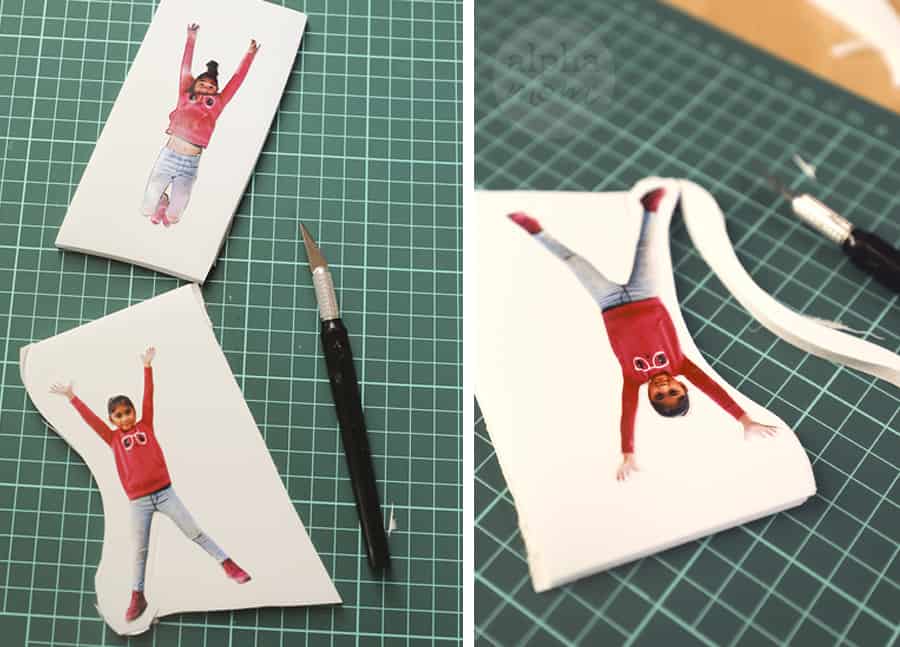
Step 4: Now it’s time to cut your foam core. Foam core can be tricky to cut but you can do it. Leave about 1/4 inch of white space around your photo and cut with sweeping down movements. I find it’s easier to cut each ornament separately from the foam core board in a big shape before whittling it down to its more detailed shape.
Step 5: Once you are done with the cutting, punch a hole and thread your yarn or string. Yes, punching through foam core will require some muscle but it is totally doable.
Step 6: Then hang your little figurine ornaments all over your tree!
More DIY Christmas Tree Ornament Tutorials on Alpha Mom:
1. Gumdrop Ornaments
2. Children’s Art Ornaments
3. Baby’s First Homemade Ornament!


