DIY Advent Calendar Wreath for Kids
Looking to make your own advent calendar for the family? You could string up a bunch of numbered envelopes OR you could make this really super cute “village” wreath that will blow your kids’ minds!
Yes, it’s a bit of work to put together and might take you some time but the reward is worth it, we think! And, if you don’t finish it on time for December 1st, don’t sweat it. I never met a kid who didn’t mind doubling up a day or two on an advent calendar.
Supplies to make this Advent Calendar Wreath:
- empty cereal box
- exacto knife and self-healing mat (or cutting board)
- metal straight edge ruler
- pencil
- glue gun and plenty of extra glue sticks
- white spray paint (optional)
- 25 small paper snack cups
- acrylic paint in your favorite holiday colors and brushes
- battery operated fairy lights (optional) (we used these left over from our fairy light jar craft)
- 13.5 inch cardboard round (for background)
How to make this Wreath Advent Calendar Wreath:
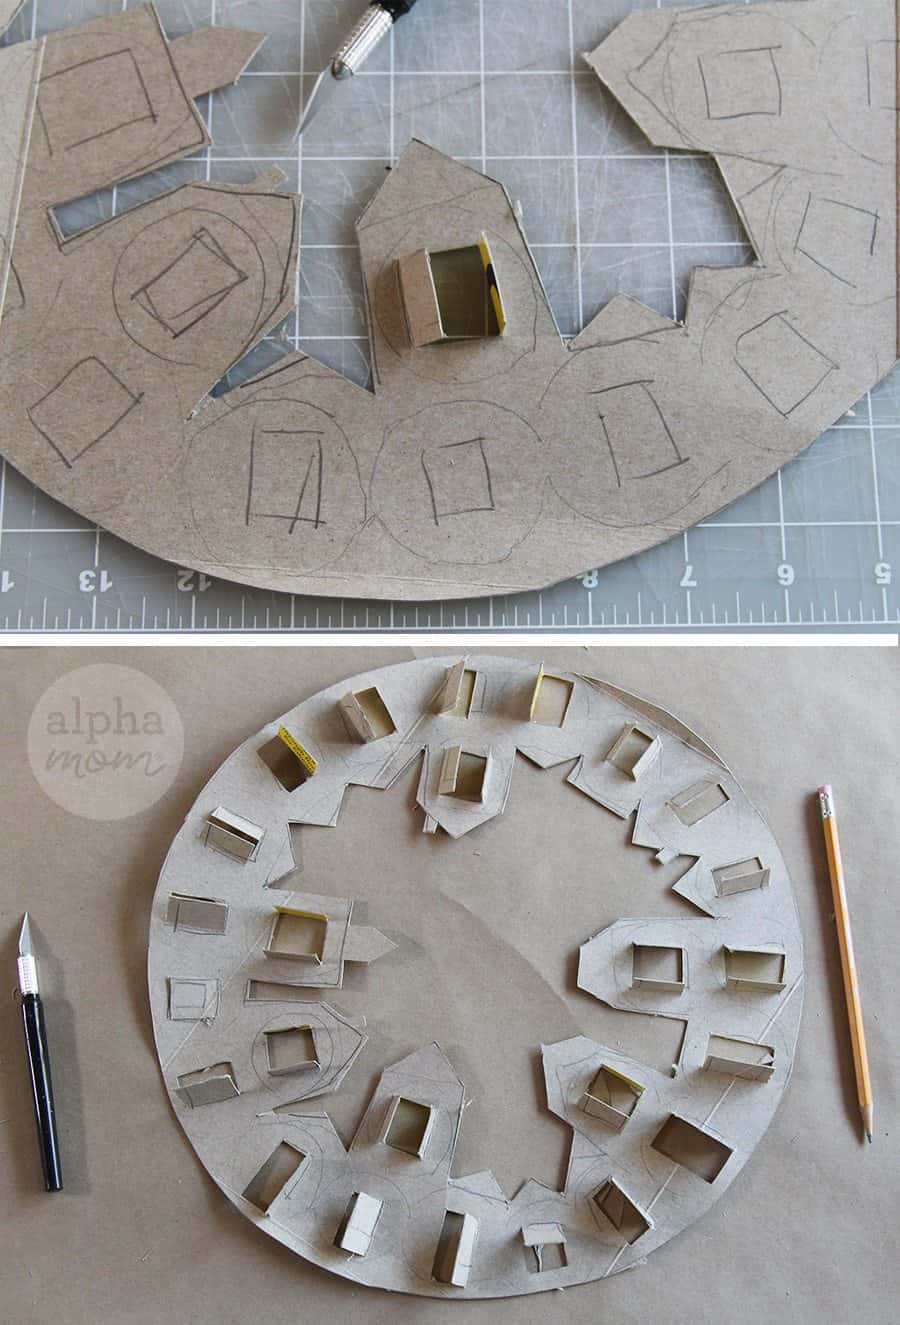
First open up your cereal box and make it flat. Turn it over and draw a 13.5 inch circle. Number out 25 paper cups and place them upside down around the inside edge of the circle like pictured below. You’ll have to double up some of them (those will be your second story windows).
Draw a circle around each cup. Then roughly draw houses around those circles (see the pictures for instruction). The stacked circles make into two-story houses. Keep your roofline in mind and draw in a chimney or three, or a church steeple for interest.
Next cut our your roofline. Then, cut little capital letter “I” shapes in the middle of each circle to create window shutters that will open for your advent surprises. You can mix it up and create regular front doors and up-swinging garage doors, too.
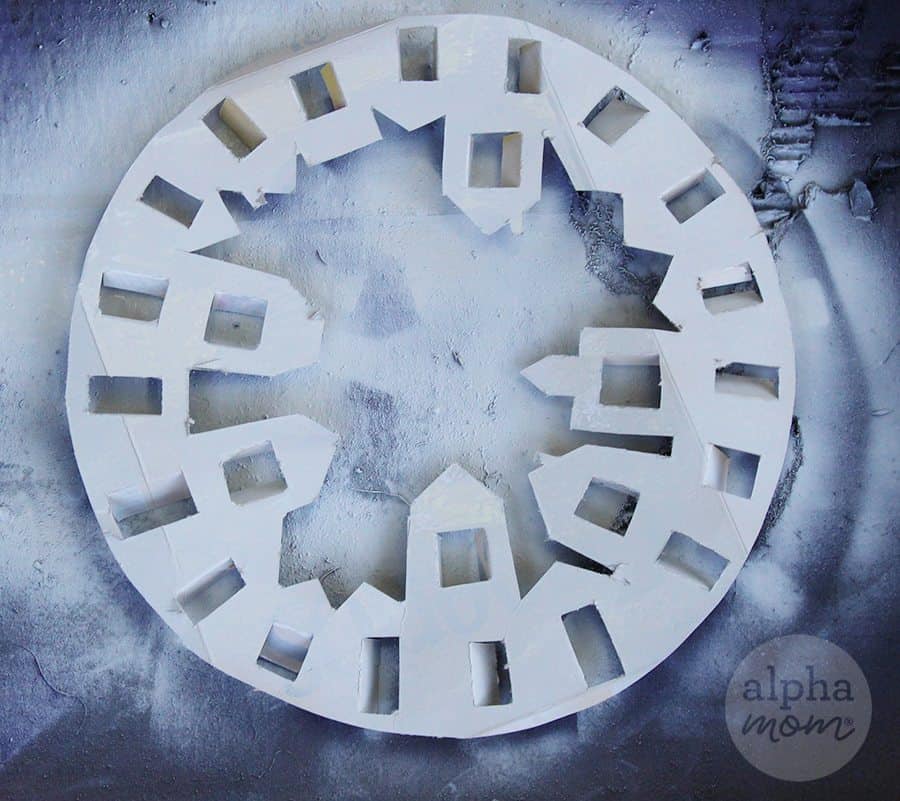
I gave my cereal box a quick covering of white spray paint so that the cereal branding didn’t show through but you can skip this step if you need to.
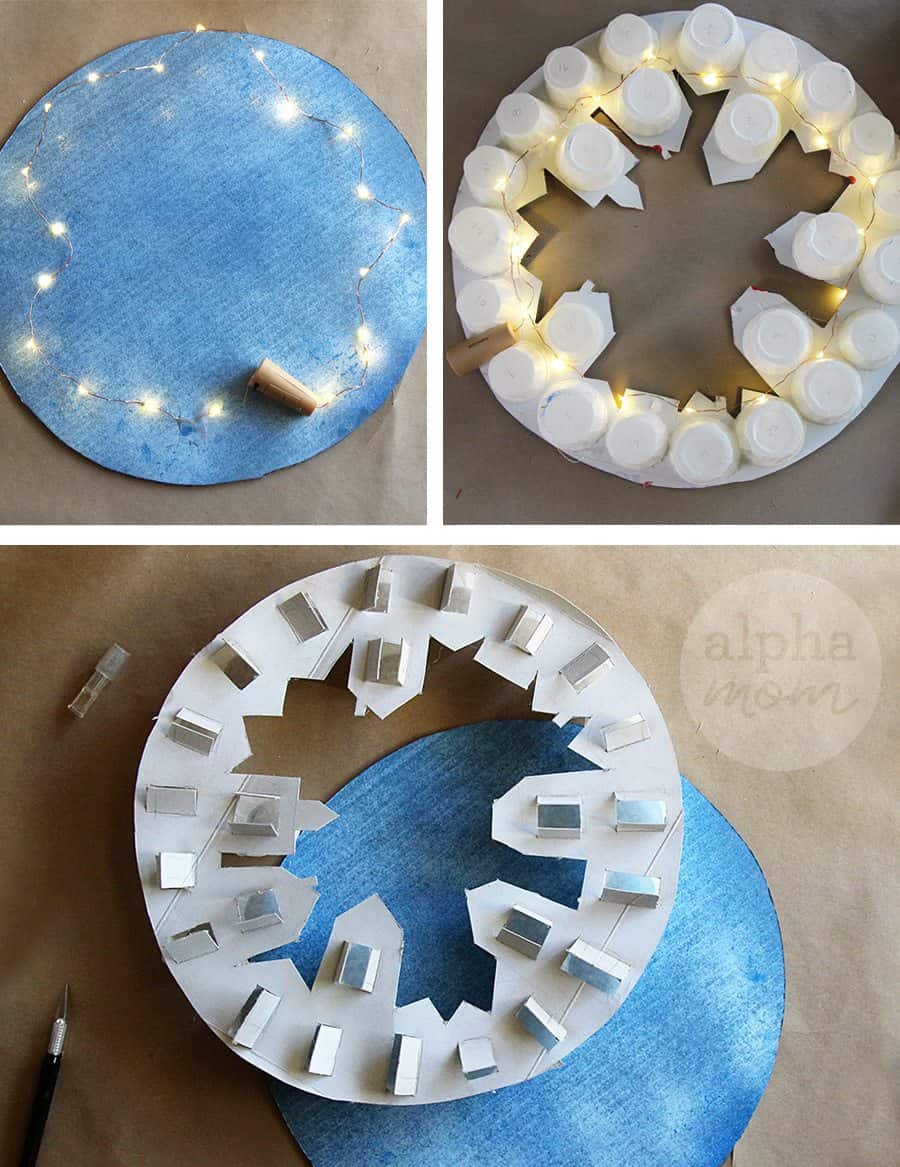
After the spray paint was dry I glued my cups over each door with hot glue (please use with caution and this step should be handled by a responsible crafter), making sure that the door openings were on the other side of the cups. If your cups don’t fit perfectly it’s okay to squish them a little to make them fit.
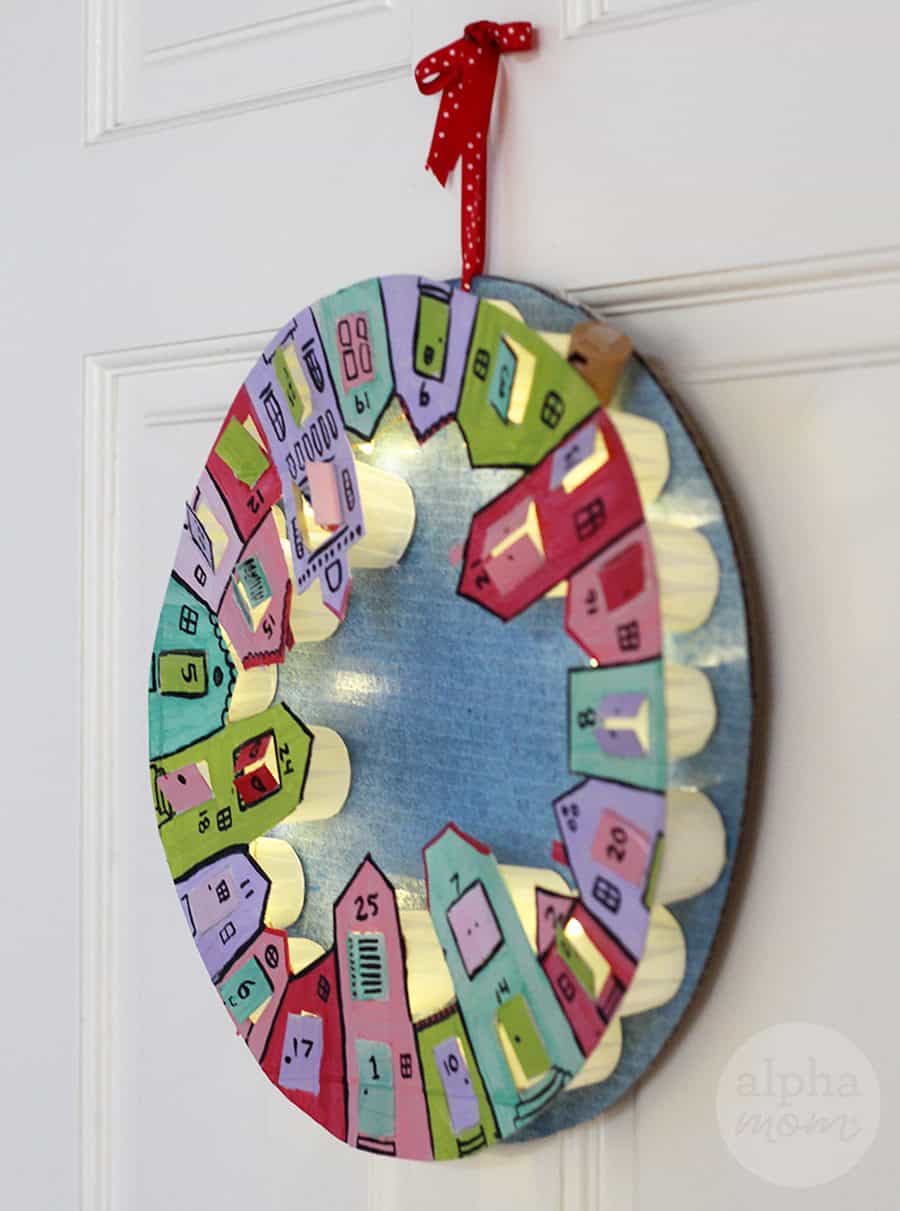
To create a background for my village I cut another 13.5 inch circle out of cardboard and spray-painted it a wispy sky blue but you could paint it any color you like. Then I tucked in my battery operated lights around the cups and hot glued the “cork” end so that the switch was accessible.
Attach your village front with cups to your background by hot-gluing the bottom of the cups to the background.
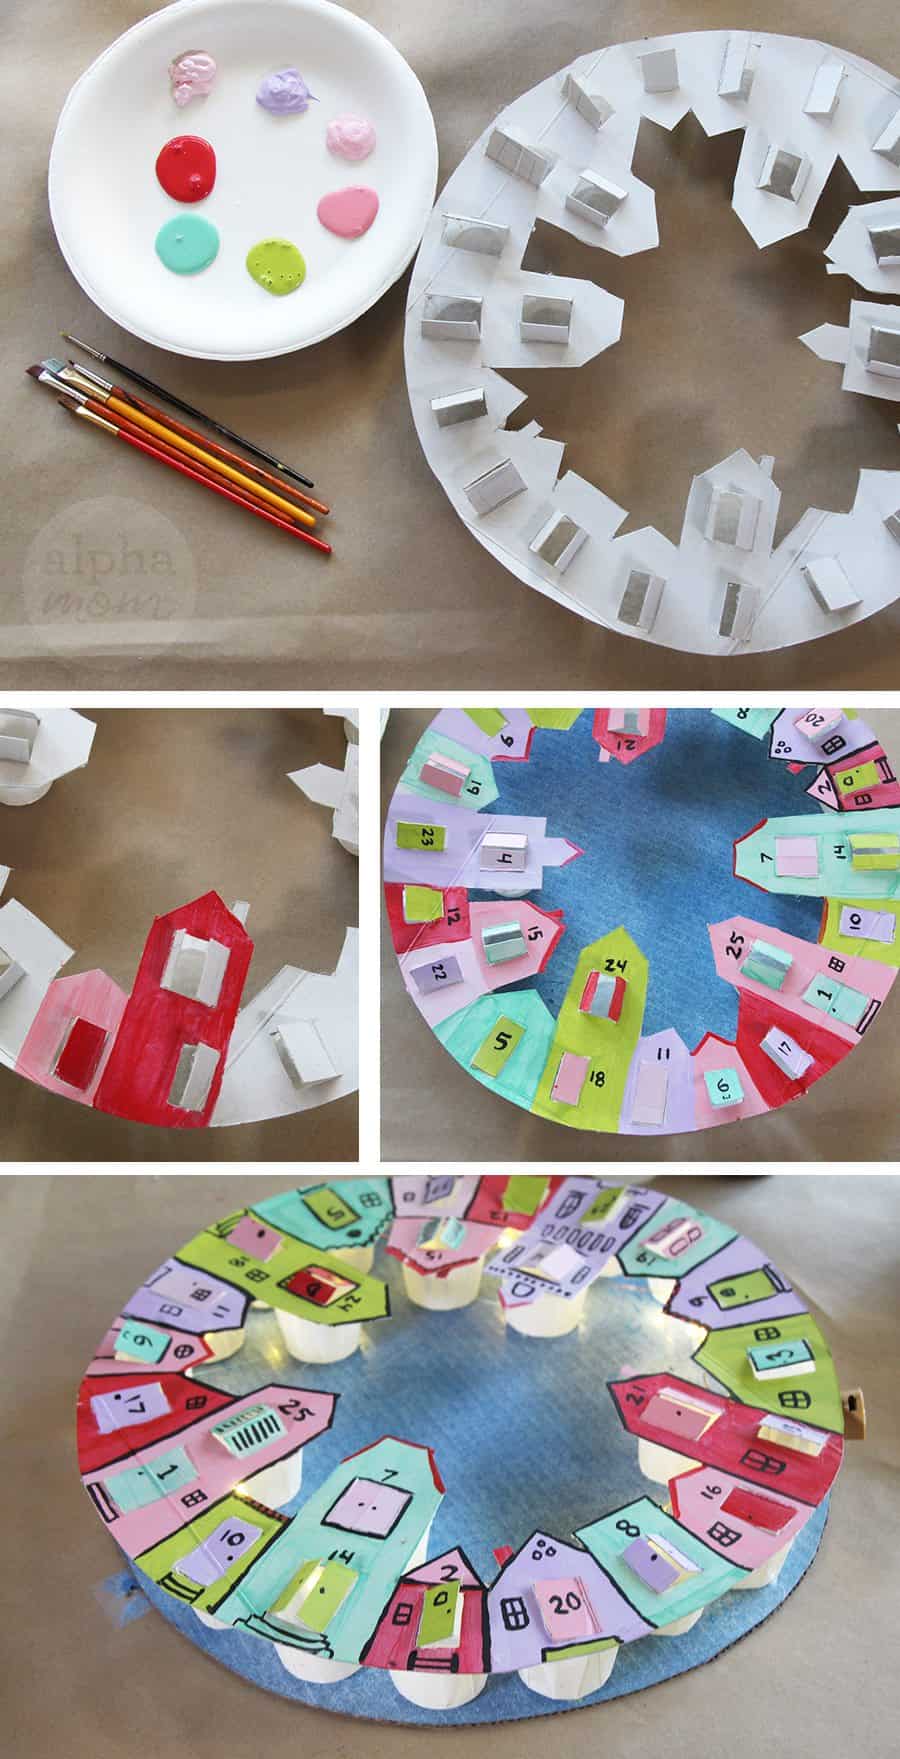
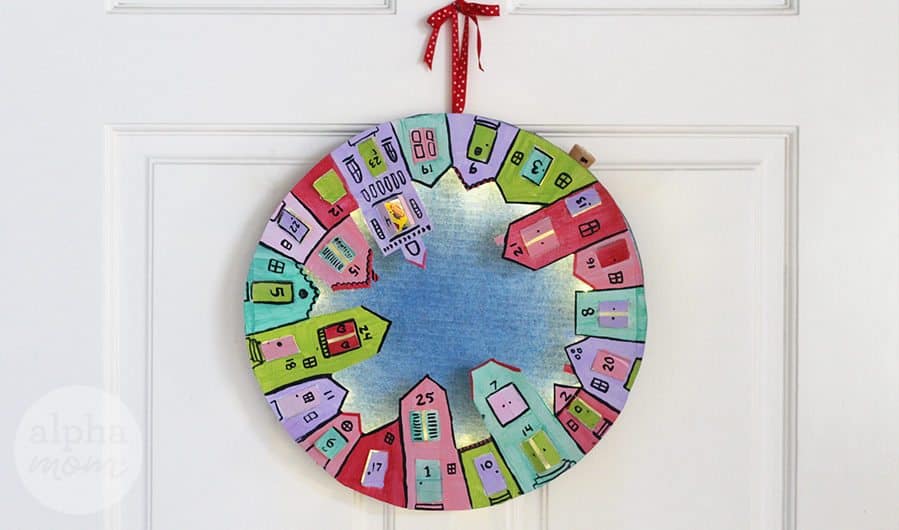
Time to paint! I used pink, red, mint green, lime green and lavender for my base colors and black for the detail work (and numbers – the most important part of an advent calendar). I painted the color first and then outlined with black and painted a number near or one each door.
Once the paint on your advent calendar is dried, you can punch a hole in one side, thread a pretty ribbon through and hang it somewhere inside. Or use a push pin, pin it in the center and pin it to a bulletin board for maximum spinning fun.
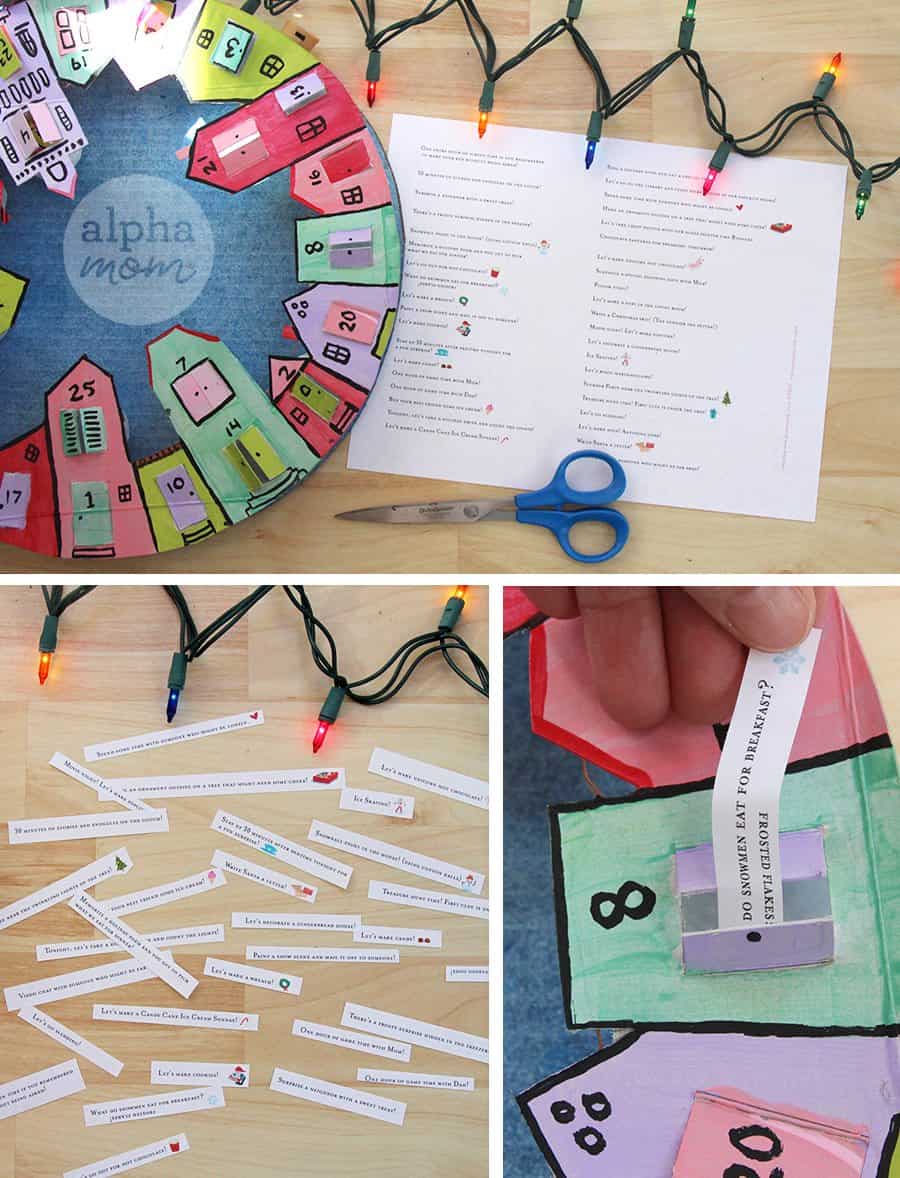
Now it’s time to fill the advent calendar. You can put small candies inside each door or write some festive notes. We’ve even included a printable full of notes if you are looking for ideas! Just click and print! Cut them up and roll them into small spirals to stuff in each door. If the notes are difficult to get out of their doors, let your kids use tweezers to pull them out. It reminds me of the game Operation, with all the fun but without the penalty buzzing!
Enjoy!


