Bunny Nails for Easter!
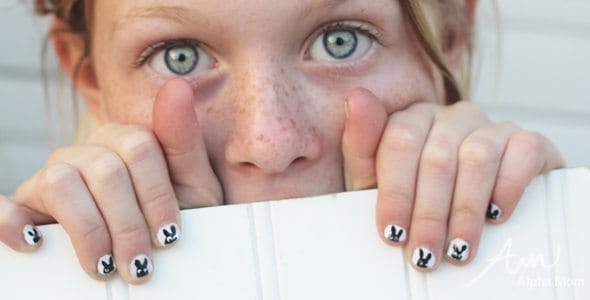
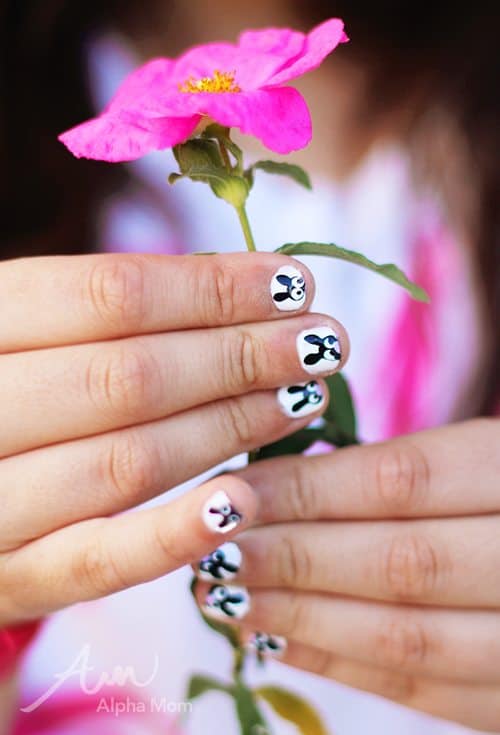
I’m no nail artist but occasionally my tween girls and I like to haul out our massive collection of nail polish and paint something, especially for special occasions. Since Easter is right around the corner we thought it would be fun to paint bunnies on our nails! In black and white of course because we’re stylish like that.
Click through for our step-by-step tutorial to create bunny nails of your own!
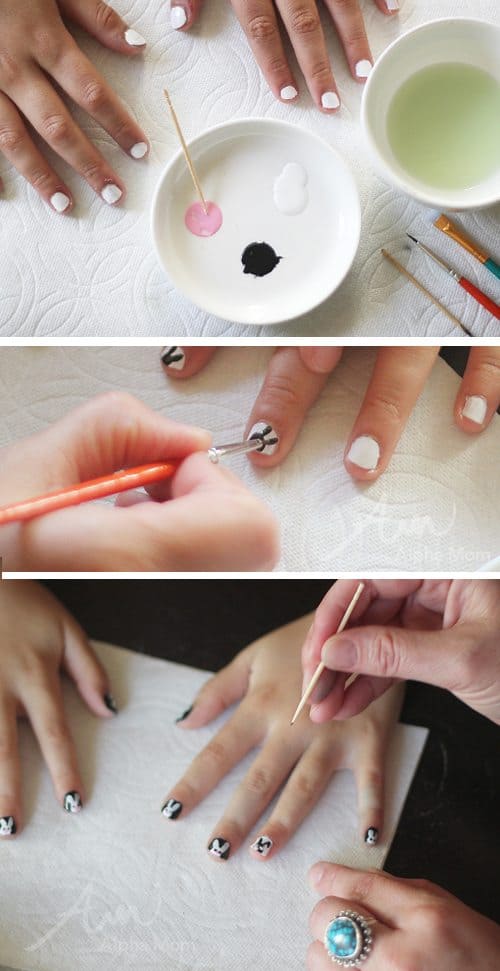
Supplies needed to paint Bunny Nails:
- black, white and pink nail polish*
- clear coat nail polish
- small dish to be used as a palette (paper plate or disposable lid would work great)
- a fine-tipped paint brush
- nail polish remover
- toothpicks
Bunny Nail Painting Tutorial:
- First paint your nails all white (or black) and let them dry.
- Using a thin-tipped paintbrush dab one circle of black paint towards the end of your nails (or white if you’re doing the reverse).
- To that circle paint on two small ears blobs to create a bunny head shape.
- Once the bunny head shapes are dry, dip the wide end of your toothpick in the white nail polish and create eyes.
- Let the eyes dry and dip the thin end of your toothpick into the black paint to create a pupil to your bunny eyes.
- Let that dry and add a pink dot for a nose.
- After everything is dry, apply a clear coat to preserve your bunnies.
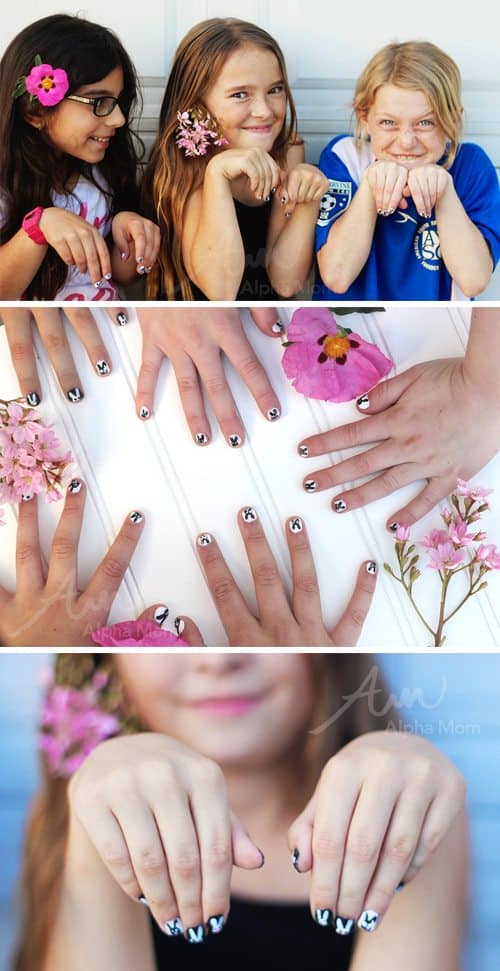
Once we finished painting on our Bunny Nails, we posed for pictures like silly little bunnies, like you do.
We can’t wait for Easter!
*If you are looking for non-toxic nail polish options (a good choice when painting little hands since kids tend to bite their nails) here are links to two resources that have researched available options: Care2.com and Wellness Mama.
Discover More Ideas for Easter:


