DIY Mini Easter Trees
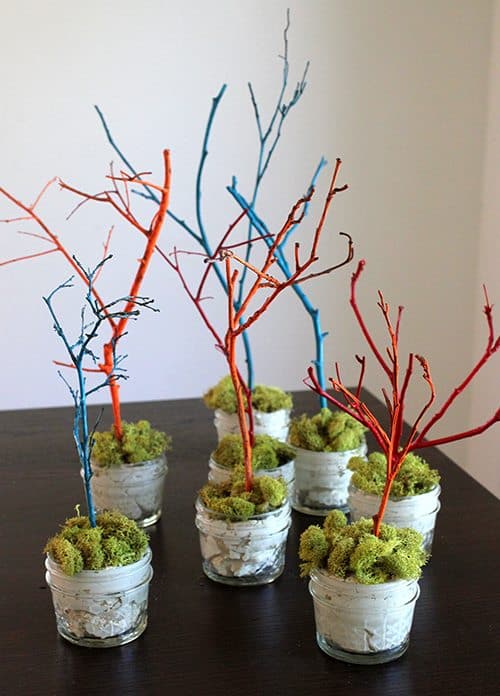
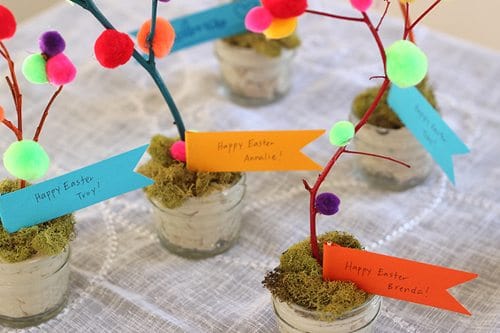
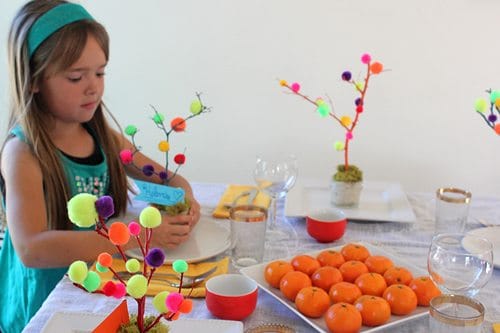
What’s better than a store-bought Easter tree for a centerpiece at your big Easter Dinner? Mini Easter trees set at everyone’s place instead! It’s cute and fun and your guests can take them home. Now, that’s my kind of dinner decoration.
If this hits your cute bone like it does mine, here how you can make one of your own.
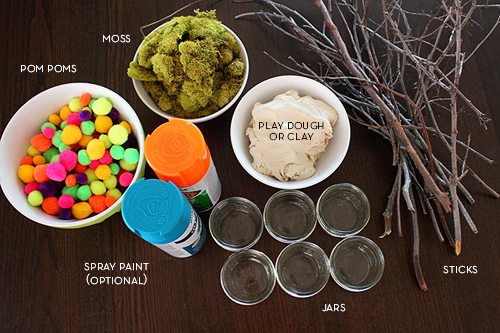
What you’ll need:
1. Sticks
2. Pom poms
3. Clay or play dough
4. mini canning jars
5. glue (hot glue or tacky glue, depending on your comfort level*)
6. spray paint or acrylic paint** (optional)
7. colored paper cut into small flags
8. toothpicks
9. a pen
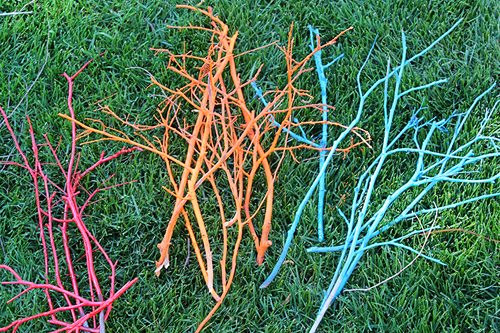
I chose to spray paint my sticks but you really don’t have to. You could leave them natural or paint them white with good old fashioned acrylic paint (if children are doing the painting, water-based paints are the safest options). It’s really up to you and what you’d like your color palette to be. Since I knew I was setting my table with white linens and dishes I wanted my Easter trees to really pop with color. But natural sticks with pastelle pom poms would be really pretty too.
Caution: Always be careful when you spray paint. Spray out doors and it helps if you have a box you can spray into to keep the spray somewhat contained.
Once we were done painting our sticks and they had dried we set to preparing our jars.
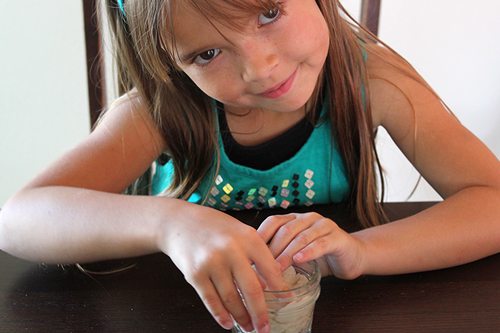
I had some air-dry clay on hand but any colored play dough would work too. In fact I kind of wish I had some neon play dough. That would have looked really cool or some brown to look like dirt.
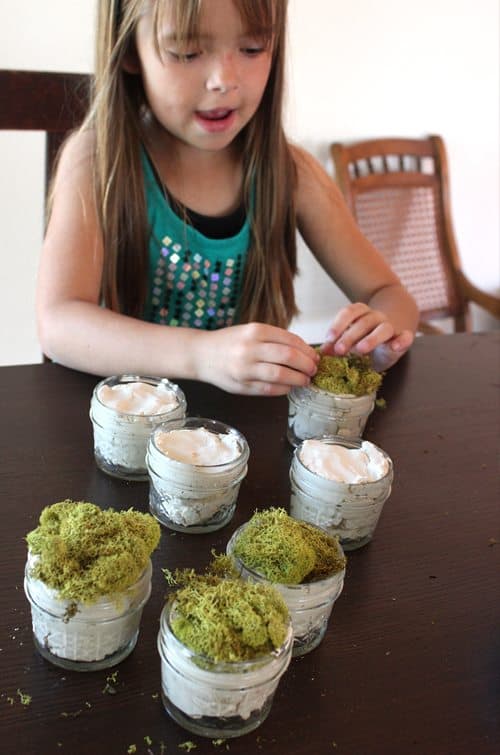
We filled the jars all the way to the top, making sure there wasn’t any clay stuck on the outside edges and then covered the clay with some dry floral moss. You can find it at most of your craft stores these days or a floral supply store. It’s pretty easy to handle, just gently press it down into the clay and it will hold.
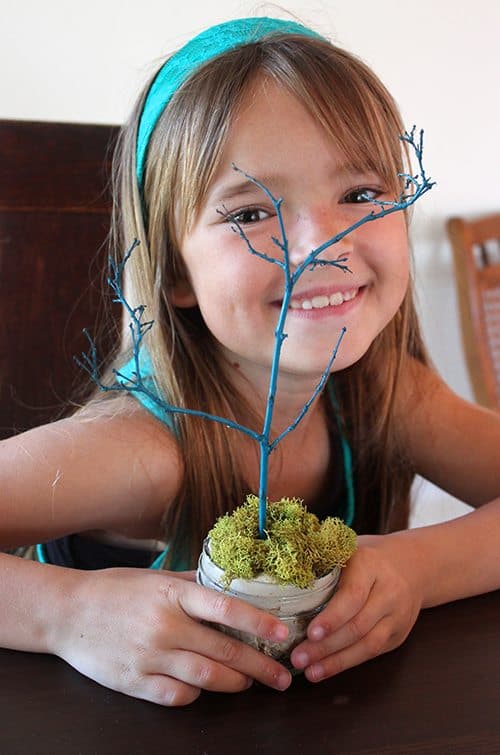
Then we stuck in our sticks!
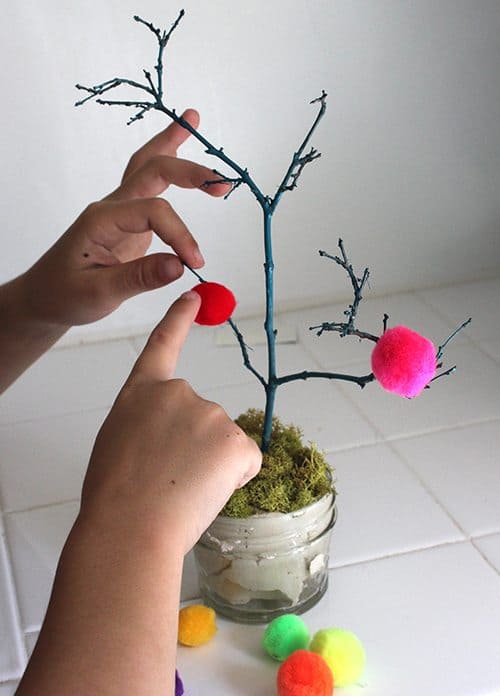
They looked cute enough to stop right there but no, we had to pump it up with pom poms! That’s what spring is all about after all: crazy popping color!
Pop! Pop! Pop!
Very very carefully I dabbed a bit of hot glue on each pom-pom and gently stuck it to the branch where my daughter directed. This is not really a step you want kids to get too close to. Just be really careful if you are using hot glue because it burns. If you are using tacky glue you might want to glue the pom-poms on the sticks while they are laying down and then put them in the jars after the glue has dried.
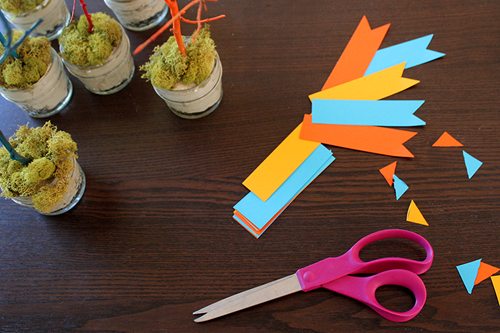
Next we decided to make little flags to stick into the ground to act as name cards. That way everyone will know where they sit at the table and which little tree they can take home. We just wrote everyone’s name down on a little flag and glued the paper to toothpicks, easy peasy!
Like so!
And then we set the table! I can’t wait to see everyone’s faces light up when they sit down to eat.
******************
Difficulty Level: Easy
Appropriate Age levels: 3 and up (have an adult on hand for the gluing and/or painting steps)
*Never let a child use a hot glue gun. Hot glue can burn!
**Always paint outdoors or in a well ventilated space.


