Matcha Fresh Fig Tart Recipe
You know that saying when life gives you lemons, make lemonade? Well, I have a saying that says: When life gives you an abundance of fruit, make a tart! Making fruit tarts has become one of my favorite things to do. It’s a super simple activity and they look like a million bucks. Here I show you how to make a Matcha Fresh Fig Tart.
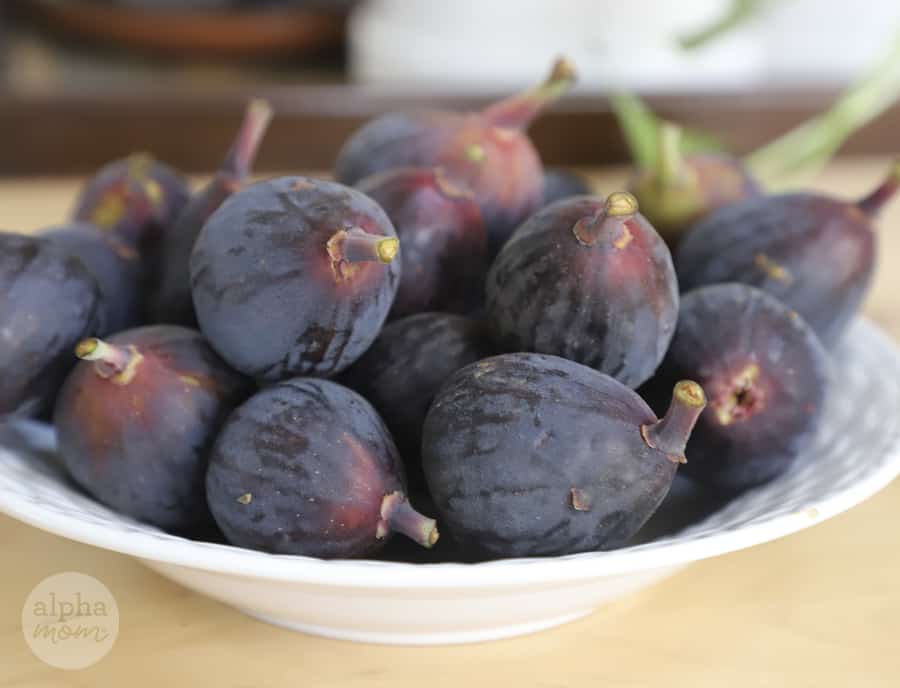
If you don’t have an over-producing fig tree in your yard as I do, you can usually find figs in your local market between June and October. Figs are such a gentle fruit. I used to not even like their sweet and mild flavor until I started to imagine them as the inverted flowers that they are. What we do know is that figs are a gorgeous fruit when they are cut open and displayed like art. And what better to do with a beautiful fruit than to make art on top of a tart!
How-To Make a “Matcha Fig Tart”
Ingredients broken down by the tart’s components:
(Recipe adapted from this recipe by Paula Deen)
Crust:
- 1/2 cup confectioner’s sugar
- 1½ cups all purpose flour
- 1½ sticks of butter (softened and sliced)
- 1 tbs culinary matcha powder
Filling:
- 1 (8oz) package of cream cheese (softened)
- 1/2 cup granulated sugar
- 1/4 teaspoon almond extract (please let your guests know this tart includes a tree nut ingredient, a common allergen)
Topping:
- 8-20 ripe figs, sliced thin and halved
Glaze:
- 1/4 cup apricot jam (any jam will do)
- 1 tbs orange liqueur or water
Supplies/ Tools you’ll need:
A 10-12 inch tart pan, a food processor, and a fine strainer or sieve.
Don’t be intimidated by this list, making a fruit tart is really quite simple when you break it down into manageable steps!
Step 1: The first step is to make the matcha shortbread crust!
Directions to make the shortbread crust:
- Preheat your oven to 350º F.
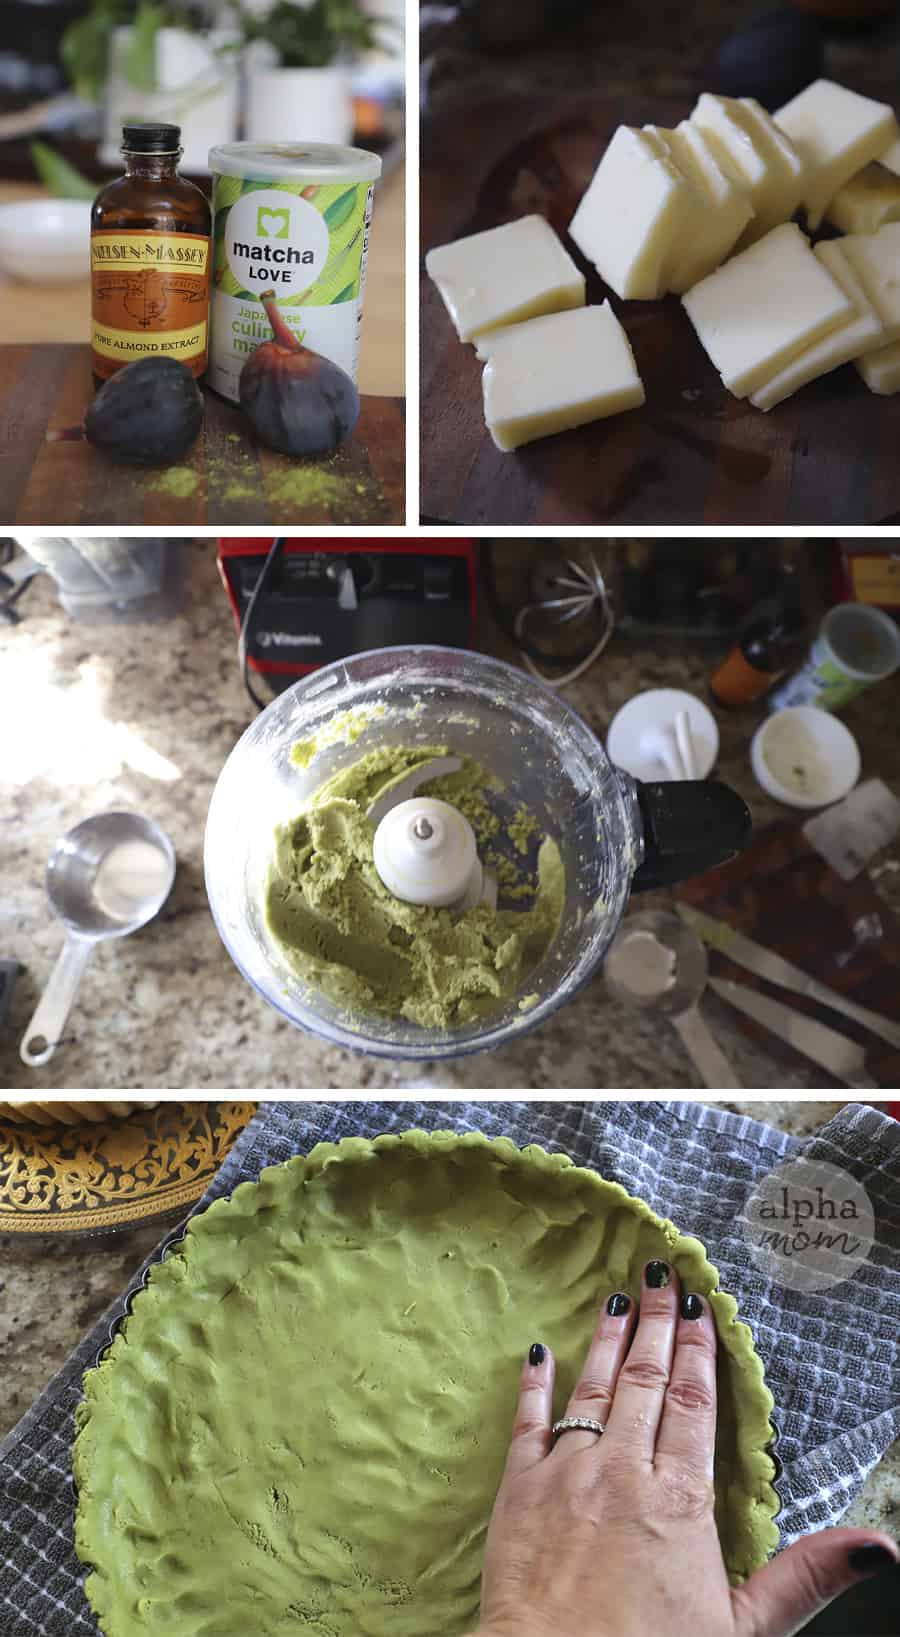
- Combine your confectioners’ sugar, flour, matcha*, and sliced butter in a food processor until the mixture forms a ball.
- Press your shortbread dough into your tart pan gently, making sure to push the crust up into the fluted sides. (I love to use a 10-inch tart pan instead of 12 because personally I think the crust is the best part, and the thicker the better. But a 12-inch pan is what Paula Deen recommends in her recipe.) Pat until the crust is even.
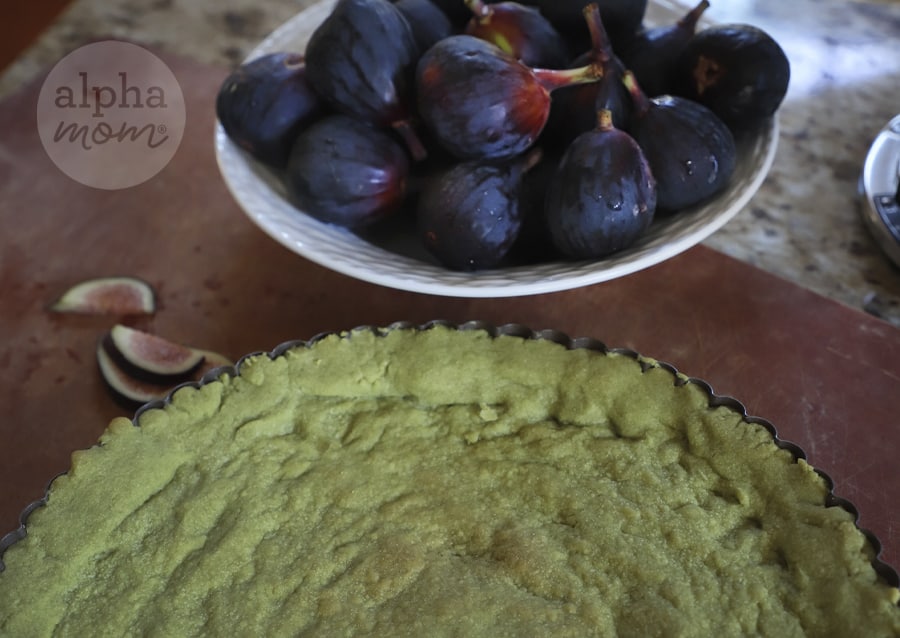
- Bake for 10-15 minutes until your crust is lightly browned.
- Set aside to cool.
*A note about culinary matcha powder: You don’t have to put matcha in your crust. It has a very subtle flavor that I like combined with figs but it’s definitely something you could leave out. Personally, I include it because I LOVE the color, and making a tart is all about aesthetics, right? Let’s make something Instagrammable!
Step 2: Now the fun part: Filling your tart and decorating it! While your tart is cooling, mix your cream cheese filling.
Directions for the cream cheese filling:
- Beat the cream cheese, granulated sugar, and almond extract together until smooth.
- Spread evenly over your cooled matcha shortbread tart.
That was easy, right?
Now for the not-so-easy part but it’s oh, so satisfying:
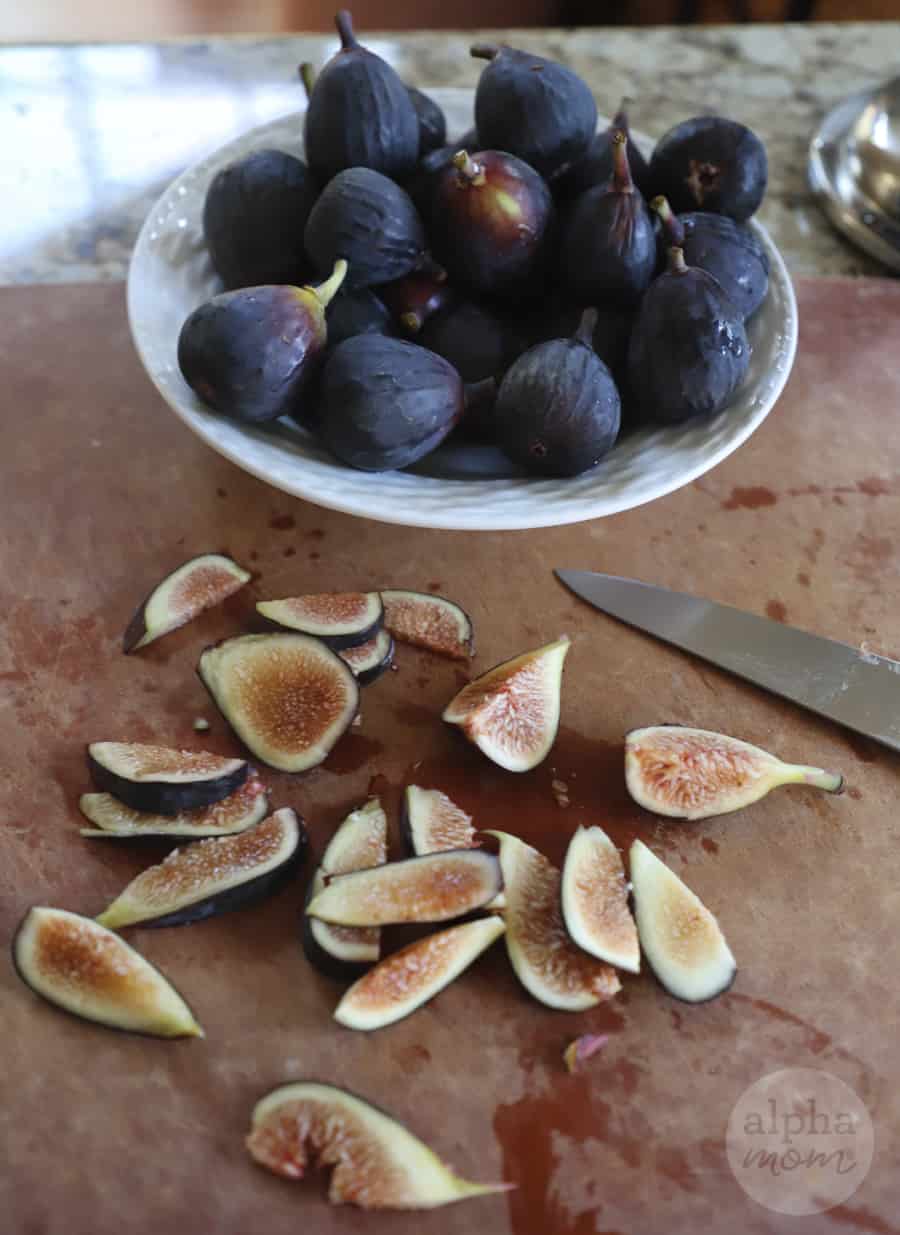
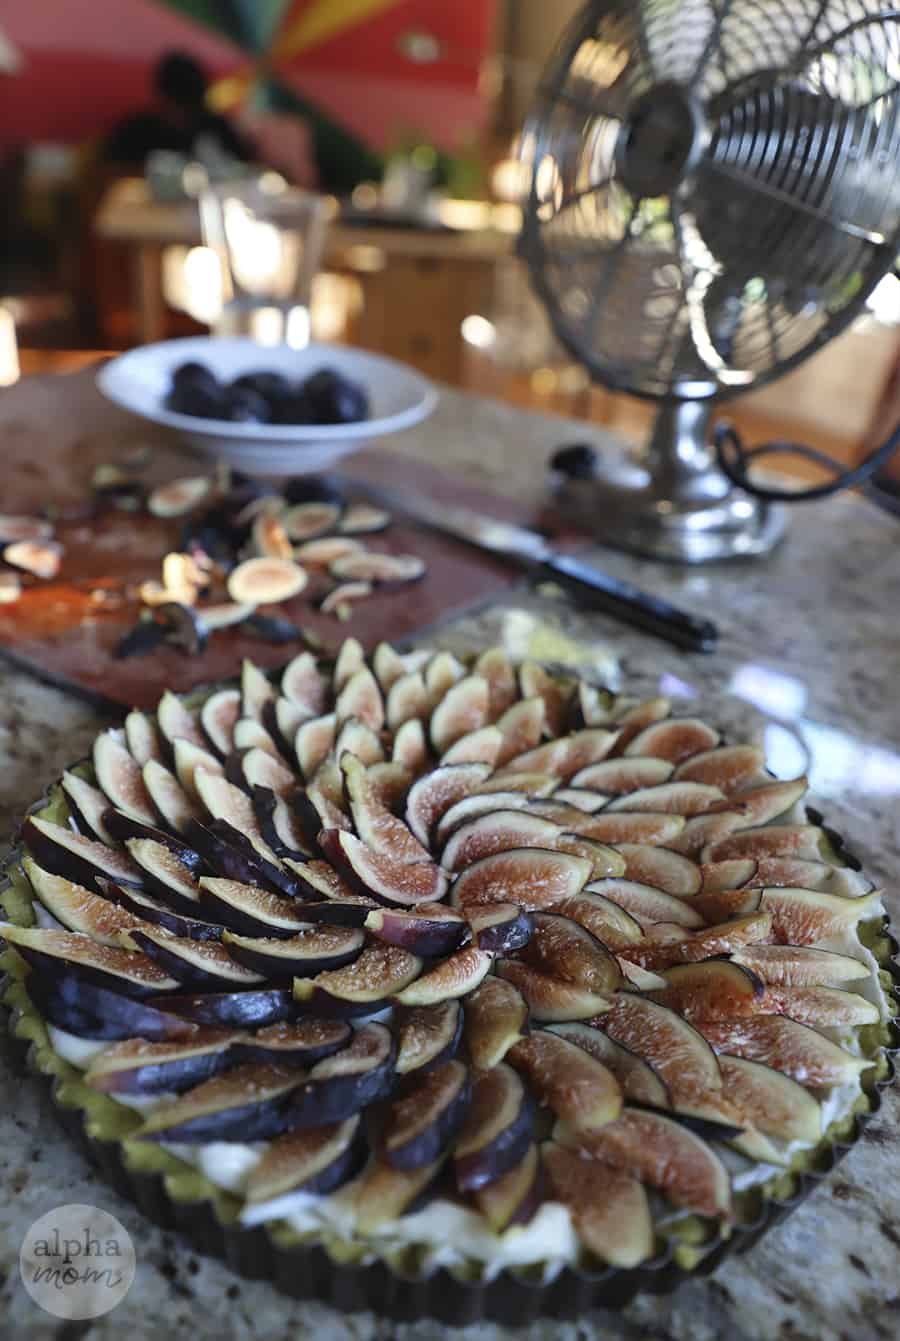
Step 3: Find the biggest, plumpest figs you can and slice them into thin slices with a sharp knife. Then slice those slices in half. Or you could reverse that step: slice your fig in half and then slice the halves into thin slices. Same difference. You’ll figure out pretty quickly what works best for you. What you want are slices that are whole and pretty and not too mushed up. You’ll have to discard a few ends here and there if they aren’t too photogenic but have no fear, those bits can be made into a quick jam later and spread on toast or just popped into your mouth. There’s no need to waste them. 🙂
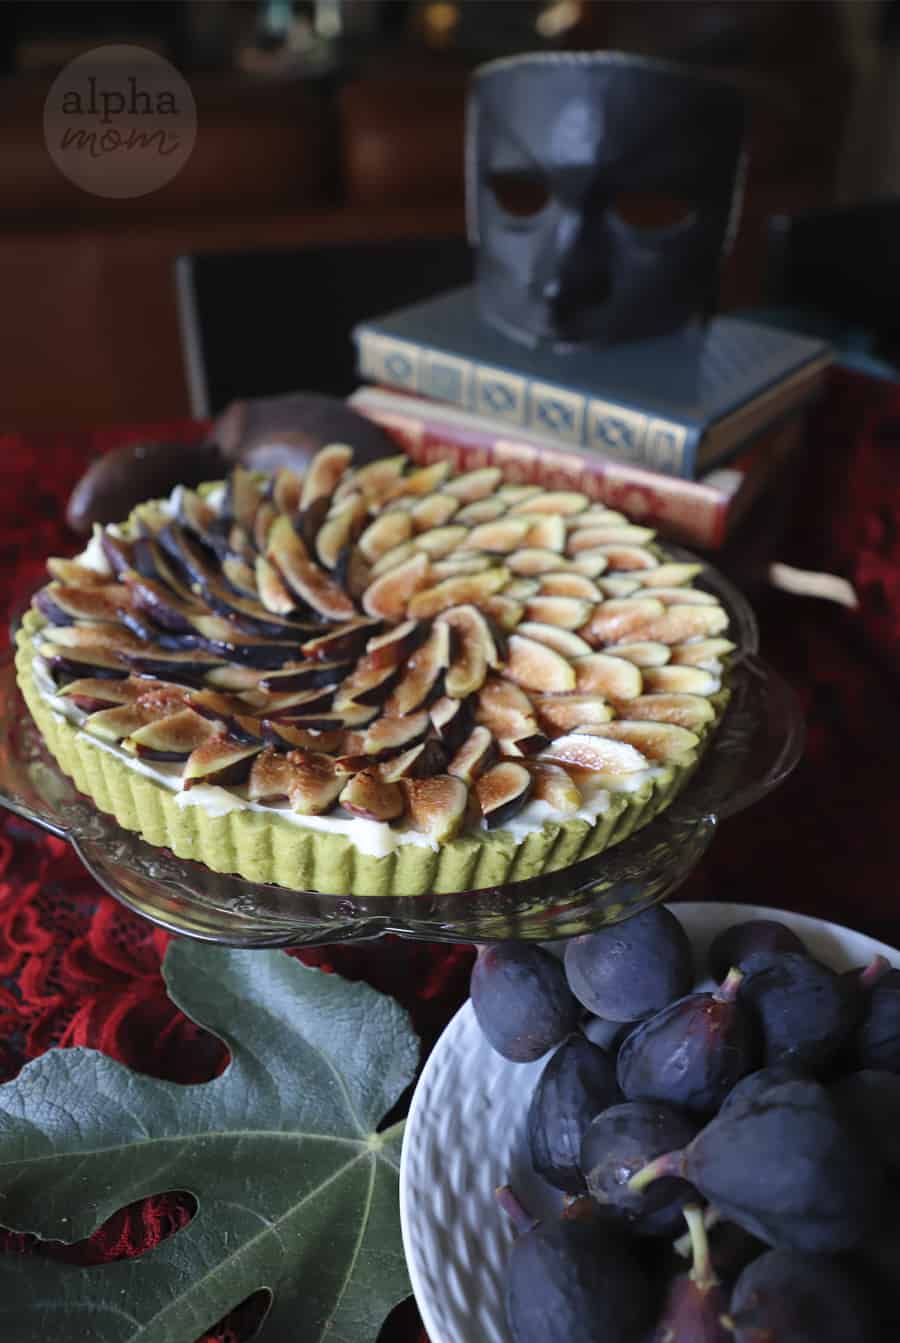
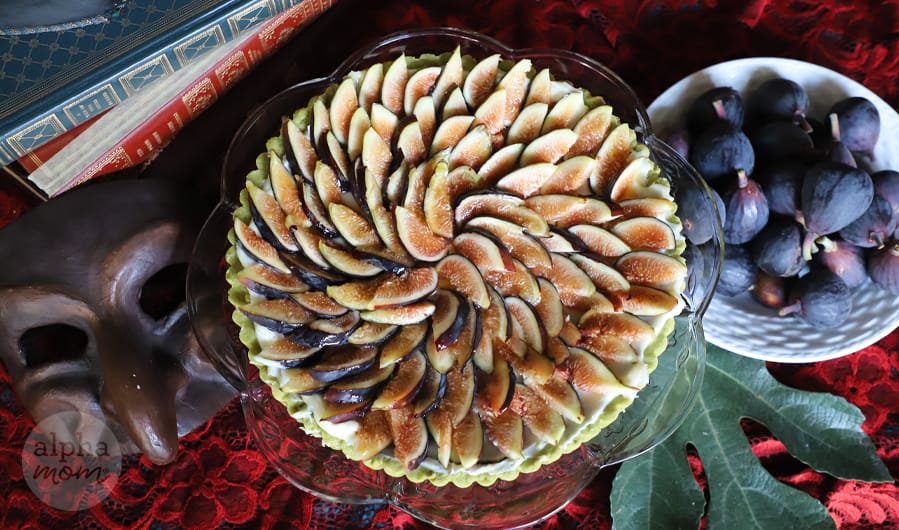
Step 4: Starting at the outer edge of your tart, lay your slices around in a circle with the skin-sided edges facing the same way. Easy does it around and around you go until you get to the center and end with a pretty fig flower! (see photos above and below.)
Rewarding right?! Who knew you could create such a masterpiece.
Step 5: If you want to make extra sure your fig topping stays nice, a glaze is a good idea. You can skip this step if you plan to eat your tart right away but if you are like me and plan to bring it to a family brunch the next day, a glaze is a good way to gently preserve the fragile figs.
Directions for a simple jam glaze:
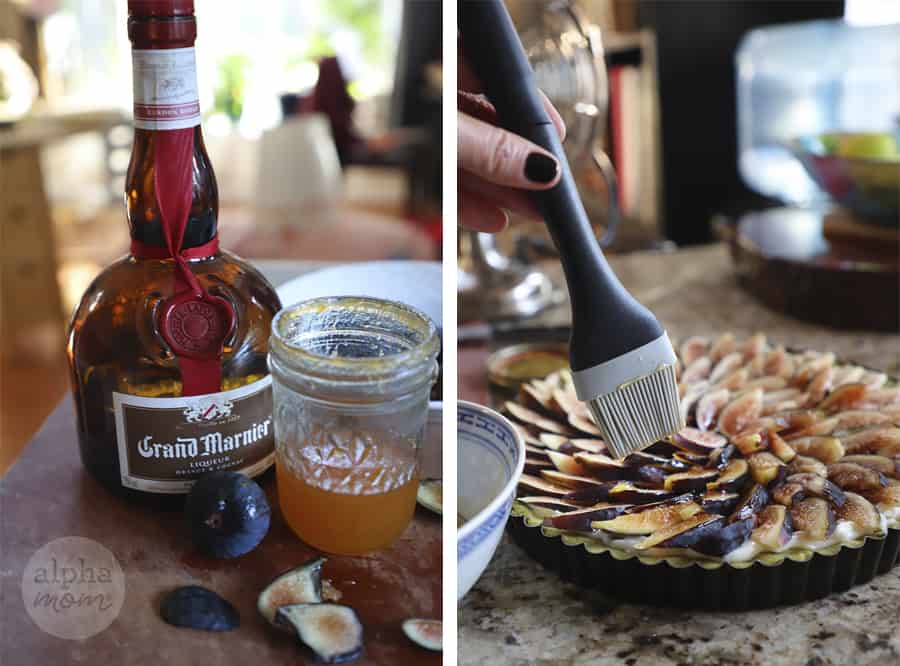
- Heat your apricot jam (or any jam you think will pair nicely with your figs – spicy jam might be fun) and orange liqueur (or water if you want to skip the alcohol) in a small saucepan until it liquifies (melts).
- Remove from heat and strain through a fine strainer to remove any fruit lumps.
- Let cool slightly and glaze your fruit tart lightly with a pastry brush
That last step will really make you feel like you are painting a masterpiece. Because you are!
Just wait until you show up to your party and hear the guests rave about the taste. Then you’ll really feel like a master chef. Just don’t tell them how easy it was actually to make!
More dessert recipes from Alpha Mom:
1- Candied Kumquat Citrus Cake (My Grandma’s Yummy Recipe)


