Homemade Notepads made from Children’s Art for Mother’s Day
Sometimes the best gift ideas are right in front of you. You know that little notepad that you keep in the kitchen for doodling or taking notes when you are on the phone? They are usually pretty ugly and free from a real estate agent or maybe your financial planner. What if that notepad was made from your child’s art instead? Great handmade gift idea right?
Don’t worry, we are not going to scribble all over a bunch of masterpieces. But, if you are looking for something sweet to make for grandma or your mom for Mother’s Day or a Birthday or Just Because, this might be just the handmade gift!
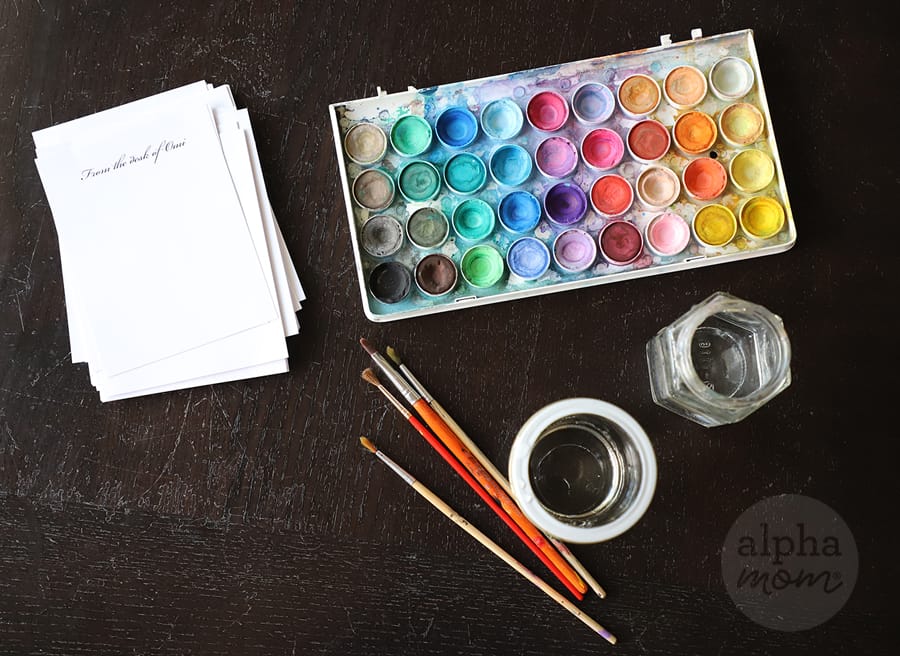
Supplies needed to make Homemade Notepads
- about 20 sheets of 8x5x11 computer paper
- watercolor paint, brushes and water
- paper towels
- 8.5×11 piece of chip board (not pictured) You can use thin cardboard from a cereal box or just glue two pieces of card stock together. This will create the backing for your notepad.
- white craft glue
- 8 binder clips
- a paper cutter
- ribbon
How to make Homemade Notepads
Step 1:
First, create a simple page with words like “From the Desk of Mommy” or “From Grammy’s Desk” using your favorite desktop publishing program. Microsoft Word will do fine. Divide your page into four quadrants and put the words at the top of each square. If you don’t have a computer or you want to skip this step you totally can. You can even have your kids handwrite a phrase at the top of each page.
Then print out twenty or so pages of this document. Cut your page up into four pieces, making sure they are all the same size.
Step 2:
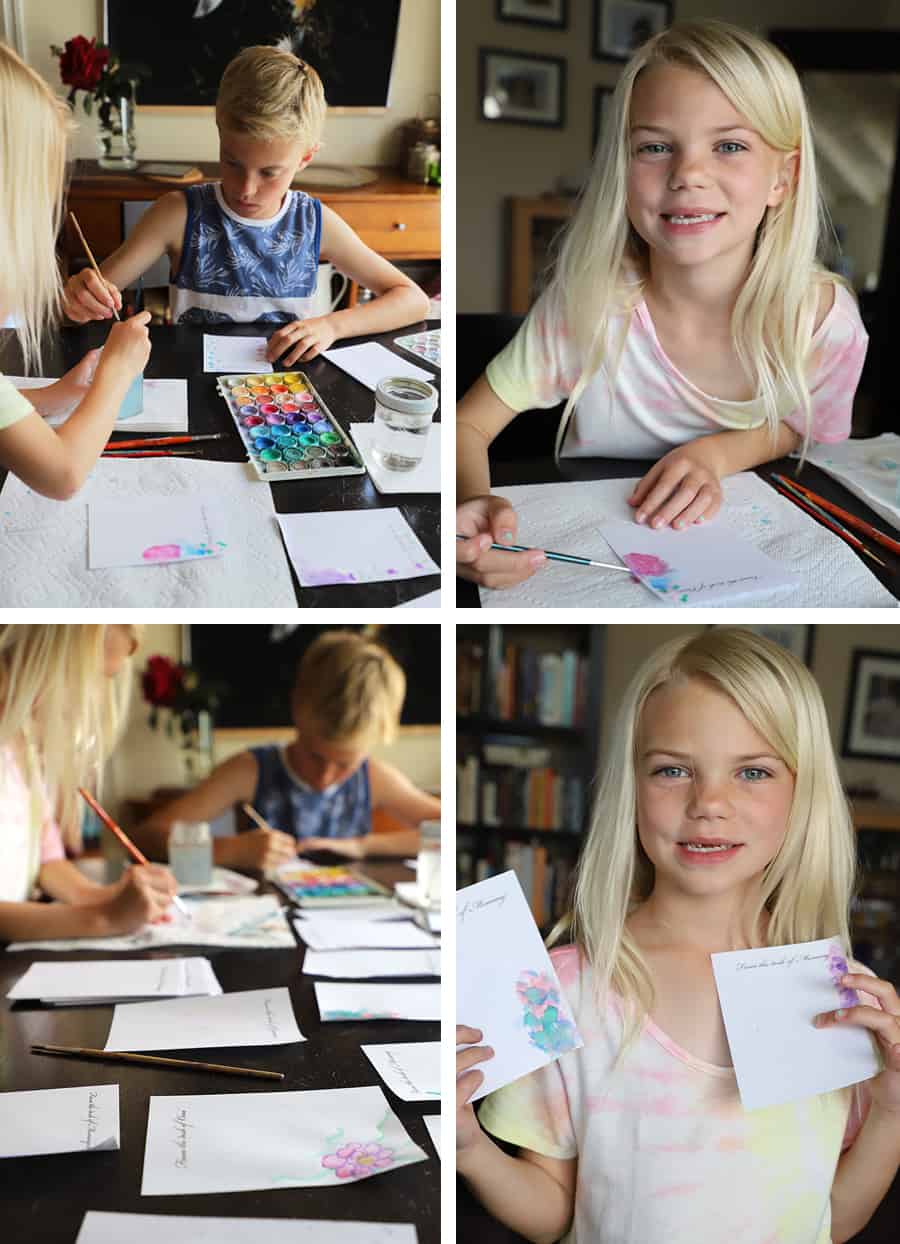
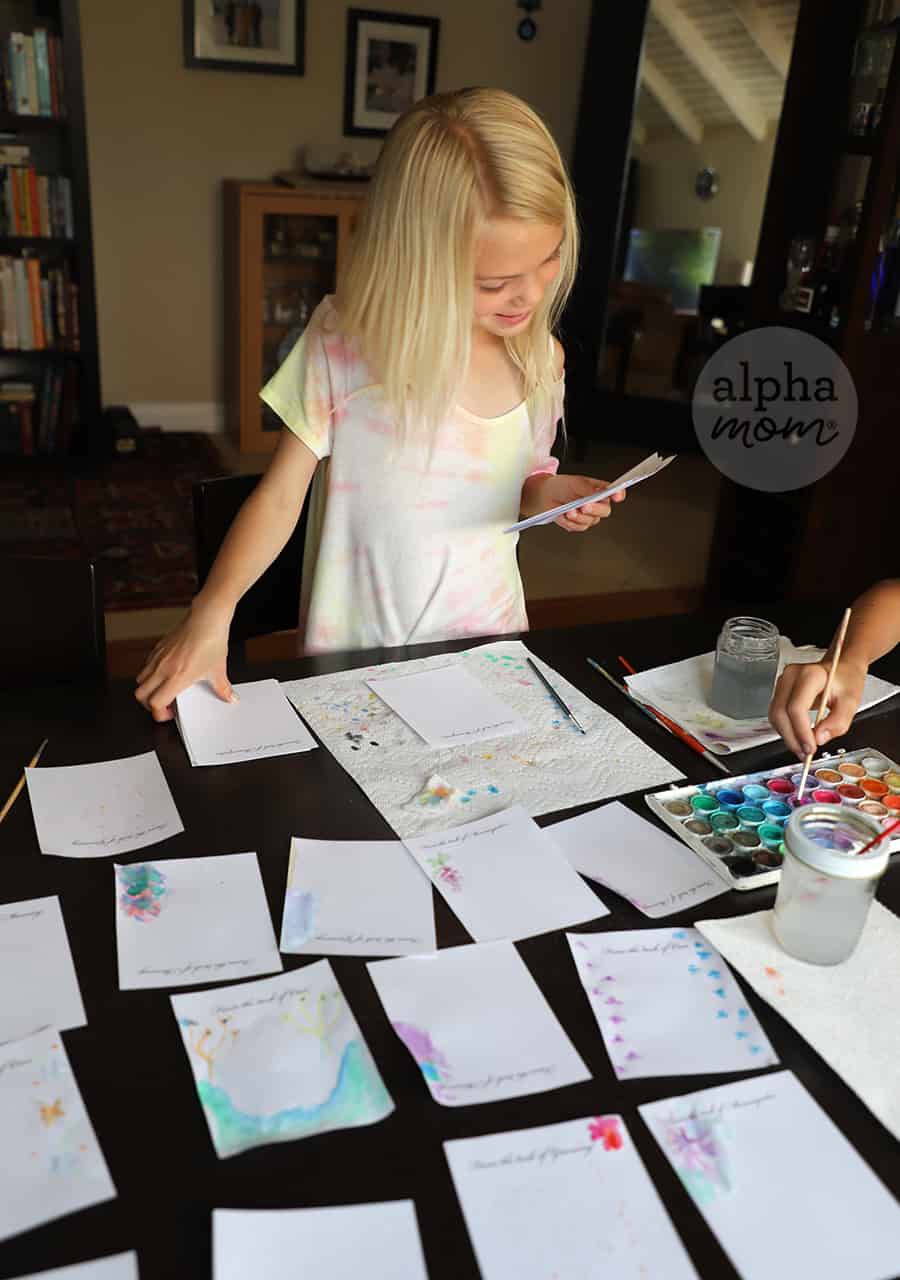
Now it’s time to paint! We love watercolors because it’s the easiest to use and fastest to dry. The paint goes on light so that your pages can stack up in a neat notepad. Tell your kids that they are going to paint like they are in a factory. Just light little touches on the edges and don’t get too bogged down in creating a masterpiece. Less really is more. It’s fun to paint abstract shapes, flowers and even splatter. Perfectionism is not helpful here. Just let the paint flow and don’t think about it too much. Then set each page apart to dry.
Step 3:
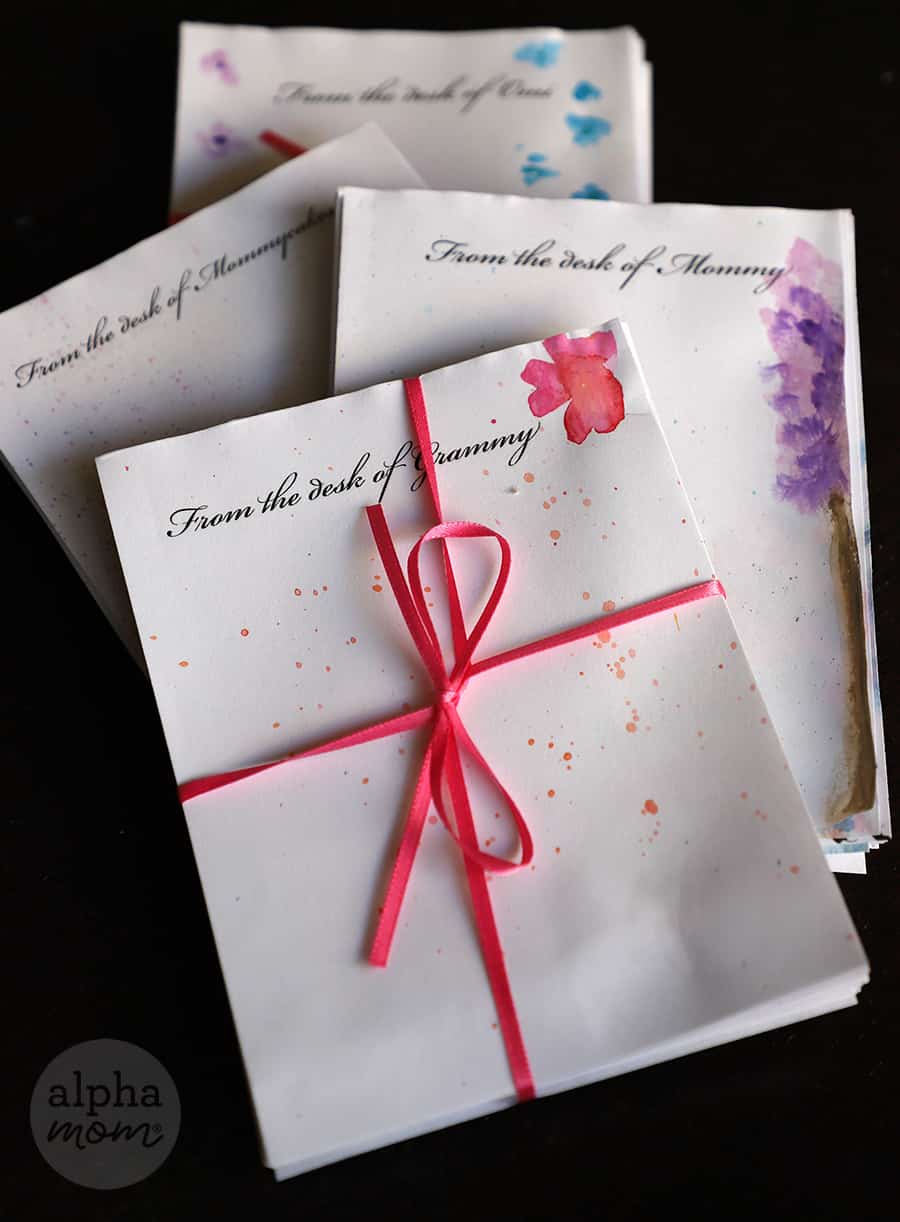
When you have painted all the sheets and they are dry, it’s time to assemble! Stack up your sheets in the order you would like them to appear. We created four notepads and picked our favorites to go on top. If you want to make a thicker pad you can even insert plain pieces in between painted pieces. Then put your notepad backer chip board (which should be cut to the same size as your painted sheets) on the back of your stack. Make sure the top edge of the stack is lined up and tight. The other ends don’t matter as much.
Step 4:
Once everything is stacked tightly and neatly, use two binder clips and everything together at the top on each side. Then take your craft glue and run a bead of paint along the top. Smooth off any excess with a paper towel. Try to make sure that the glue covers the entire top edge and there are no gaps between your pages. You can pinch the pages together by hand if the binder clips are not holding them tight enough in the middle and hold them until the glue is strong enough to hold them on its own. This usually will only take a minute. Let the glue dry completely and then release your binder clips.
Step 5:
Once everything is very dry you can tie your new notepads up with a pretty bow and you are ready to gift!
So simple and yet it will be such a joy for moms and grandmas to write on every day. Grocery lists and lunch box notes will never be the same again!
More handmade gift ideas for Mother’s Day:
1. Handprint Lavender Sachets
2. Handmade Photo Cube
3. Homemade Lollipop Bouquet


