Waxed-Fabric Food Wraps for School Lunches
As we become more aware of micro-plastic pollution we are starting to find ways to decrease plastic use in our homes. It’s not an easy feat but there are some fun ways to embrace new non-plastic habits and one of those is ditching plastic bags in favor of wrapped fabric.
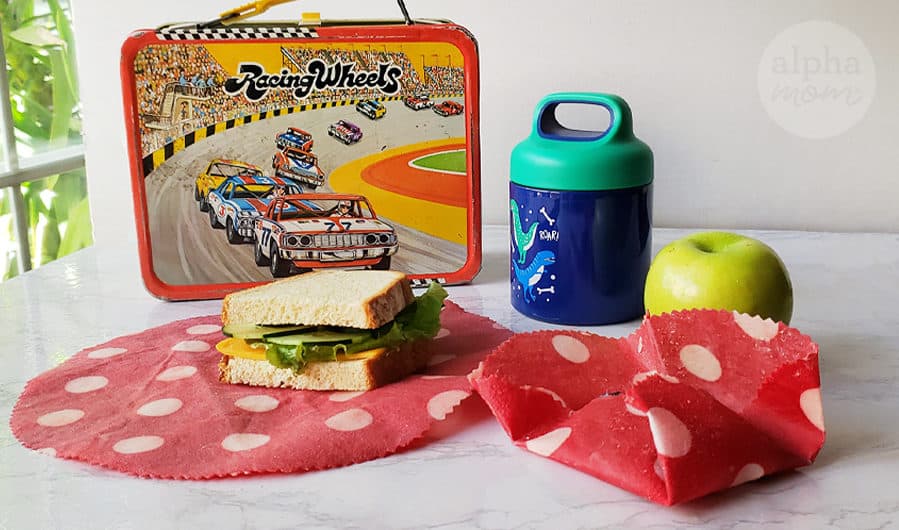
Waxed fabric doesn’t work for everything but it is great for wrapping up sandwiches and snacks in school lunches. It’s kind of like getting a lunchbox full of presents!

(vintage lunch box for decorative and photo purposes only)
We thought we’d put together a really quick step-by-step tutorial post for our readers on how to make your own.

Supplies you need to make Waxed-Fabric Food Wraps
- beeswax pellets
- clean, pre-washed cotton fabric (tight weaves like a calico work best)
- pinking shears
- a paintbrush or squeegee
- baking pan
- parchment paper (optional)

How to make Waxed-Fabric Food Wraps
Now let’s get started.
Step 1: Cut your fabric into large shapes. We started with a couple of 14×14 inch squares and a few circles. The sizes are up to you and what will fit on your baking pan. It’s just like wrapping a present, so allow enough fabric to wrap your usual sandwich size and overlap. Smaller sizes are great for snacks.

Step 2: Preheat your oven to the lowest setting (200F or below).
Step 3: Lay the fabric shiny side down and sprinkle the beeswax pellets liberally over the fabric like you’re making a pizza. Each piece of fabric roughly should use about an ounce of wax. If you use too much you can squeegee or paint the extra off and use it on the next piece of fabric. If you use too little you can add more and go for another round in the oven.
Step 4: After your pellets are sprinkled evenly, put the baking sheet in the oven and let the pellets melt. This should take 5-7 minutes.

Step 5: Remove from the oven (be careful, it will be hot) and spread the melted wax evenly across the fabric, pushing any extra to the parchment paper. If the wax starts to cool before you have finished just pop it back into the oven and re-melt. Remove your waxed fabric from the baking sheet and let them cool.
Step 6: When they are completely cool you can now wrap up your lunchbox goodies with a piece of twine!
So easy, right?

(vintage lunch box for decorative and photo purposes only)
These food wraps should last up to a year. You can wash them with cold water and a little soap.
These take a little bit to get used to but they are so much better for our environment and us!
More environmentally-focused crafts here on Alpha Mom:
1. Recycled Art Postcards
2. How to Repurpose Damaged Books into Purses
3. Recycle What’s In Your Lunchbox!