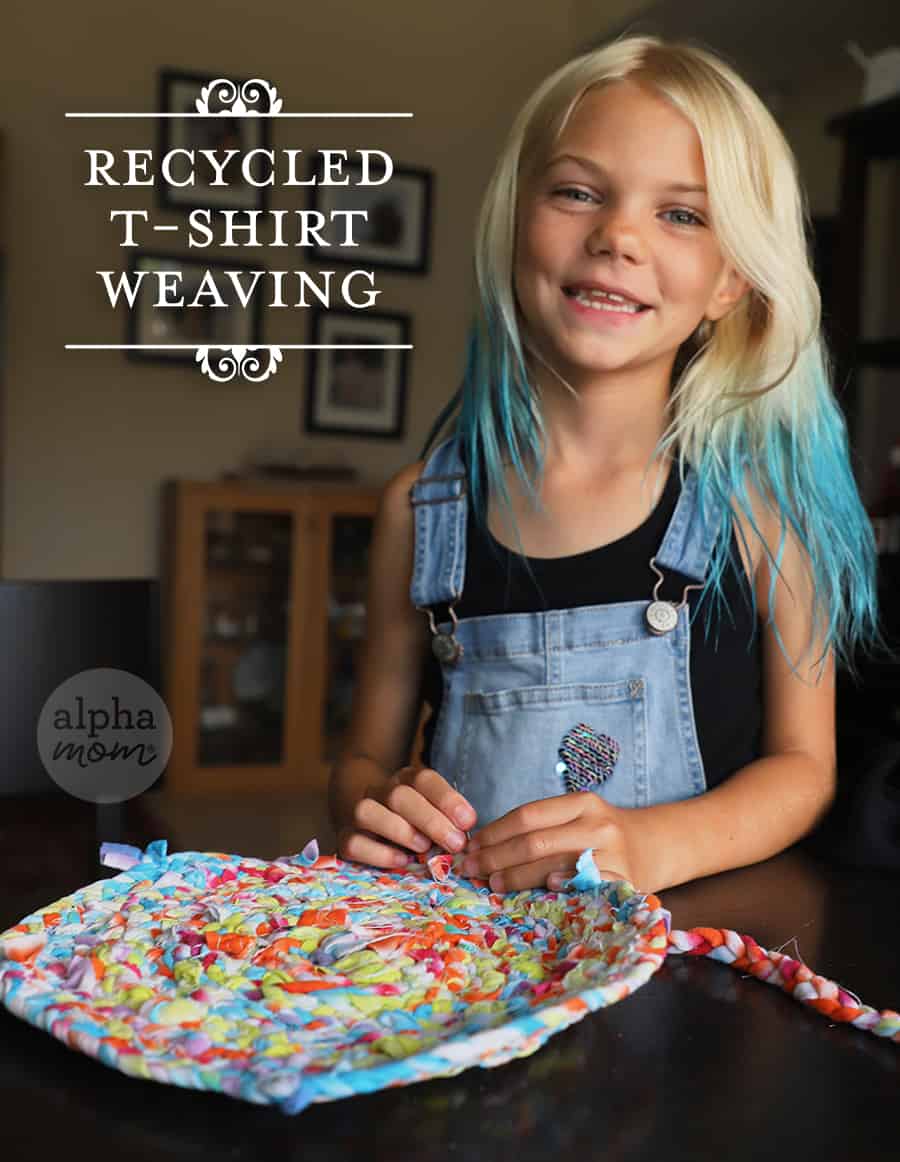
Upcycle your T-shirt into a Cute Potholder
Here’s a craft from the past: Rag rugs. But, here we add a new twist and do it ourselves by… upcycling no-longer-used t-shirts.
If your kids are like mine, they get attached to worn-out t-shirts from their camp days or a favorite tee that just doesn’t fit anymore. You can take a picture of it and move on, you can save them for future children OR you can make them into potholders and rugs! If you choose the latter, you can hold on to those old colors and memories and have them around you all the time now… just in a new form.
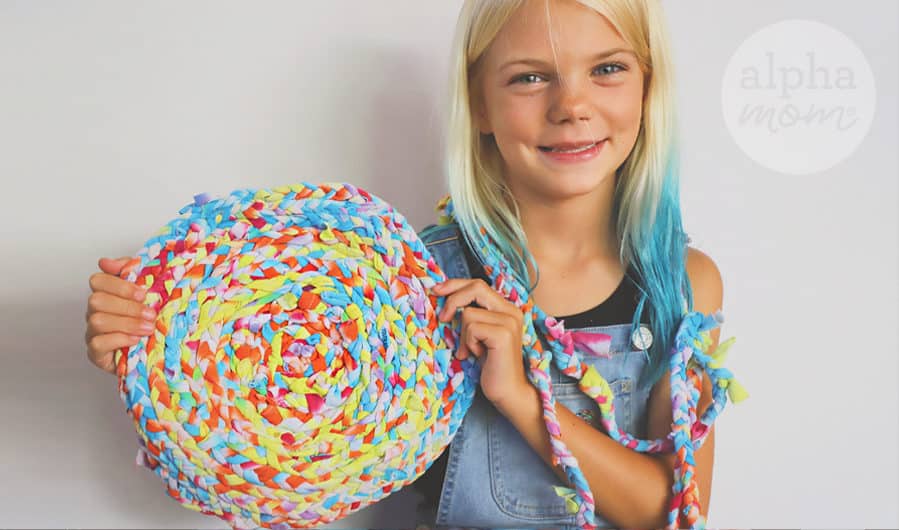
We had three older t-shirts from camp in really cool tie-dye colors so we decided to make an extra big potholder that could be used as a small rug beside my crafting partner’s bed. It turned out so cute!
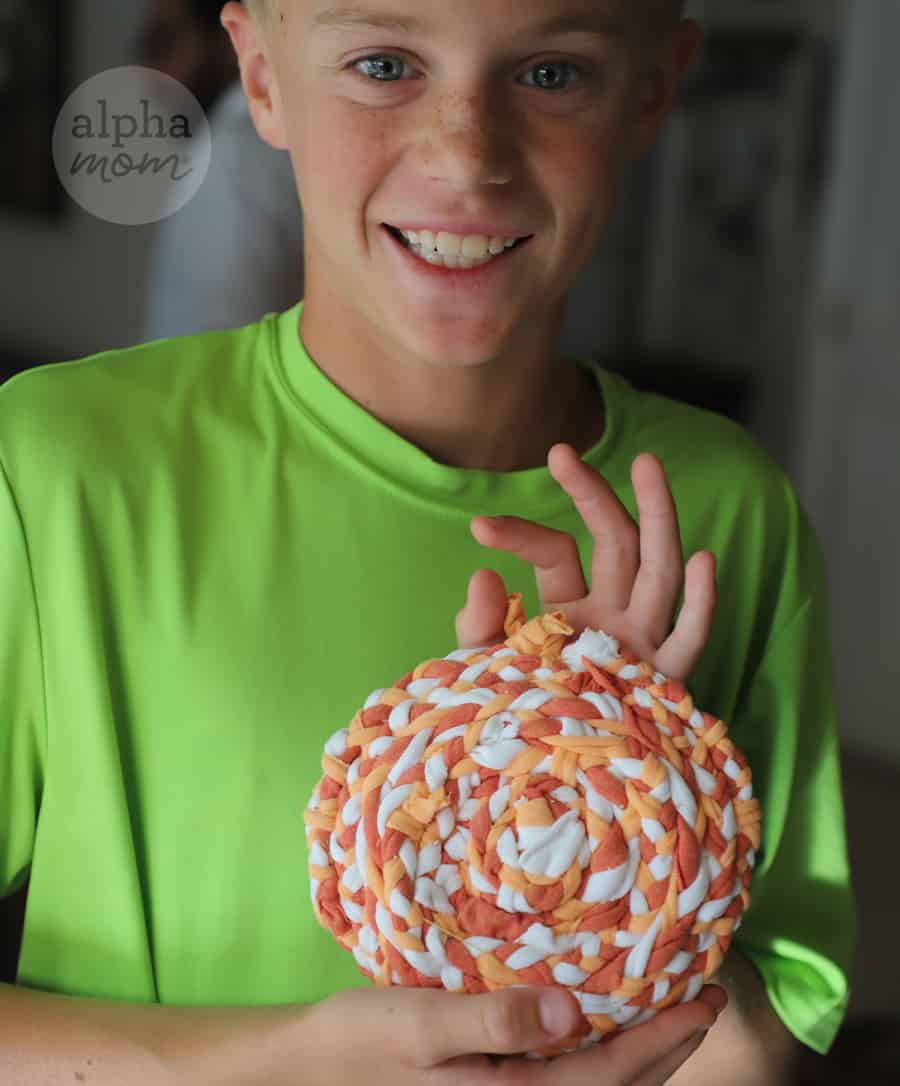
This craft takes a bit of work though, so if you aren’t committed to sewing for three hours you could just stop at one t-shirt and make a cool, yet smaller, potholder or coaster.
Supplies needed to make a Potholder from Used Tees
- 1-2 clean and washed old t-shirts (if you don’t have any, buy from a thrift store for a few dollars.)
- fabric cutting scissors (or any sharp scissors)
- thread and a needle
- thimble (optional)
How to Make a Potholder from Used T-Shirts
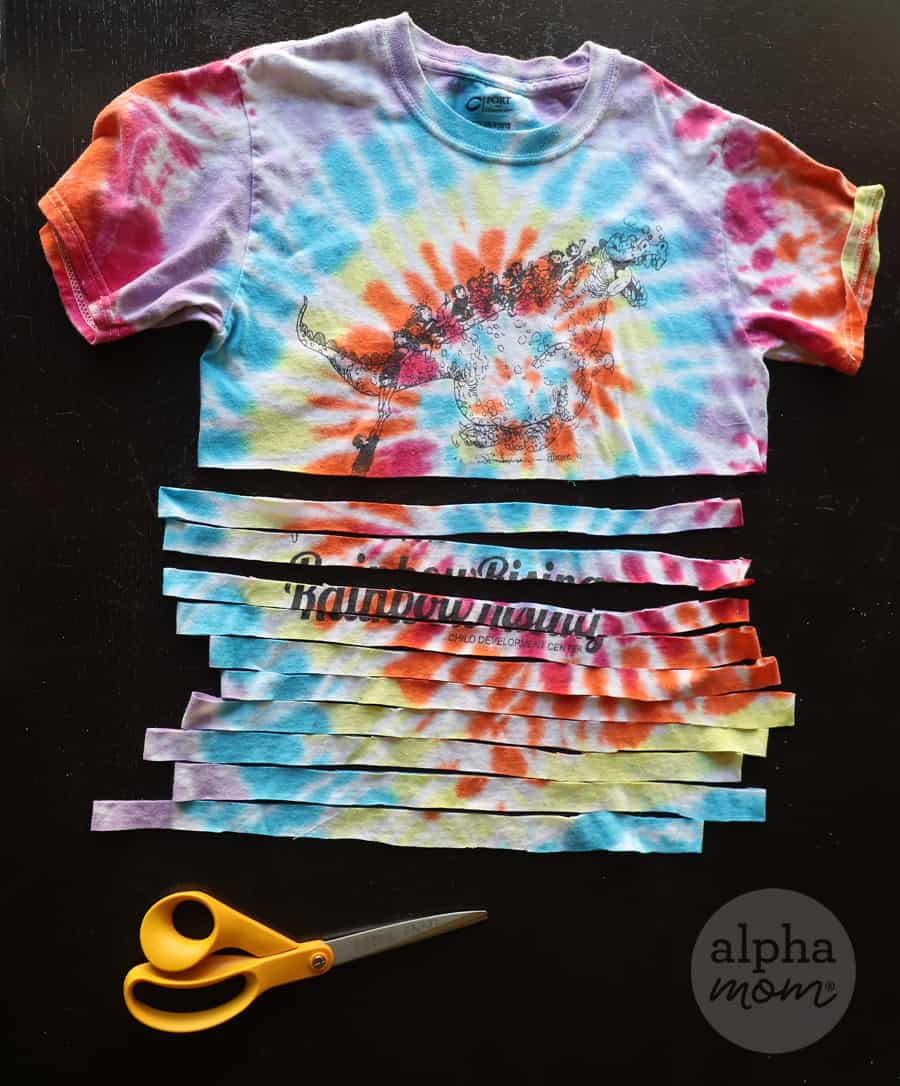
Step 1: Spread out your t-shirt on a cutting surface. Make sure to smooth out any wrinkles. Cut the t-shirt into 1-inch strips with your fabric-cutting scissors (see picture above). You can remove the sleeves and cut them into strips, too. Don’t worry too much about your strips being exact. They will stretch and twist and imperfections will be unnoticeable.
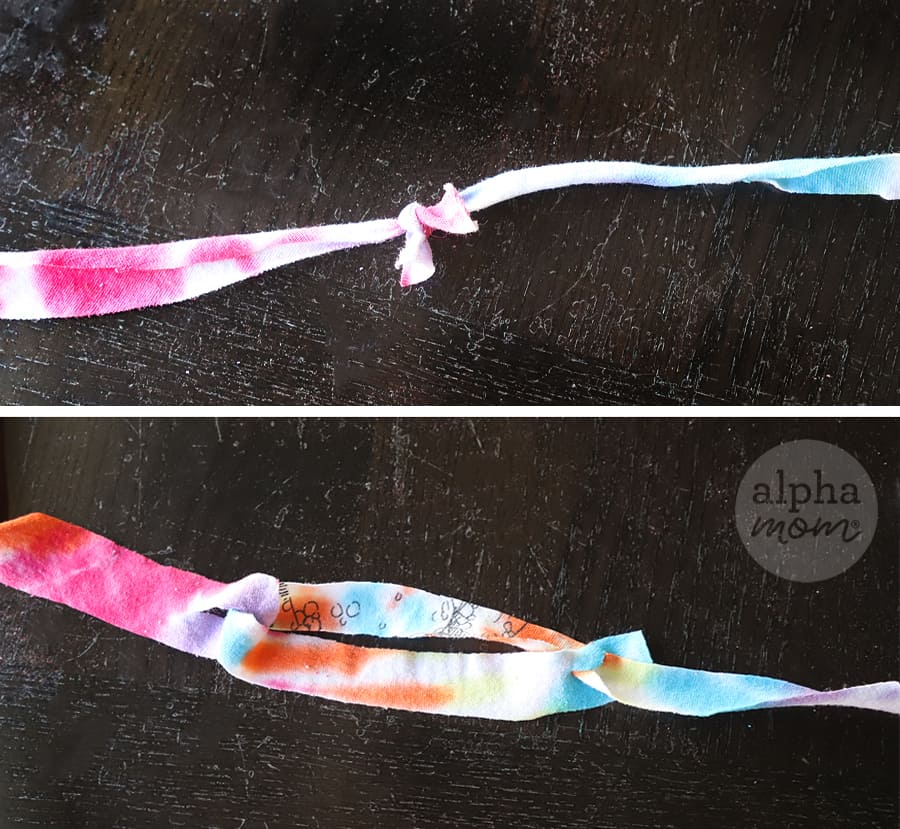
Step 2: Next, you are going to take your strips and attach them to create a rag yarn. You can tie them together with small knots OR create a slip knot by cutting a small cut in both ends and wrapping one string through the other like so:
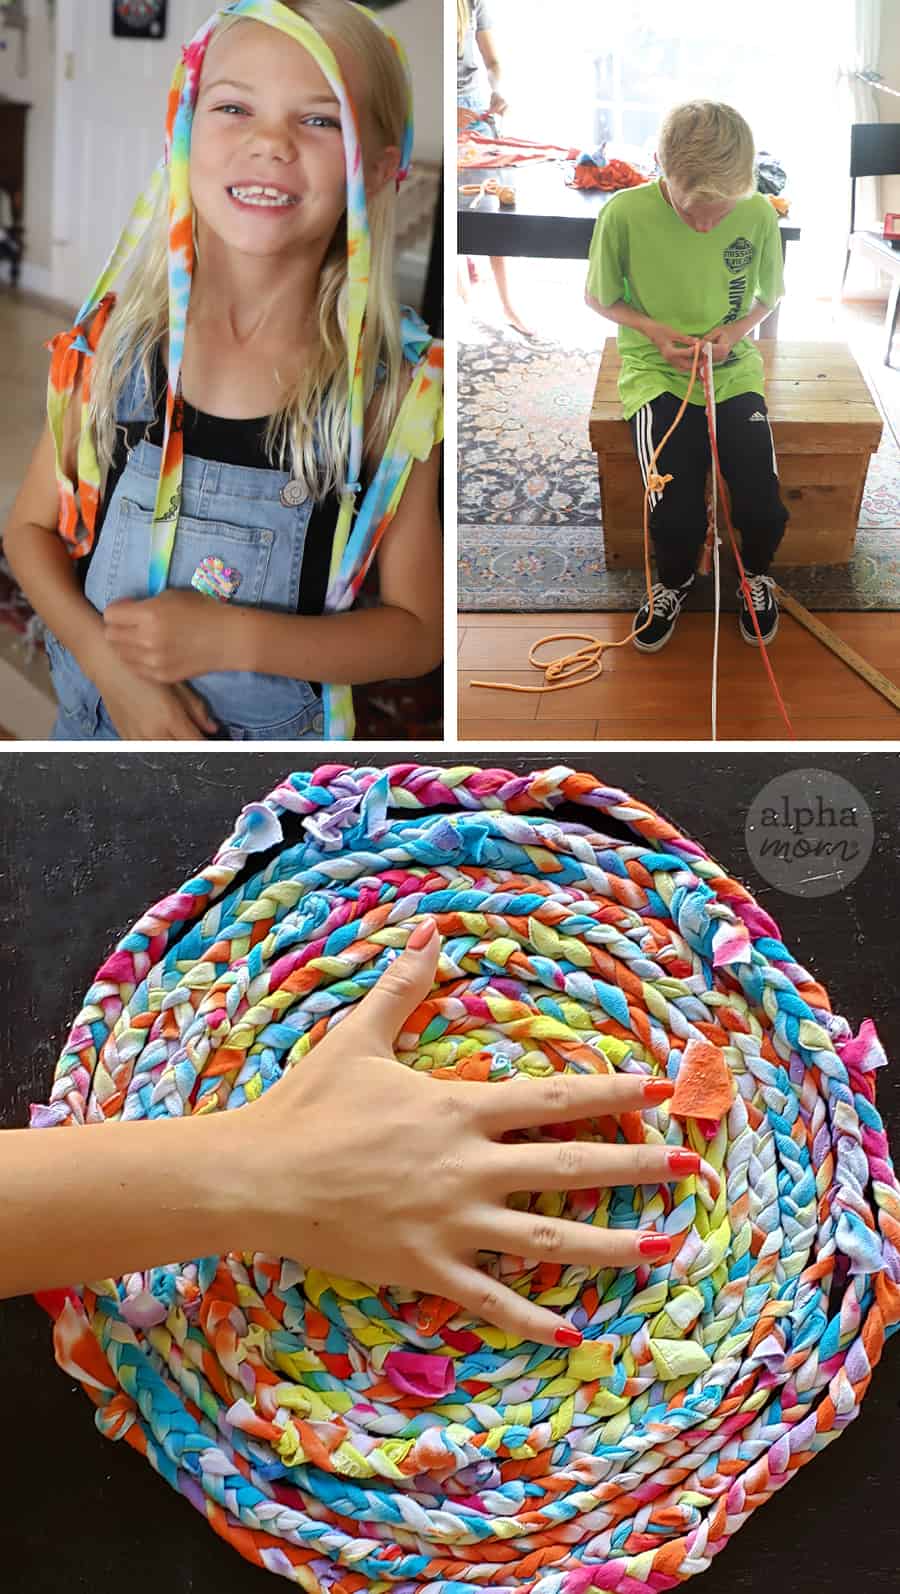
Step 3: Connect your strips to make three strands about three feet long or so. You can make them longer but we found that braiding super long strands turned into crazy tangles later. Don’t worry, you can add more as you go. We just though three feet kept the strands manageable.
Step 4: Next tie a knot in your three strands and start braiding. You can tie your strands to a doorknob or chair or pin it to a pillow to keep your braid taut and make it easier to braid.
Step 5: Once you have a long braid you can coil the braid around in a circle to see how big you want to make it. Add more cordage as needed.
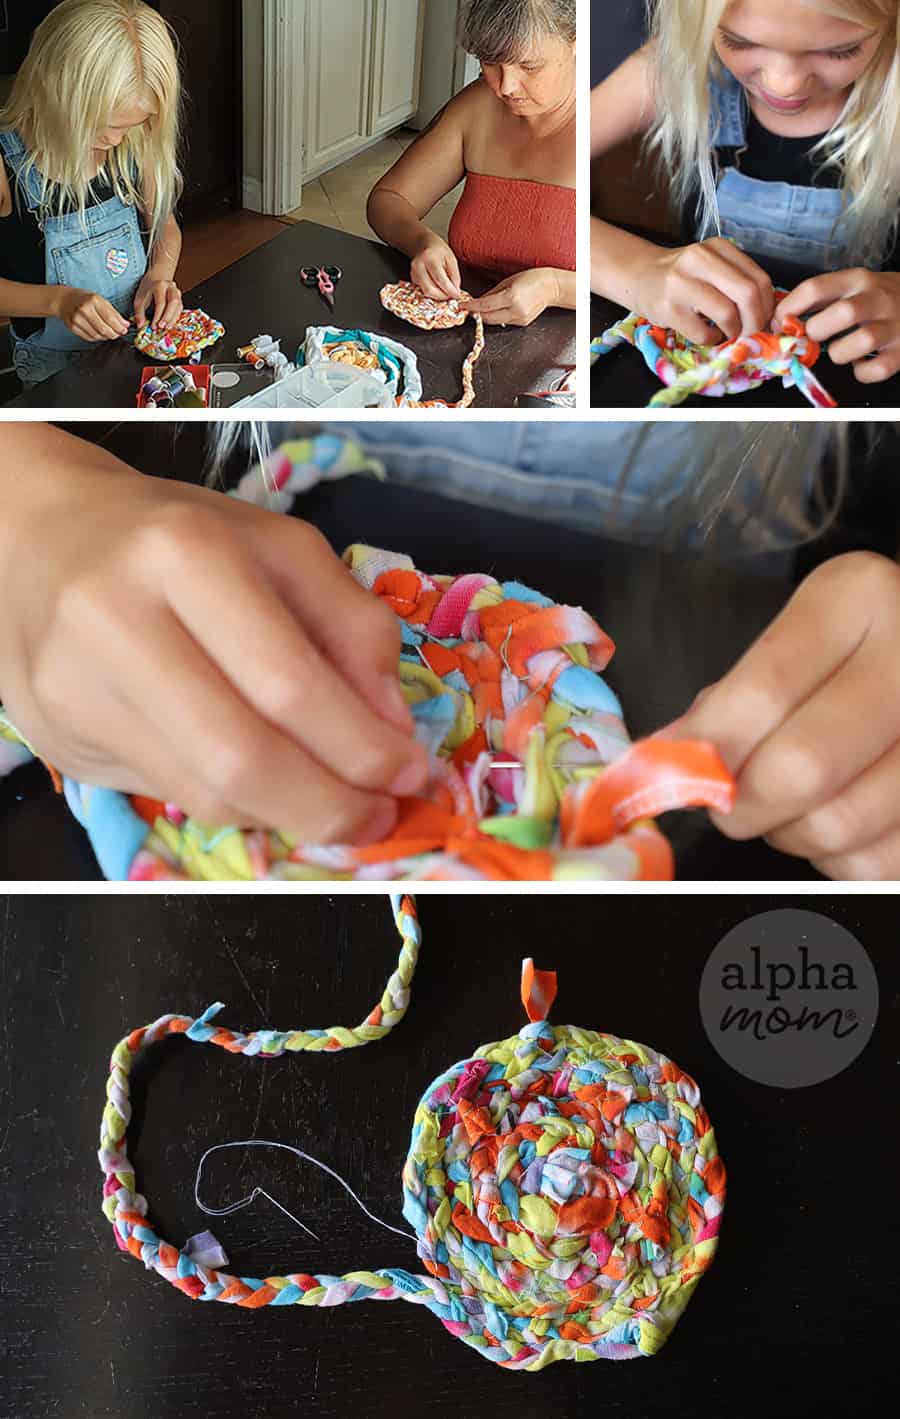
Step 6: Once you have enough braiding, it’s time to start sewing! I won’t lie, this step is not for the weak. But you’d be surprised at who takes to sewing. While my teenagers gave up after a minute or two, my seven-year-old helper kept at it for an hour! What can I say, some people really enjoy the zen of working with their hands.
Sew sew sew and before you know it (or a long time after you expect, depending on your patience level) you’ll find you’ve made a potholder (or a mini rug!).
Step 7: Tuck the loose ends in as you go with a stitch and then when you are done make sure to secure the end tightly and double knot for strength.
Then gift to your parents or hang it on the wall as a decoration!
Find more Upcycling Crafts here on Alpha Mom:
1. T-Shirt Weaving
2. T-shirt Scarf Craft for Kids!
3. Cherry Blossom Art from a Recycled Soda Bottle


