Christmas Craft: Deck the Walls!
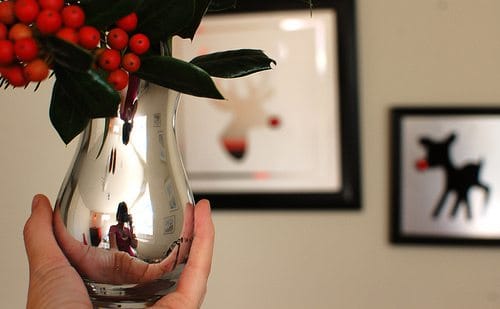
It’s funny how I get inspiration for these projects. I had been eyeballing a little silver vase for days and upon closer inspection I came to the conclusion that the shiny vase was actually just a normal glass vase that was painted silver inside. The thought of silver paint intrigued me. Where could I get my hands on such wonderful stuff? I did a little research and found out that true silver chrome paint costs a small fortune and is pretty much reserved for auto body shops and factories in China. I figured out the next best thing was mirror-like spray paint and that is how this project began.
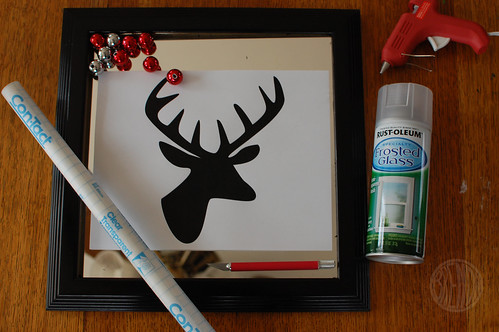
First I started with a few thrift-store frames. I love thrift-store frames. These are actually nicer frames but usually I find some pretty ugly ones and magically turn them fabulous with just a coat of spray paint. It’s so easy! I bought one mirror and two regular picture frames with glass inside.
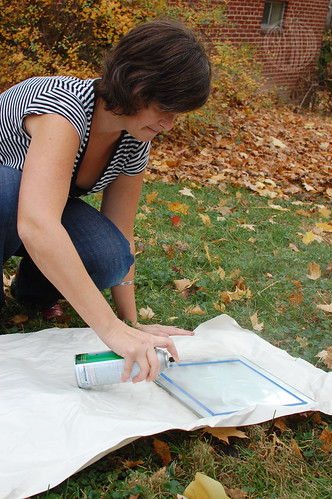
Then I painted the frames black with a quick coat of black lacquer spray paint (to be done by adults only and preferably outside or in an very well-ventilated area– craft responsibly). The great thing about painting glass and mirrors is that you don’t really have to tape them off. The overspray paint will come off the glass with a baby wipe, a scraper tool and some elbow grease.
I won’t lie; it did take me a little while to scrape all the paint off. It’s kind of a toss-up whether it’s easier to scrape the paint off or just tape it off with painter’s tape before you start. Maybe a combination of both is good. Either way it’s not that big of a deal. Nothing to lose motivation over.
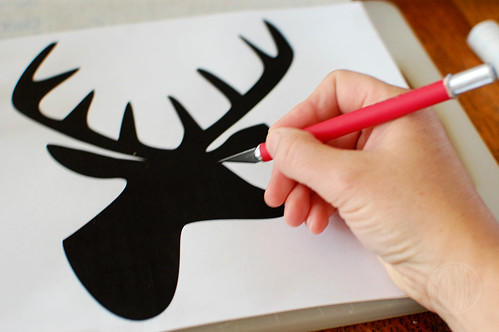
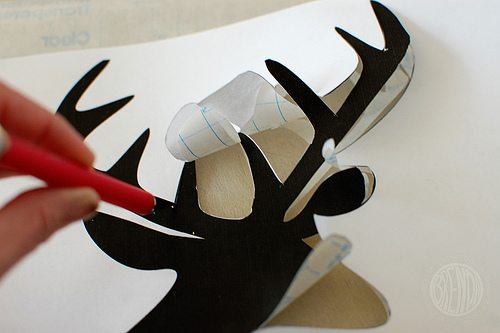
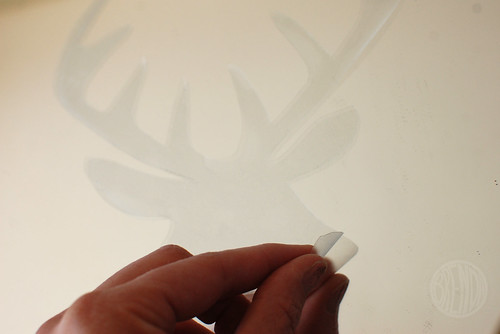
For the mirror I decided to use frosted glass spray paint for that etched look. I printed out a deer with antlers shape and then cut out the shape from a sheet of contact paper.
Next I carefully positioned my sticky contact paper deer in the center of my mirror. The good thing about contact paper is that it’s easy to peel up and reposition if you get it a little crooked. Wherever you put it just make sure you press it down really good because that will ensure a sharper line when you paint.
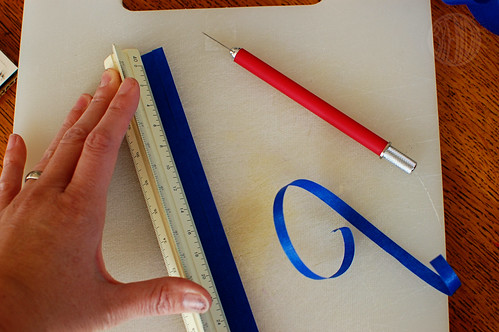
I also cut up a strip of painter’s tape (masking tape will work just fine too) into four strips using a ruler and a utility knife so I could create a thin frame around my deer.
Then following the directions on the spray paint can I painted two even coats over the mirror and let it dry.
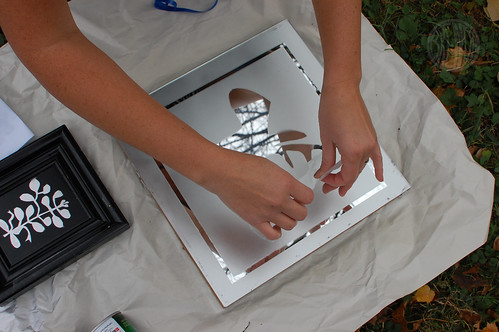
After the frosted spray paint was dry I peeled up the tape and contact paper carefully.
Then for that Rudolph nose I added a shiny red ball that I cut off some beaded garland. I think a small shiny red ornament would work here too.
Voila! Rudolph art!
For the Bambi-esque Rudolph I cut out a little deer shape from my contact paper and used silver chrome spray paint instead of frosted glass spray. Then when I peeled off the contact paper I put a piece of black construction paper behind the glass so that the little deer would show up as a black silhouette against the silver paint.
The mistletoe picture was quite a bit harder. I painted the glass black and then used the reverse shape of mistletoe to create a mask with contact paper. It was a bit of a bear to cut all those leaves out but if anyone is interested in making this you can download my template, though I imagine if you are good enough at cutting little leaves out you are probably capable of painting your own silver leaves freehand. I sort of wished I had skipped the contact paper cutting on this one myself. But it did turn out really pretty in the end.
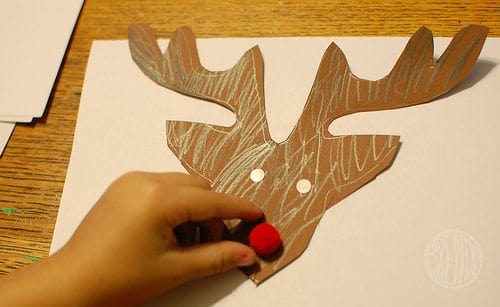
Since the silver painting was not a very kid-friendly craft I decided to do a regular construction paper version just for the kids. This is super easy. You just need some brown construction paper and some small red fuzzy balls found all over craft stores this time of year.
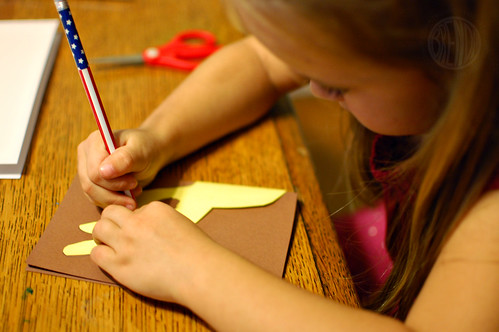
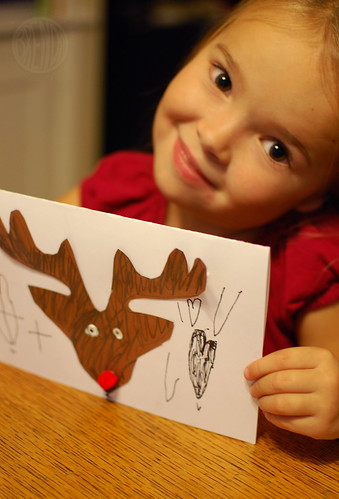
Depending on your child’s level of coordination they can trace this shape (scroll to the bottom) onto construction paper and if they’re handy with scissors they can cut it out too. My daughter still needs help with scissors but she has no trouble decorating as you can see.
Then we glued on fuzzy red noses and made them into cards to send to relatives!


