Hanukkah Craft: Tiny Little Neighborhood
Make Your Own Happy Little Hanukkah Village!
By Brenda Ponnay
I should start this post by saying that I am not Jewish nor is this little Hanukkah craft idea kosher. It’s just something I came up with that I thought would be fun. I don’t mean to be disrespectful to the holiday (which in 2021 begins the evening of November 28th and ends the evening of December 6th) or to those who celebrate it. But I do hope you enjoy this post. Take it for what it is: just something fun to do with your kids. Shalom!
Ever since I spied my first paper Christmas village, I’ve been itching to create my own. I wanted to make something really small though, because we don’t have a fireplace mantel that I can spread a miniature village out all over.
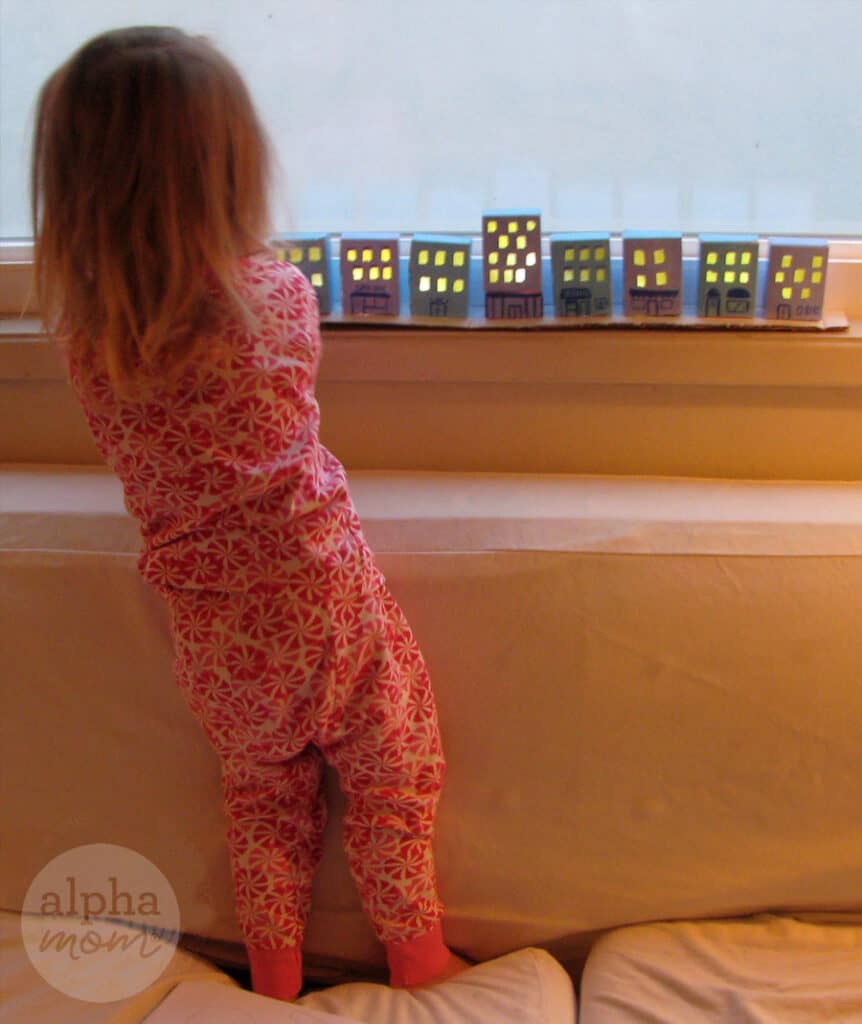
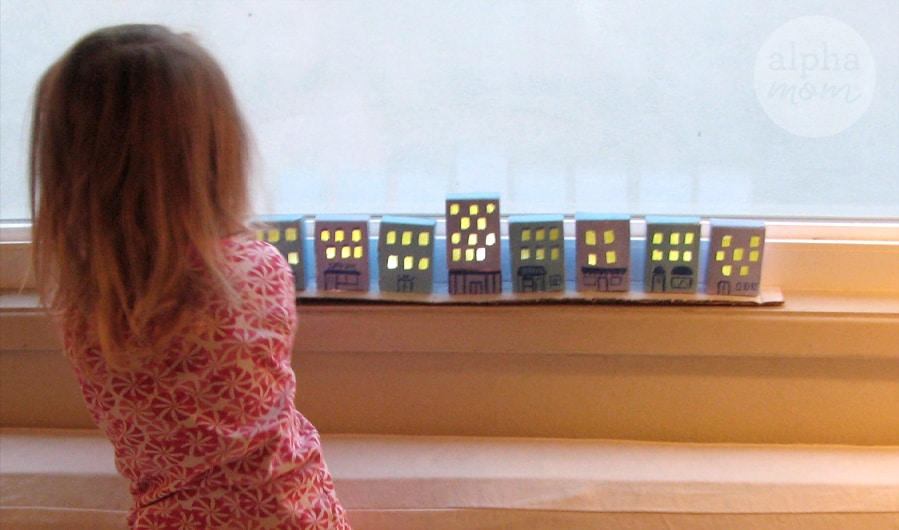
I thought about making one for the coffee table in our living room but that area is often used for three-year-old break dancing sessions, so that idea was out. Then I spied our narrow window sill—the perfect spot for a very narrow village! It would be showcased by the weather outside and at night it would light up the window so cheerily!
When Isabel asked me if I could come up with something crafty for Hanukkah, I was sort of stumped. I really wanted to do my little paper village but it wasn’t about Hanukkah at all…or was it? I realized my village idea would work perfectly for a little Jewish neighborhood.
Why not? I have so many fond memories of staying in the Marais District in Paris and all the buildings there were very narrow, just like raisin boxes! And that was when the idea of a raisin-box village was born!
Supplies to make your Little Hanukkah Village
All you need are ten raisin boxes, some paint (water-based children’s paint is safest), tissue paper, a long narrow piece of cardboard and these really nifty little battery operated light bulbs. I know that last item is probably not something you have on hand but I found them at a party store in a pack of twelve.
They were in the wedding supply aisle next to the disposable cameras and paper cups, but that’s just my party store. If you can’t find them I’m sure you could use one of those mini-strings of Christmas lights. I liked the individual light bulbs though, because they worked with my Hanukkah story, which I will get to later.
How to make your Little Hanukkah Village
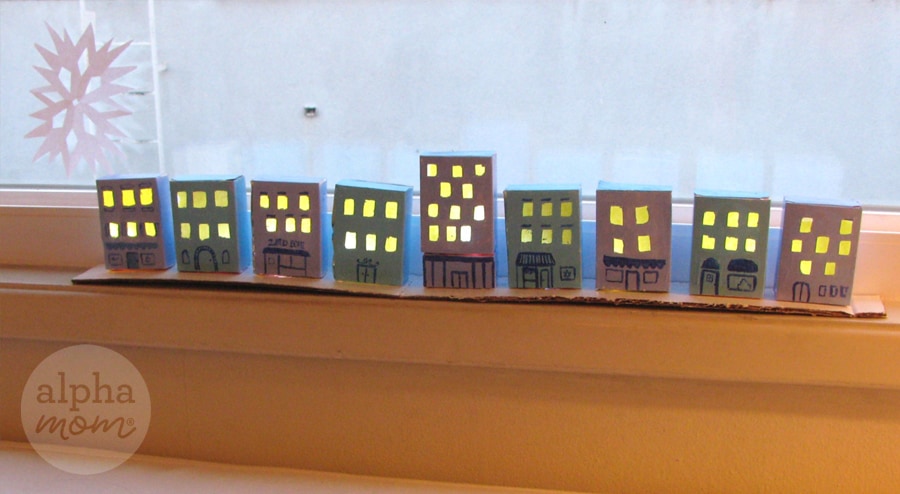
After I arranged my boxes so that there were eight small buildings and one tall building in the middle, making nine total, I set about cutting the windows with a very sharp X-Acto(TM) knife (for use by a responsible adult only).
To create that taller box I cut off about a quarter of a spare raisin box off and just glued the “add-on” to the bottom of the ninth box with a glue gun (again, for adult-use only) to make it taller. Nothing fancy.
At first I cut the windows from the boxes as they were. But I wasn’t happy with how imperfect the squares were as I punched through the empty box with my knife. To remedy that, I carefully disassembled each box by cutting along the seam on the side that was glued.
After the boxes were opened flat, I did a much better job cutting out my windows on my self-healing cutting mat (a cutting board will work too).
It was tough going on some of the boxes, I’ll admit. This craft might be best suited to kids who have the patience for making model airplanes, or maybe this would be a fun project for those architect dads and moms to supervise. Of course you don’t really have to cut out the windows but I think the light showing through is the best part so I say, tough it out and cut those windows out.
After all the windows were cut, I glued the boxes back together with a glue gun.
Then I painted them with regular acrylic paint (water-based children’s paint is the safest choice). They needed two coats to cover the bright raisin box printing. For the first coat I used white as a primer and for the second I alternated between two shades of pastel blue, to fit my wintry scene.
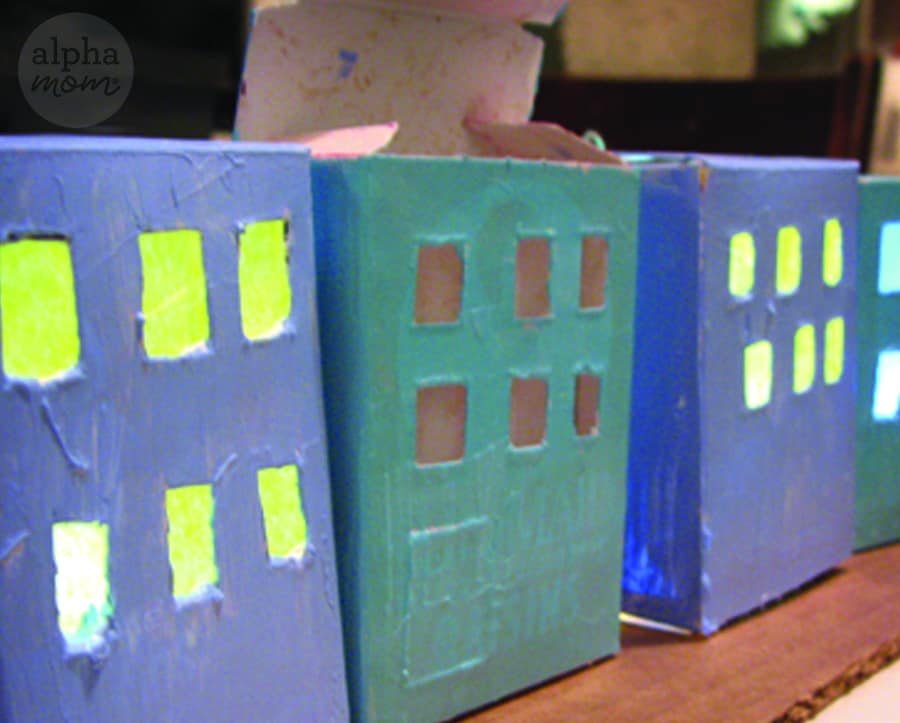
When the paint was dry I added small pieces of yellow tissue paper to the inside of each box with a tiny smudge of glue to hold them in place.
The next part I botched up pretty bad I deliberately did the wrong way just to give you an example of how not to do it. I assembled all the buildings in a line on my piece of cardboard first, and then painted the detail in later. I don’t recommend doing it this way. I think it would be much easier to paint each building, detail and all, separately.
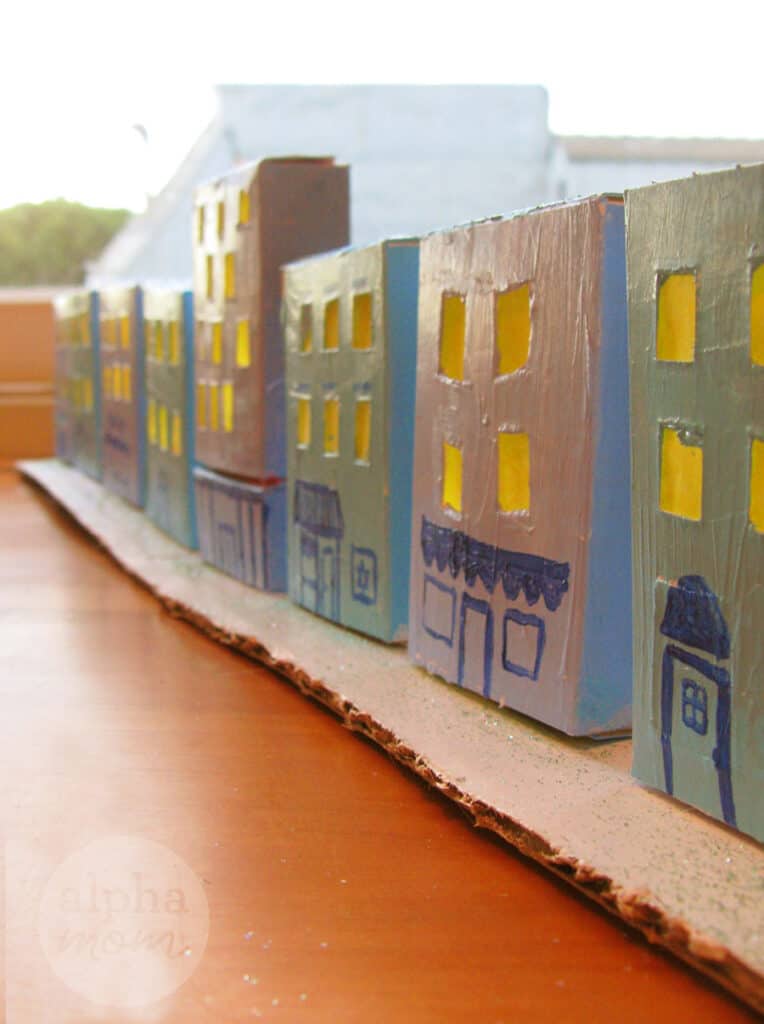
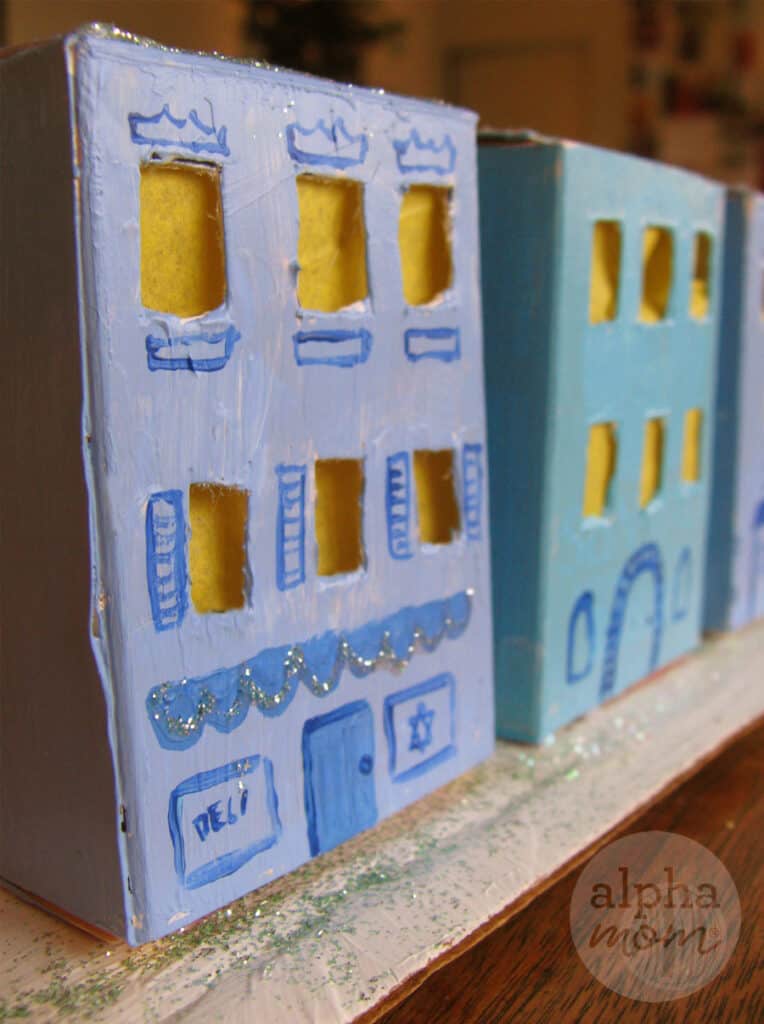
Then when they are dry, assemble them in a line. However you do it doesn’t really matter. You might not even want to add details like windows in a deli or address numbers or awnings and shutters. Part of me wishes that I had left my little village plain so it looked more like Gotham City from a distance. But the charm of a little Jewish neighborhood is fun too.
You’ll have to forgive my details as most of them I came up with by doing a quick internet image search for “Jewish Neighborhoods.” It would really cool if my street resembled an actual avenue in New York City or boulevard in Paris but it’s more by way of my imagination. (If you can do a better job please send me your photos or link them here. That would really make my day!)
Of course no tiny holiday village is complete without glitter so we added glitter. My toddler assistant was quite helpful for this portion of the project. She let it snow and snow and snow. Some cotton balls would work well here too.
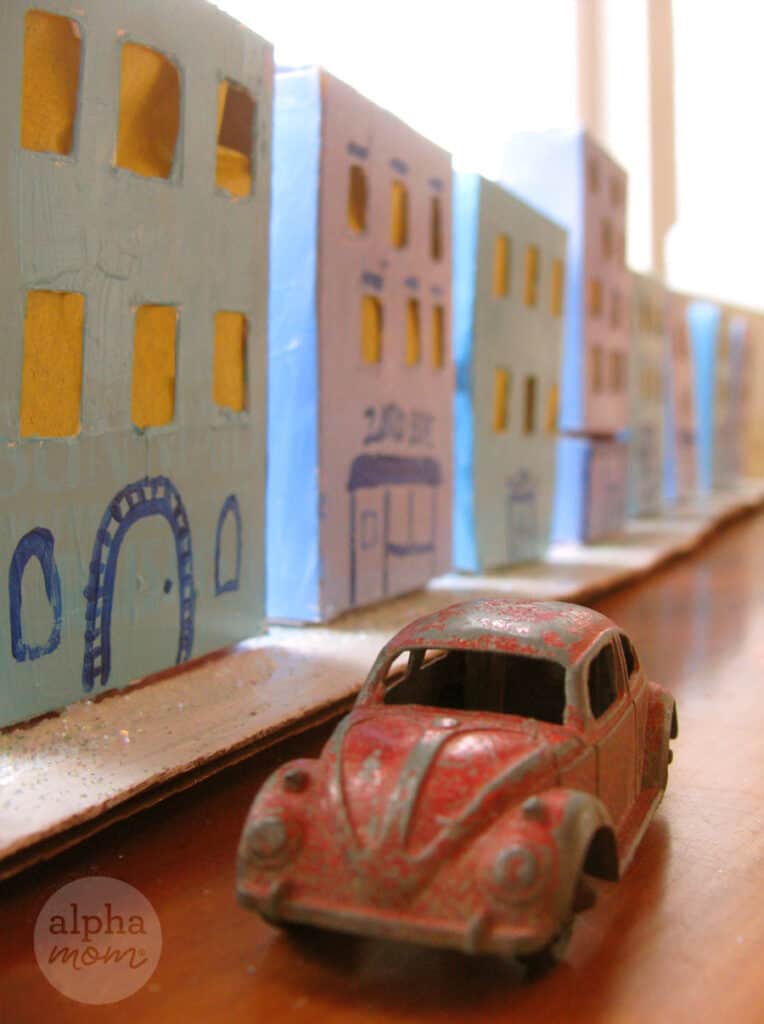
Then we added props and took pictures.
You’ve probably noticed by now that the number of buildings in this little village is intentional. It’s sort of my modernistic nod to the hanukiyot, a hanukkah menorah. The one tall building is the Shamash, the helper candle. The eight smaller buildings are the candles that are lit on the eight days of Hanukkah to represent the miracle of one day’s worth of oil lasting for eight days.
As I added the electric bulbs and thought about the miracle of Hanukkah, it reminded me of one time when I was a kid and my mom forgot to pay the electric bill. We got the blue notice and the green notice and then the pink notice and we knew the lights would go out. But they didn’t. They stayed on. It was sort of a miracle. I don’t remember how many days the lights stayed on before my mom ended up paying the bill but it might have been eight.
Maybe the little people in this village didn’t pay their electricity bill either and their lights stayed on. Or maybe it’s just a little village to make your windowsill cheery. Or you can use it when you’re playing Godzilla…
Either way I hope you have as much fun making this as I did!
Find More Hanukkah Ideas on Alpha Mom:


