Father’s Day Craft: Shirt and Tie Origami Card
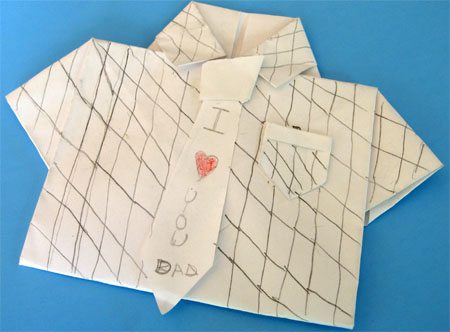
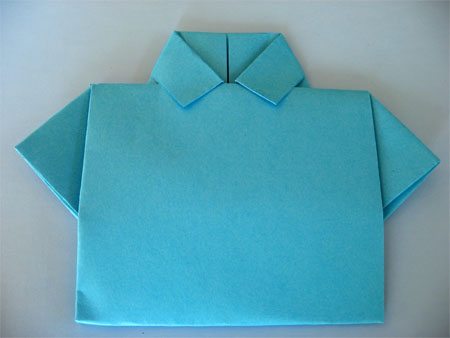
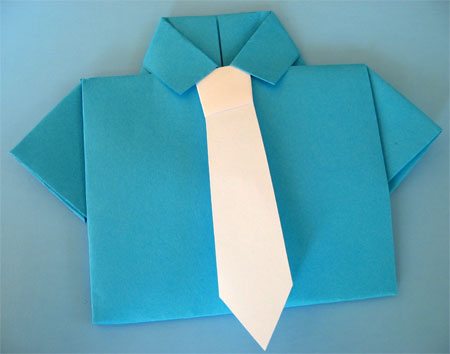
My son brought this darling card home from school for Father’s Day a few years ago.
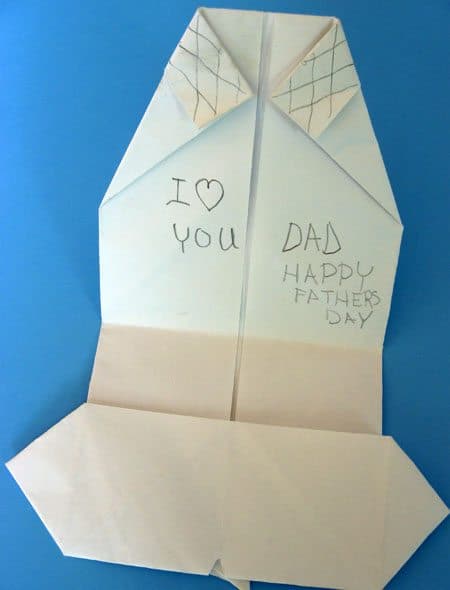
You open it up and there is plenty of room to write dad a sweet note.
How to make this card:
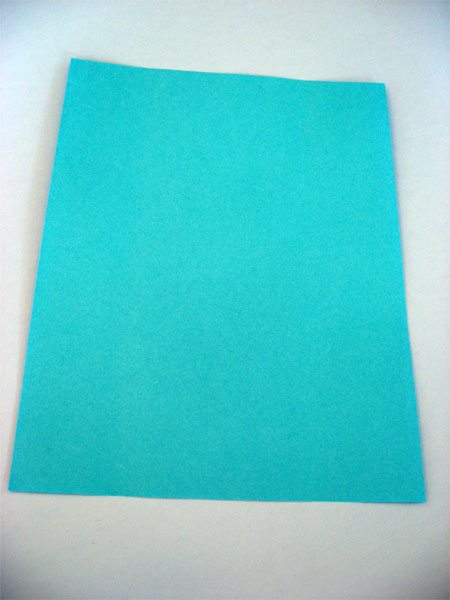
This card was actually really quick and simple to make. All you need is an 8 1/2″ X 11″ sheet of typing paper for the shirt and a scrap of paper for the tie.
Fold each side in to the middle.
Open up the page and fold in the bottom corners.
Again fold sides to the middle.
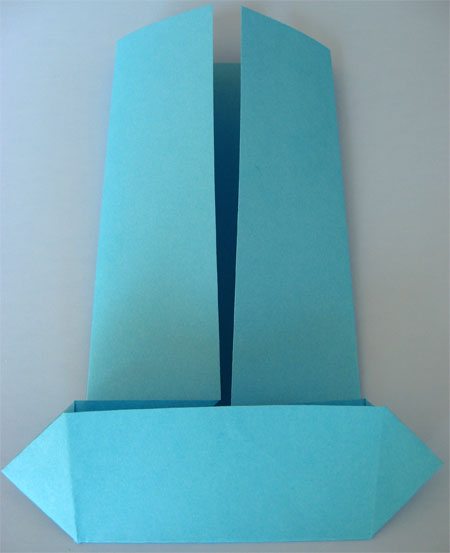
Fold bottom up (at the top of where the bottom corners were folded in). Slightly open back up the bottom fold. Fold area above the fold at an angle and push straight edge of first bottom corner folds out to form a point (it will be the shirt sleeve).
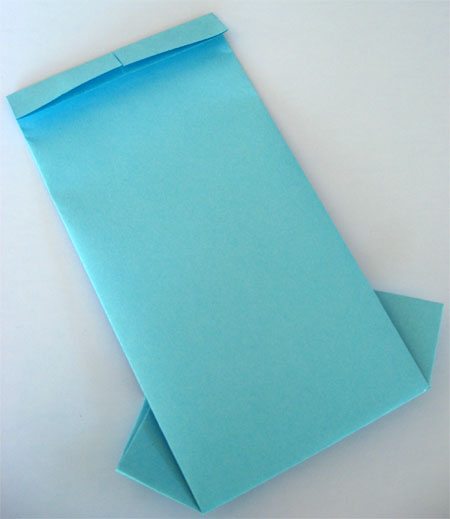
It should look like this when finished.
Turn paper over and fold down the top edge about 1/2″
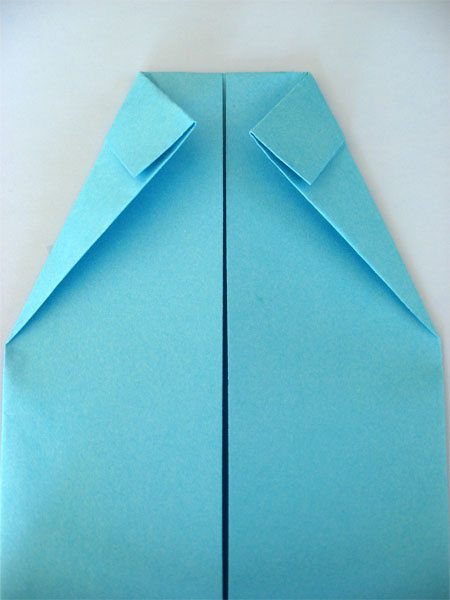
Turn card back over and fold each top corner to the center.
Bring bottom of paper up to the top.
Tuck the bottom edge under the collar of the shirt and then crease the bottom.
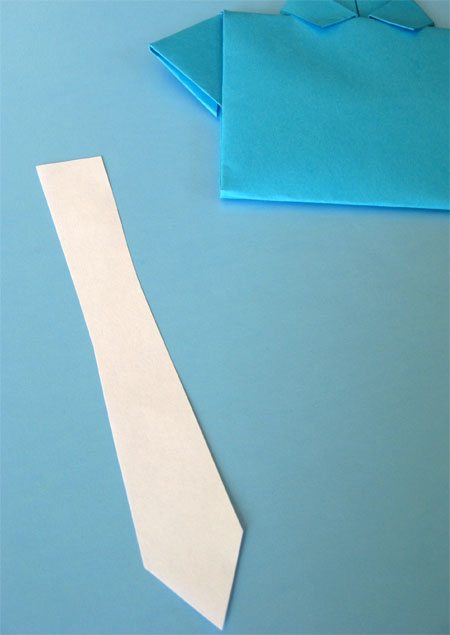
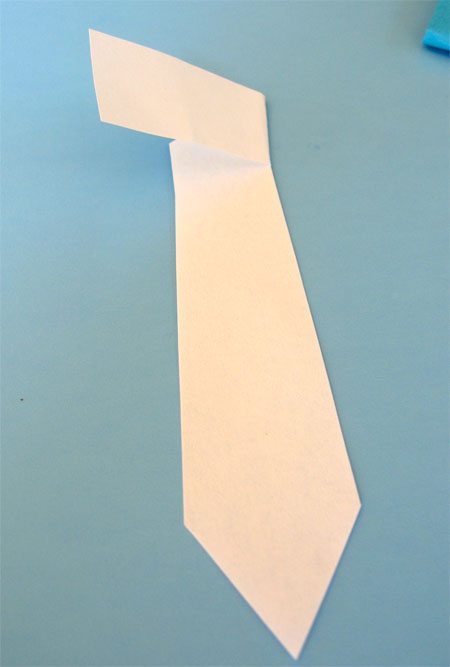
Now for the tie. Cut a tie shape about 5 3/4″ long by 3/4″ wide and the top to 1″ wide at the bottom.
Fold top behind at an angle about 2 ” from the top.
Bring the top edge over the top and across the tie.
Now tuck the end behind the tie.
Glue the tie to the front of the card under the collar.
Decorate and you have an awesome card to let dad know how special he is!


