Father’s Day Car Photo Cube
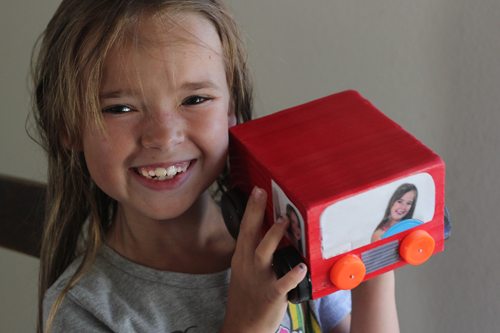
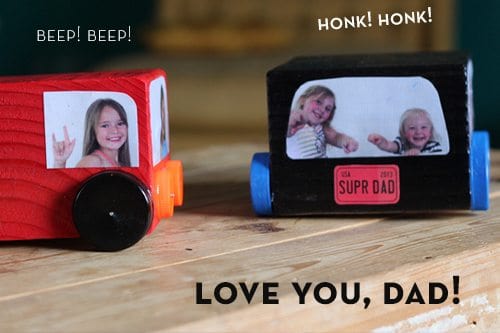
You know what I think Dad needs for Father’s Day this year? He needs some more tchotchkes for his dresser. He needs a whole traffic jam of photo cubes that the kids made just scootin’ around his desk to remind him who’s number one on Father’s Day. Here’s how you can make a car photo cube just for Dad.
First, you’ll need your supplies:
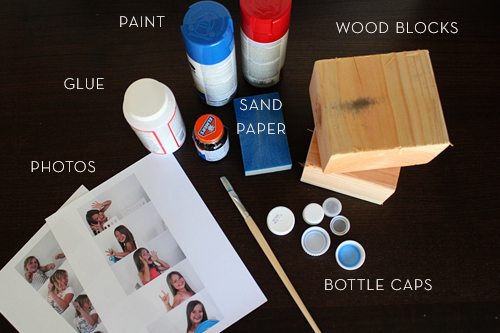
Car Photo Cube Supplies
1. wood blocks – maybe you have some on hand from a home project or you can buy an 8 foot long 6×4 at your local hardware store and ask them to cut it down for you into five inch blocks. Too many blocks for you? Save them for your teachers’ or holiday gifts!
2. paint in Dad’s favorite color and black for the wheels – we used spray paint* but you can use any type of paint you feel comfortable with.
3. four large bottle caps and two small bottle caps
4. sand paper
5. rubber cement for photos
6. mod podge or white glue
7. a paint brush (for glue or paint or both)
8. photos that can be trimmed down to 2 inches x 4 inches
9. a hammer (not pictured)
10. six small nails (not pictured)
11. Our handy dandy specially-made printable for license plates and other extras (also not pictured) for this Father’s Day Car Photo Cube. Click here to download and print.
How to Make Car Photo Cube:
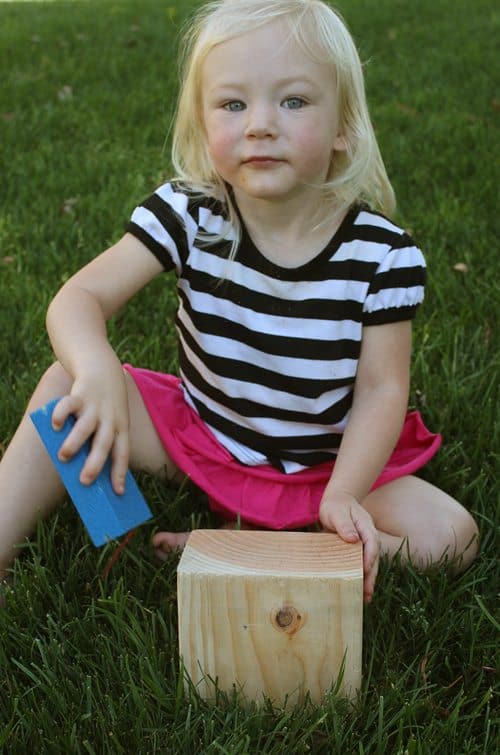
First you’ll need to sand your wood block. This is an easy step and great for kids of all ages. Just sand down the rough edges and the corners so they are nice and smooth. You might want to give your bottle caps a swipe or two also with the sand paper so your paint sticks to the plastic.
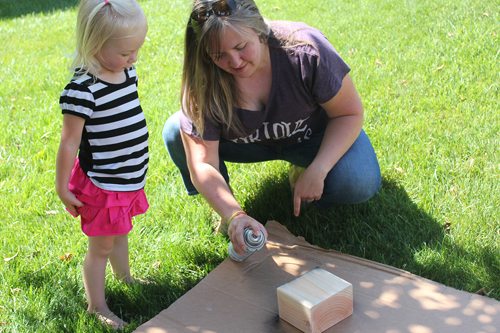
Next you’ll paint your block. We used spray paint because it goes on quickly and dries quickly. But you can paint your block with any paint you feel comfortable with. Just make sure to paint outside or in a well-ventilated area and follow paint directions on technique and drying times.
Paint all four sides of your wooden block and the top. You don’t need to paint the bottom unless you’re feeling extra productive. Feel free to get creative with your paint too. You can pimp out Dad’s car with flames, pin stripes or even ombre color blends if you’re feeling the vibe.
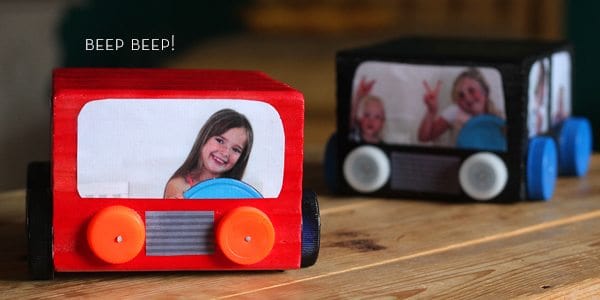
While you’ve got the paint out you can also paint your large bottle caps black so they look like wheels. We painted some of our smaller bottle caps orange but that is up to you.
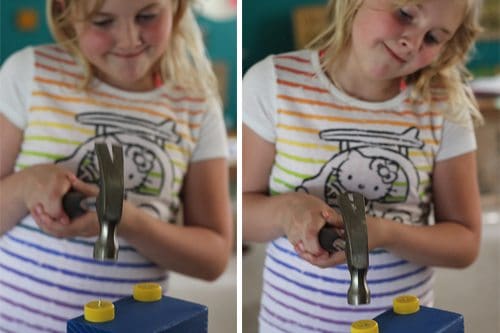
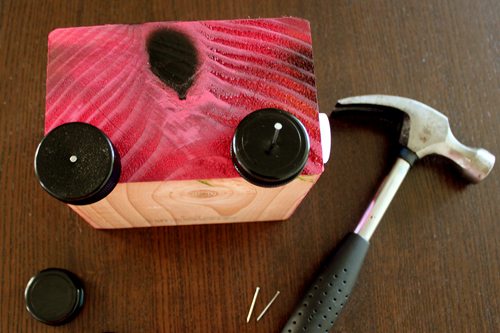
Once your paint is has dried, you can now add wheels to your Car Photo Cube. Make sure you have a responsible adult on hand to get nails started through the plastic lids. They can be a bit tricky sometimes, especially if you need to hammer into a knot in the wood. Once the plastic lid is started, position the wheels just on the edge (at least a quarter inch away from the edge) of your wood block and hammer them down. If your nails are long enough, your wheels might still spin a little but it’s not necessary. The wheels on the car photo cube are mostly just for looks. Do the same with your smaller bottle caps which are for creating “headlights” on your Car Photo Cube.
Now it’s time to adhere photos and other extras like license plates, radiator grills and flames from our free printable, if you like.
You can select and use photos you have on hand or set up some chairs against a white wall and have your kids pose against it as a background, simulating that they are driving in the car. We used a pot lid for a pretend steering wheel in our photos, but a hula hoop would work well too. It’s fun to have different poses for all sides of the car but you can pretty much put whatever you like in those photo areas. If you have a big family, have everyone pose like they are smashed inside, like a clown car.
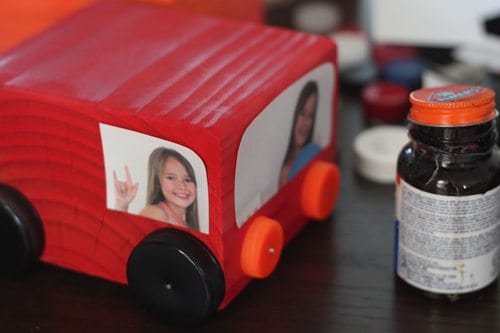
Cut your photos down to 4 inches wide and two inches high and round the edges to mimic real car windows. (Use our printable template to get your photos the right size if you need some help.)
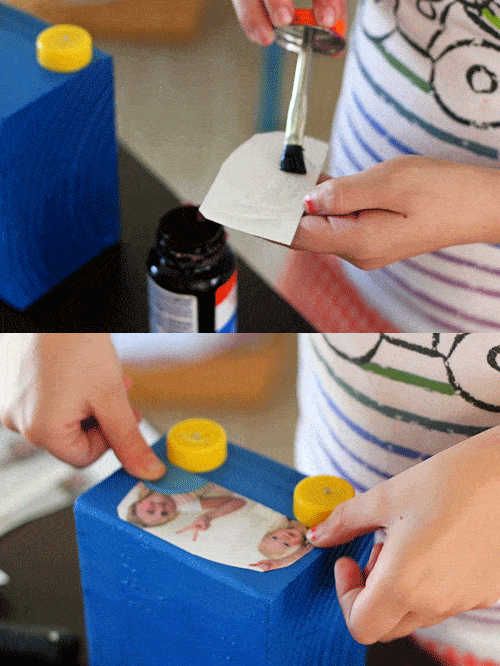
Dab on a bit of glue on the back of your photos then stick them along the top of your block so they look like windows. You can cut your side photos in half so they look like the front seat and back. Or, just the front seat if you only have one child. Apply the extras, that come in the printable, the same way.
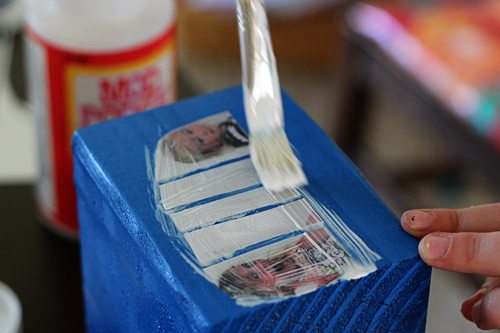
Next, paint a generous layer of Mod Podge (or white glue that dries clear) over your photos and the entire car to seal it and make it look shiny. If some Mod Podge gets on the wheels that’s okay. It dries clear and peels off pretty easily too.
Let the Car Photo Cube dry and wrap with some cool wrapping paper for Father’s Day.
Then, when Father’s Day gets here just add some Happy Father’s Day sound effects and Dad will be pleased as punch!
Beep! Beep!
Difficulty Level: Easy
Appropriate Age levels: Any age for sanding. Older children can use paint and glue and even a hammer but please make sure a responsible adult is on hand to help at all times.
*Always paint in a well-ventilated area and follow paint manufacturer directions.
***********


