4th of July Craft: Tie Dye Tees
Family Tie-Dyed Tees
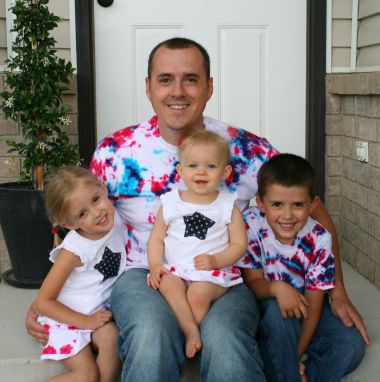
We’ve got our patriotic outfits ready for the 4th of July, do you? If not, here’s something fun to make for the whole family, Tie Dyed Tees. Special thanks to Jacquard Tie Dye products and Hanes.com for sponsoring some of the supplies.

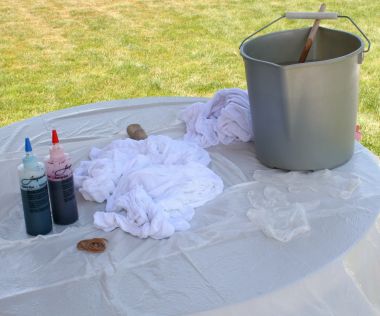
Supplies for Tie Dye T-Shirts :
* tie dye kit – comes with bottles, dye, solution, rubber bands and gloves
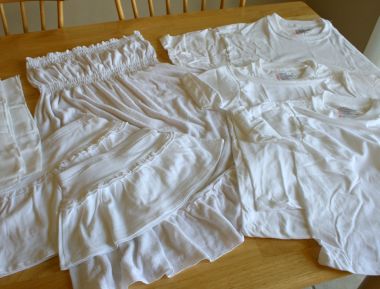
* white clothing
* plastic bucket
* plastic covering
* water
* paper towels
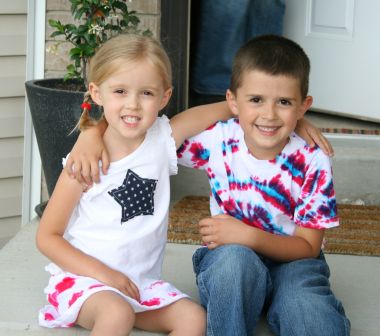
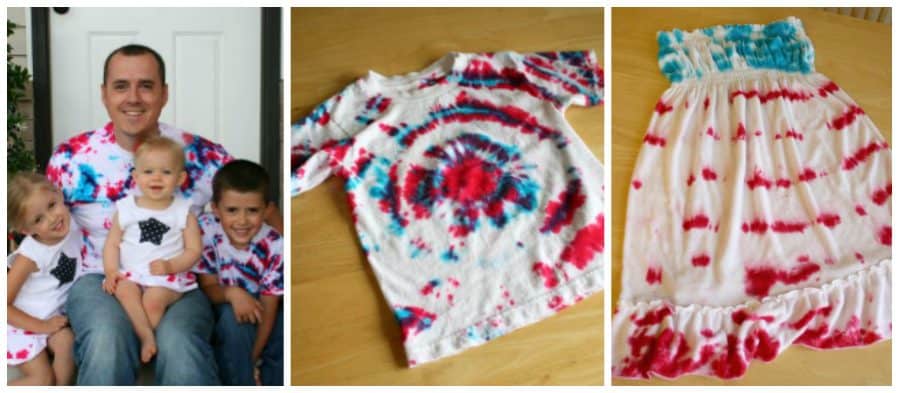
What will you Tie Dye: First, you’ll need to pick out the garments you want to dye. I chose a shirt for my son and husband and 2 twin skirts for my girls.
And a swimsuit cover for me (although you won’t see me modeling this one, sorry!)
Basic directions:
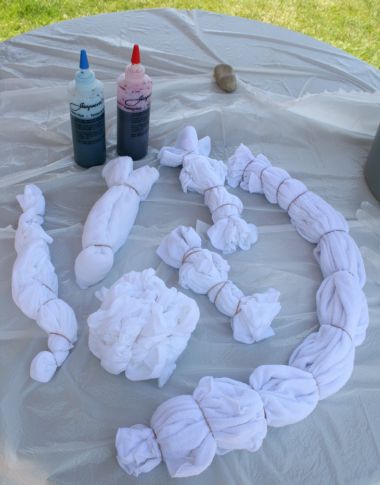
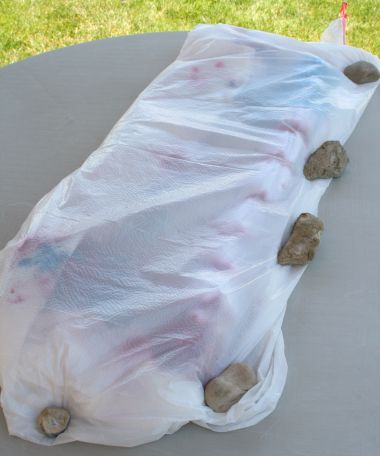
The best thing to remember about tie dying is being prepared. Have all your things ready to go before you begin, because you don’t want to get that dye on anything else but what you’re tie dying. The directions from Jacquard are pretty easy to follow from the kit. We did this outside on our patio table, covered in plastic, and held tight by rocks!!
To get your desired look, there’s different ways to fold, twist, and bunch up your clothes.
* For my girl’s skirts, I was going for red stripes like an American flag, so I folded them like an accordion and placed the dye across each fold. I already have tops with stars, so I wanted the bottoms to be the stripes.
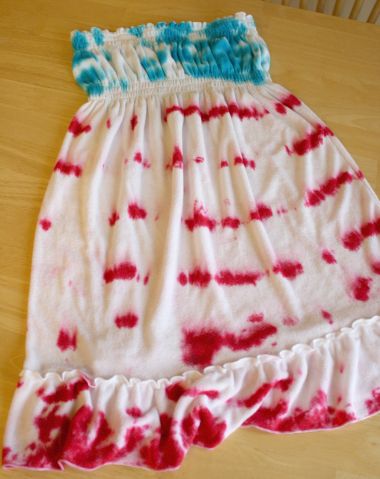
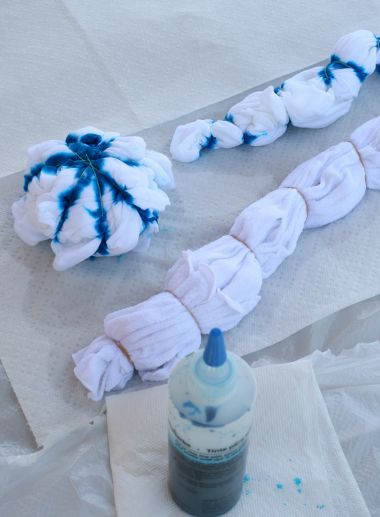
* For my cover up, I did blue on top for the “stars” area of a flag and red stripes on the bottom, accordion style like the skirts.
* For my husband’s shirt, we went crazy and just mushed it altogether. I wrapped the bands everywhere to make a big ball.
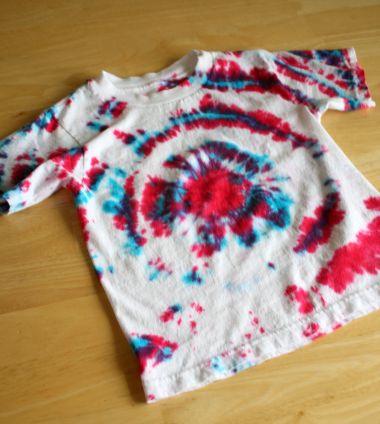
* And for my son, he really wanted his shirt to be swirly. So I pulled the shirt from the belly and started to twist. Then we wrapped rubber bands around it, about 6 down.
My Son’s Swirl look!
Applying the dye: Once you’re ready for the dye, make sure you’re gloves are on so the tips of your fingers don’t go purple! Also, this is DYE and will color anything it touches, so make sure you have paper towels on hand just in case.
Now I applied the dye to all the rubber banded areas. I used only blue and red colors. I applied the blue first, making sure to get in the creases, then rinsed off my gloves to get ready to apply the red. Some spots started to mix and turn purple, but I still think I got my desired look.
Letting it set: When all of your desired dye is applied, cover up the area with another plastic piece. It now needs to set for 24 hours, letting the dye do it’s magic.
Rinse, wash, and wear: My son could hardly wait the 24 hours that this dye needed to set. Right at 1:00 the next day, he came to me saying it was time! I rinsed each item under water until it rinsed clear. Then popped them into the washer for a good cleaning. We dried them and they were ready to wear!
Our family is set and ready for the day’s festivities this 4th of July. We’ll be showing off our patriotic colors at the parade, bright and early Saturday morning!


