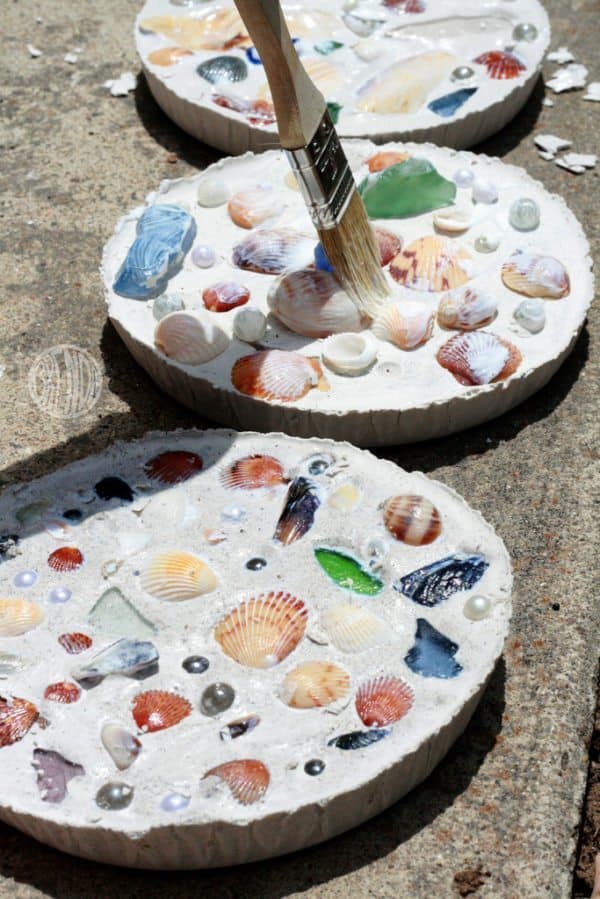
Sea Shell Mosaics
Remember summer forever with this fun seashell craft!
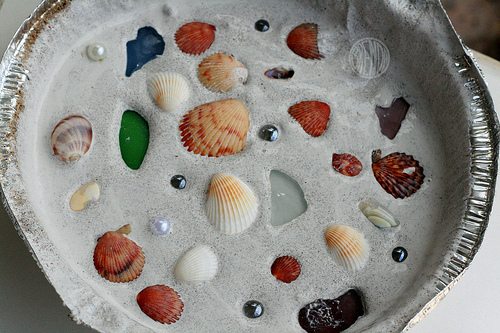
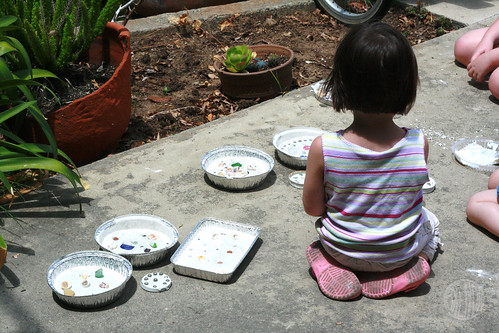
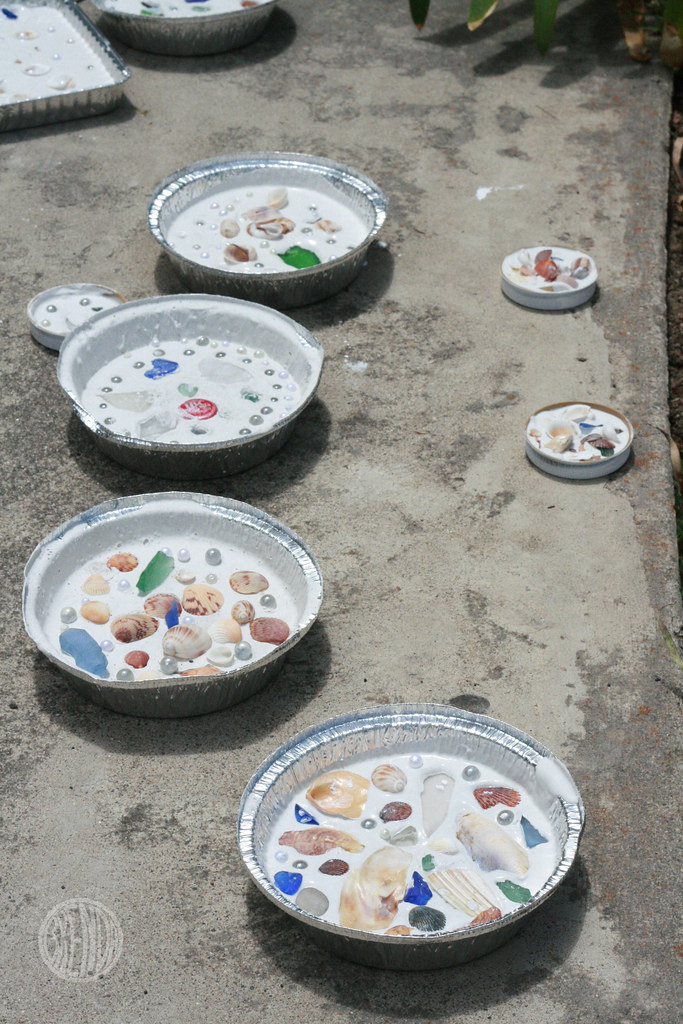
I had a passel of kids at my house today for a craft project–seven of them, actually. I might as well call it craft camp. Usually organizing a craft for kids ages two through eleven can be quite a challenge, if not impossible, but today went surprisingly well. We made classic plaster-of-Paris mosaics in pie tins but added a special summer twist by arranging colorful shells and sea glass to create a beachy scene. It was quick and easy to prepare and occupied everyone happily for several hours. I’d say that’s a summer win!
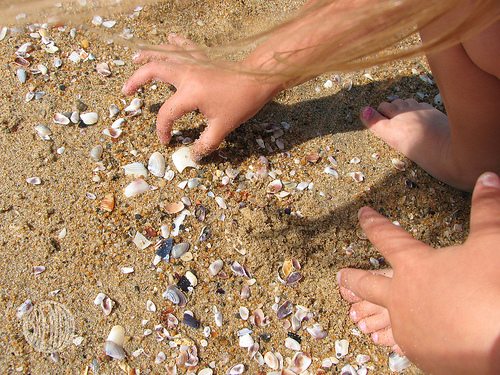
We’ve been collecting shells and sea glass all summer so this was the perfect craft for us. We also picked up some tiny clear marbles and faux pearls from a local craft store to simulate the bubbles that you often see in beach waves.
What you’ll need for this craft:
- an aluminum pie pan
- a big plastic bucket for mixing
- a 1-cup measure
- wooden stir sticks
- a collection of shells and sea bits
- some plaster of Paris*
- a decoupage sealer (like Mod Podge)
Plaster of Paris is usually available at any craft or hardware store. It might seem a bit intimidating when you find yourself hefting around a giant plastic tub of cement powder but it’s actually quite easy to mix and use. If you can make pancakes from a box mix, you can make plaster of Paris.
Directions:
* We would advise parents to mix the ingredients for this project when the kids aren’t around. Please be sure to read and follow the safety precautions for this or any product recommended here.
The mix is a simple ratio: two parts cement powder to one part water. You mix it up in a plastic tub or bucket, stir it thoroughly and then pour into your tins. You can pour it into any container, really. The pie pans work well because once the plaster hardens, they are easy to peel off, leaving you with a perfect little round shape.
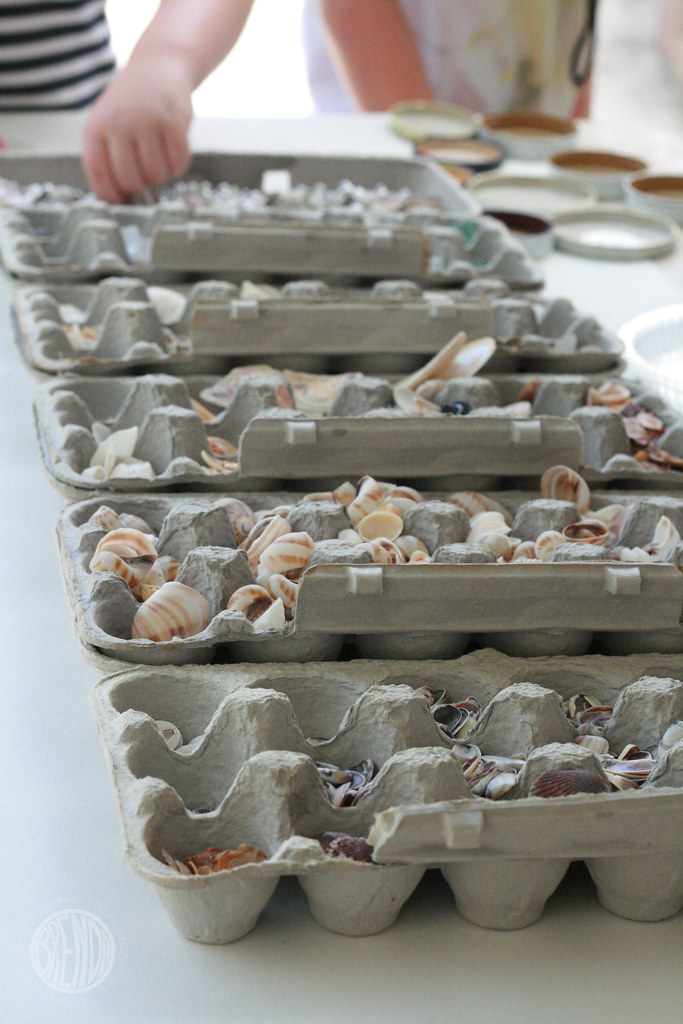
Earlier in the week my daughter and I had sorted all of our shells into empty egg cartons. We sorted by color and size, and that was a fun activity in itself, but totally not necessary. I found that the shells in the egg cartons were really easy to carry and set up. I arranged them all in a row on a long table and it worked great for the kids to file by for their selections.
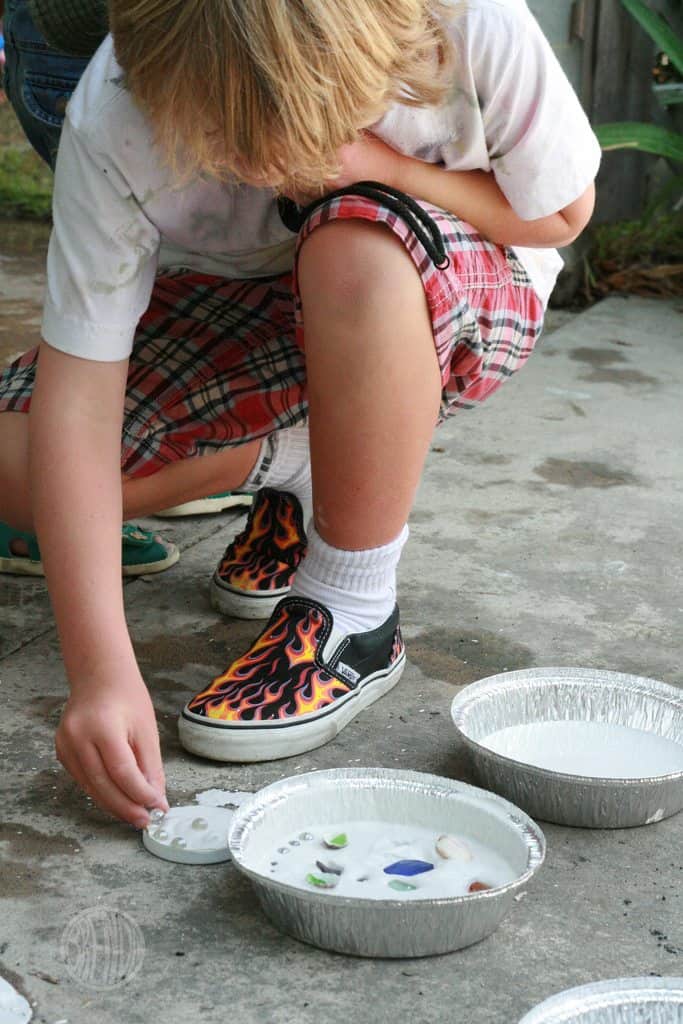
After everyone picked out their favorite bits we set to work pressing them into the plaster of Paris. The instructions on the tub tell you to wait until the plaster is starting to harden before you press anything into it, but on a hot day like today I didn’t really have to tell anyone to wait. The plaster was very forgiving and the kids had no trouble at all making their masterpieces.
Everyone had so much fun I let them pour the extra plaster into some odd jar lids I had handy to make little mini mosaics. I think we could have made these all day long but lunchtime crept up on us, which was perfect because while we pigged out on pizza the mosaics dried in the sun.
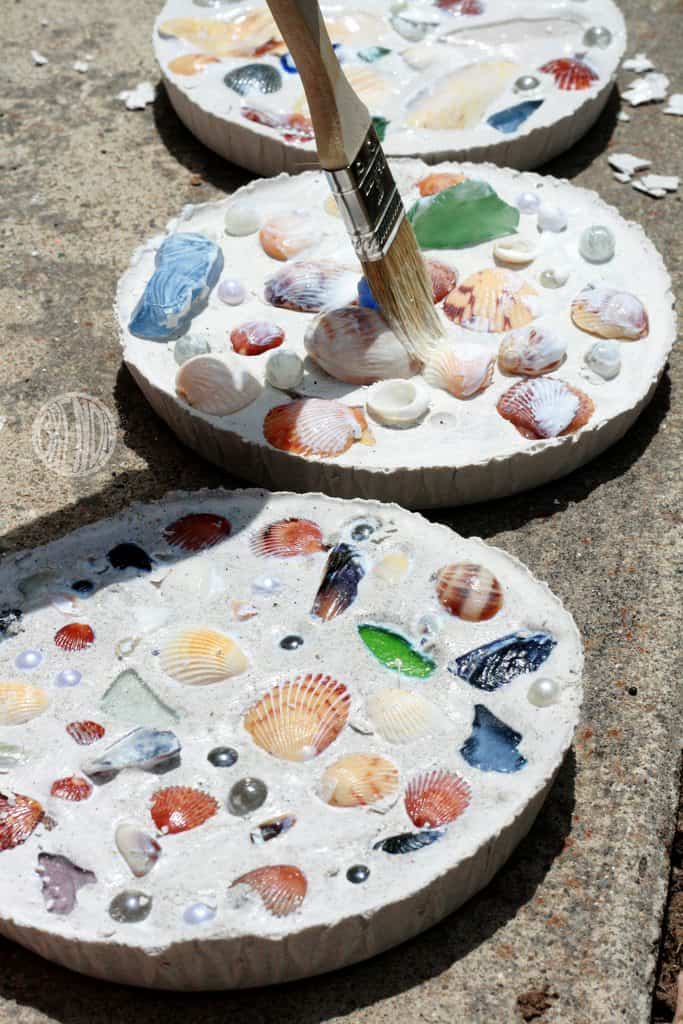
Before they were completely hardened, we popped them out of their tins and broke off all the rough edges along the sides. You could sand them too but we didn’t really need to. The important thing to remember is to break off the rough edges while they are still somewhat crumbly because if you wait too long the plaster gets hard and could crack and break under too much stress.
I also added a coat of decoupage sealer to some of them because I thought the shells looked prettier when they were shiny, but this is optional.
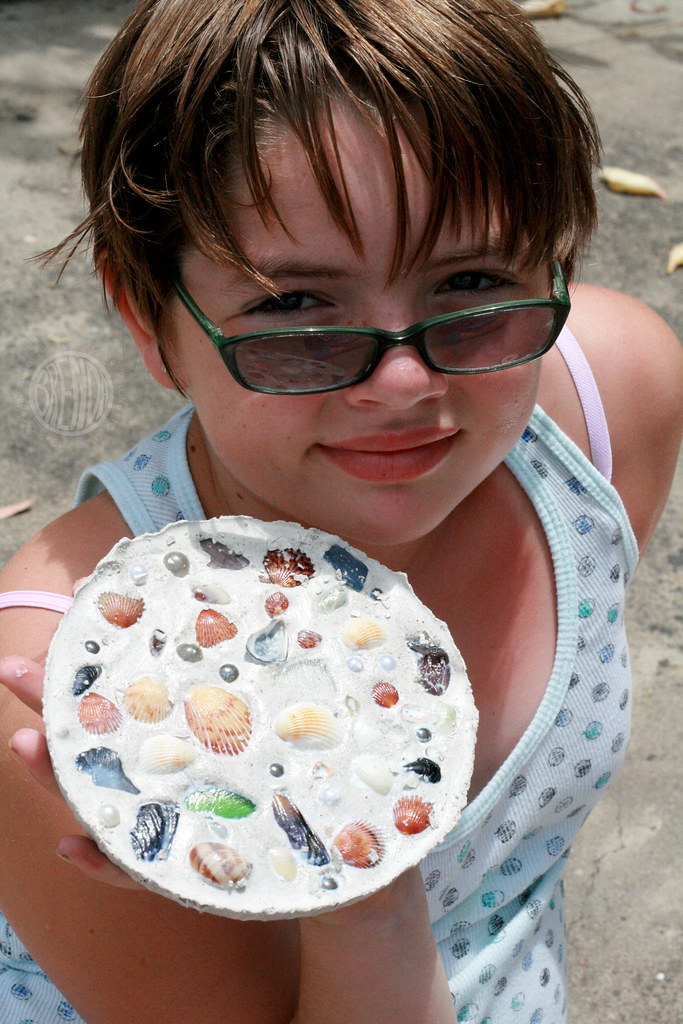
When the mosaics were completely dry, I wrapped them up in tissue and sent them home with the kids. I think the mosaics will make nice garden decorations or even something pretty to put up on a shelf. Either way, they are a great way to remember all the fun of summer.


