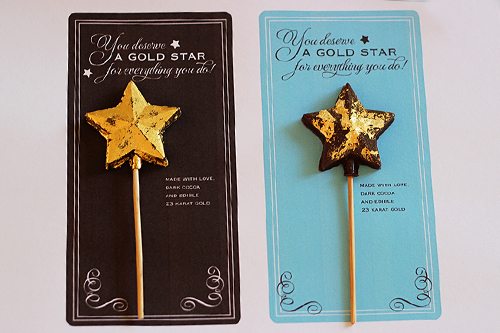
DIY Edible Chocolate Gold Stars for Teacher Appreciation Gifts!
You know who deserves a gold star for excellence? Your kids’ teachers. They’ve put up with snotty noses and possibly snotty attitudes all year. They’ve plastered on a smile through and after the heartbreaking tragedies our nation has faced recently. They’ve loved your child like their own and may have taken flak from all sides.
As a small gesture of thank you, we’d like to give them a gold star. And hope they understand that the gratitude it symbolizes is much greater.
How about an edible gold chocolate star!?! Now we’re talking.
Before you take out a loan to pay for something out of a jewelry catalog or mail away for some fine artisanal chocolates from Switzerland, let me share with you some chocolate-making tips that might just be the perfect gift! You can make fine chocolates right in your very own kitchen with these easy steps. It’s all about ingredients and love and care.
(Yes, this is definitely still a splurge gift, but we think teachers are worth it).
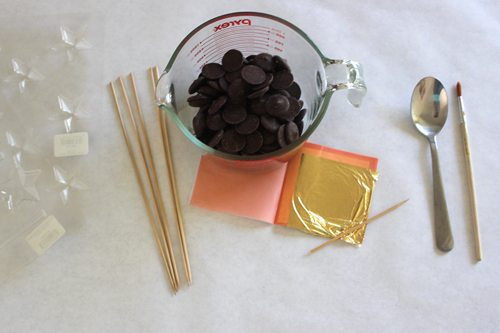
Supplies for making Edible Chocolate Gold Stars:
* Star candy molds You can find these in any craft store or online. We picked some that could be made into a sucker.
* Chocolate You can buy chocolate melts at your local craft store or online that are really easy to work with but keep in mind that you want your chocolate to taste good. So don’t buy the cheap stuff. You can even use your gourmet dark chocolate chips. When you are working with chocolate remember that it will harden to the state that it was originally. If it was a hard chip it will harden into a hard chip. So chocolate chips work great! And if you really want to go crazy you can make chocolate ganache and insert that into the center of your hard chocolate star. But we’ll leave those instructions to the chocolate experts.
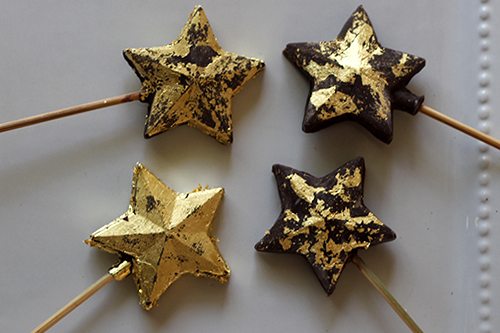
* Edible gold leaf You can buy this online. It’s a bit pricey. (Our package came with 25 gold leaves).
* Wooden skewers or lollipop sticks We used wooden skewers trimmed to fit the chocolate mold but any lollipop stick the right size should work too.
* A clean paintbrush (never used for paint)
* A spoon or two
* A glass dish in which to melt chocolate
Now you are ready to start!
Directions to make Edible Chocolate Gold Stars:
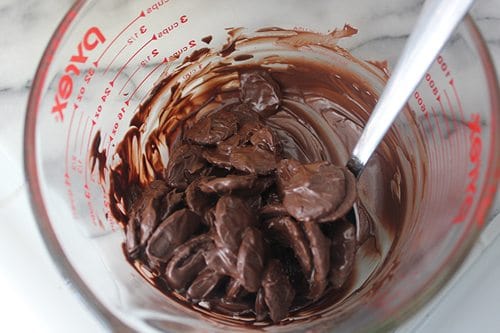
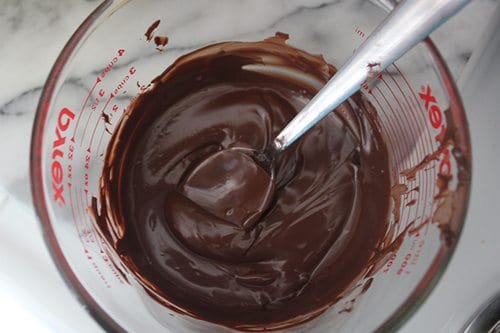
In a glass dish melt your chocolate. You can do this with a double boiler or use the microwave. Personally, I think the microwave is a lot easier. Just make sure to set your microwave power at half power and only microwave in one minute increments. You can always heat chocolate up more but you can’t unburn it. So go slow and stir as you go.
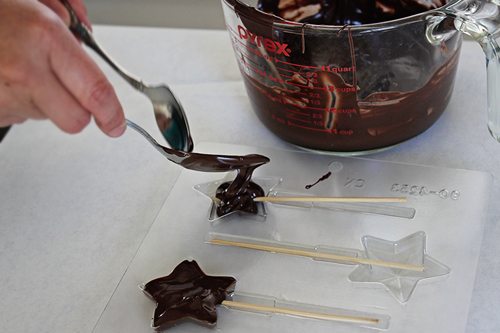
When it’s thick and creamy you are ready to pour your chocolate into your molds. Since your chocolate is pretty high in oil (or cocoa butter) you won’t need to grease your molds.
Gently spoon your chocolate into the mold.
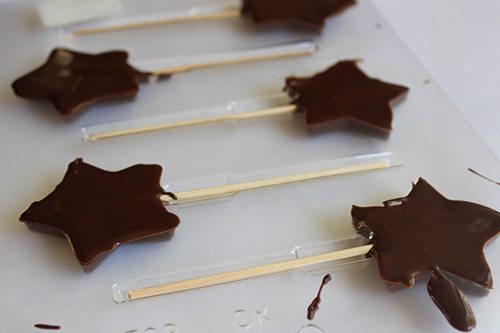
Lay your sticks into the chocolate and roll them around until they are covered with a layer of chocolate. There might be air bubbles in your chocolate so pick up the mold about an inch off your table or counter and let it drop down a few times to work out those bubbles. The fewer bubbles the better because they might disfigure your star if one is near the surface. Let them set at room temperature until the chocolate is completely cool and hard.
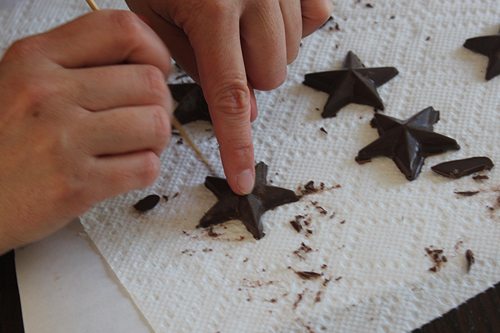
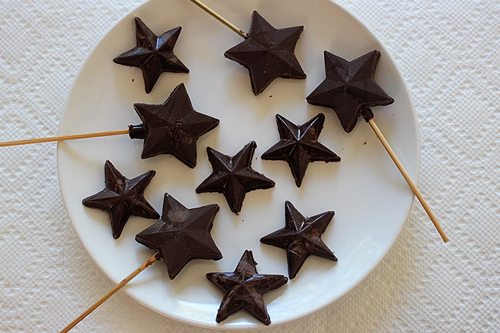
When they are cool and hard you can pop your chocolate stars out of their molds just like you would pop ice cubes out of an ice cube tray. Just make sure you do this gently because you don’t want your any star tips to break off. If there are any deformities or chocolate tags hanging off you can easily carve them off with a knife or sharp end of a wooden skewer.
Directions for applying gold leaf to your chocolate stars:
Now for the fun part: Adding the gold leaf! Gold leaf is very, very thin and very, very fragile. In fact, you won’t even want to touch it with your bare hands. Make sure you are working in a still quiet place because you don’t want a breeze to come along and blow five dollars worth of gold right out the window. It’s that light.
You can easily lift a sheet of gold leaf with just your paint brush or wooden skewer. Gently lay it over your gold star and brush the gold down with your paint brush. It’s pretty tricky to cover chocolate completely, it will lift up if brushed repeatedly but that’s okay because it looks pretty when it goes down marbled or “burnished”. So let the gold leaf stick where it will and don’t try to get it too perfect.
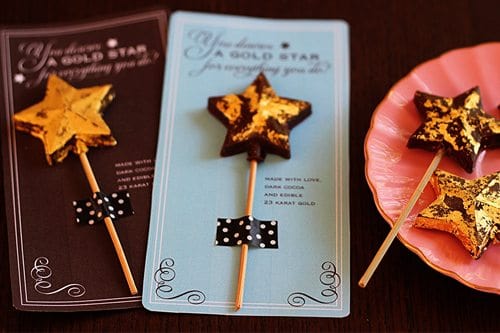
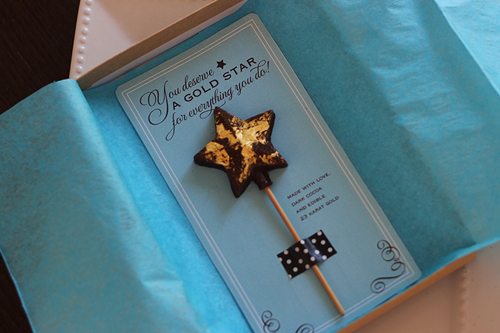
You’re almost done! Now you just need to package up your star. Packaging is everything. We’ve made some Teacher Appreciation Gift Card printables (just click here) that you can use if you like. Just download, print them out, cut and attach your chocolate gold stars by their sticks with some pretty tape!
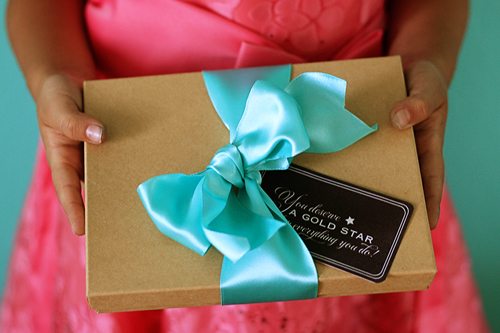
Who wouldn’t like to receive a gift like this? You can slip these Teacher Appreciation cards into a glassine candy sleeve or better yet wrap them up in tissue and set them in a thin box.
Add a pretty ribbon and it looks like a million bucks!
That’s how we like to say Thank you, teachers, for everything you do!


