Wind Chime Chili: a recipe AND a craft!
If you are looking for something to cook for dinner and something to keep your kids busy this summer I might have just the craft for you. I call it Wind Chime Chili! Kill two birds with one stone or just make a big mess and have a lot of fun.
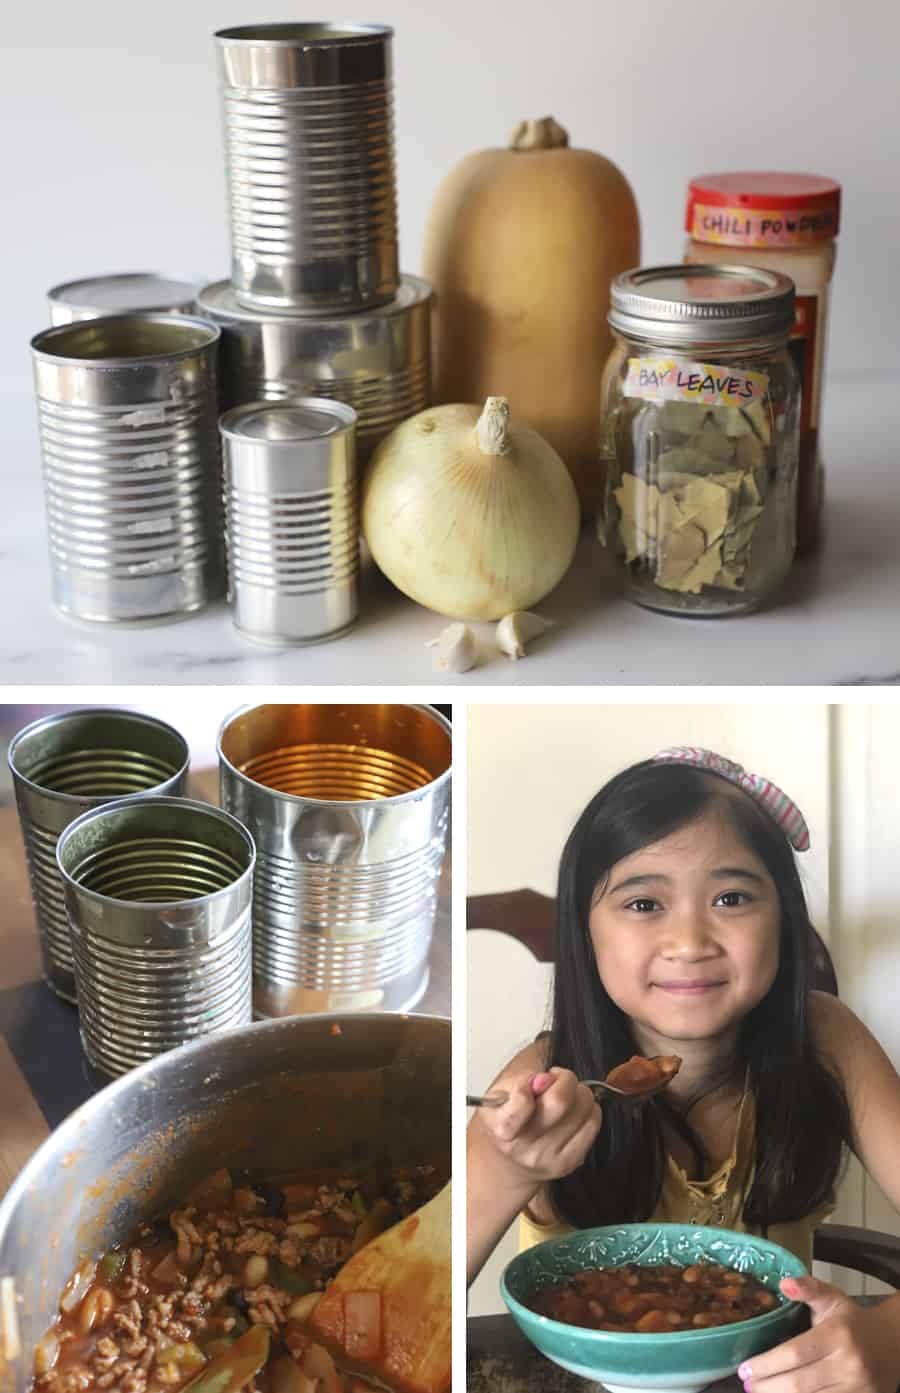
In order to make this wind chime, you will need a few cans. To make some chili you will need a few cans. Do you see where I’m going with this? I have just the recipe for you!
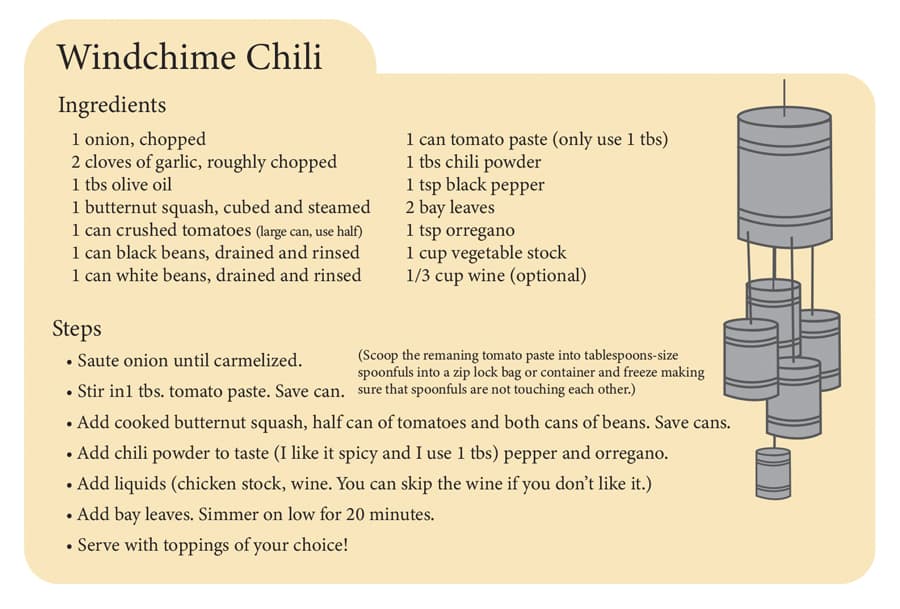
Click here for a printable version.
This is your basic chili recipe with butternut squash added instead of ground beef, sausage, or ground turkey. You could easily substitute the squash for any of your favorite proteins. I also love to add kale and whatever other vegetables I have in the refrigerator that needs using up but I left that out of this recipe.
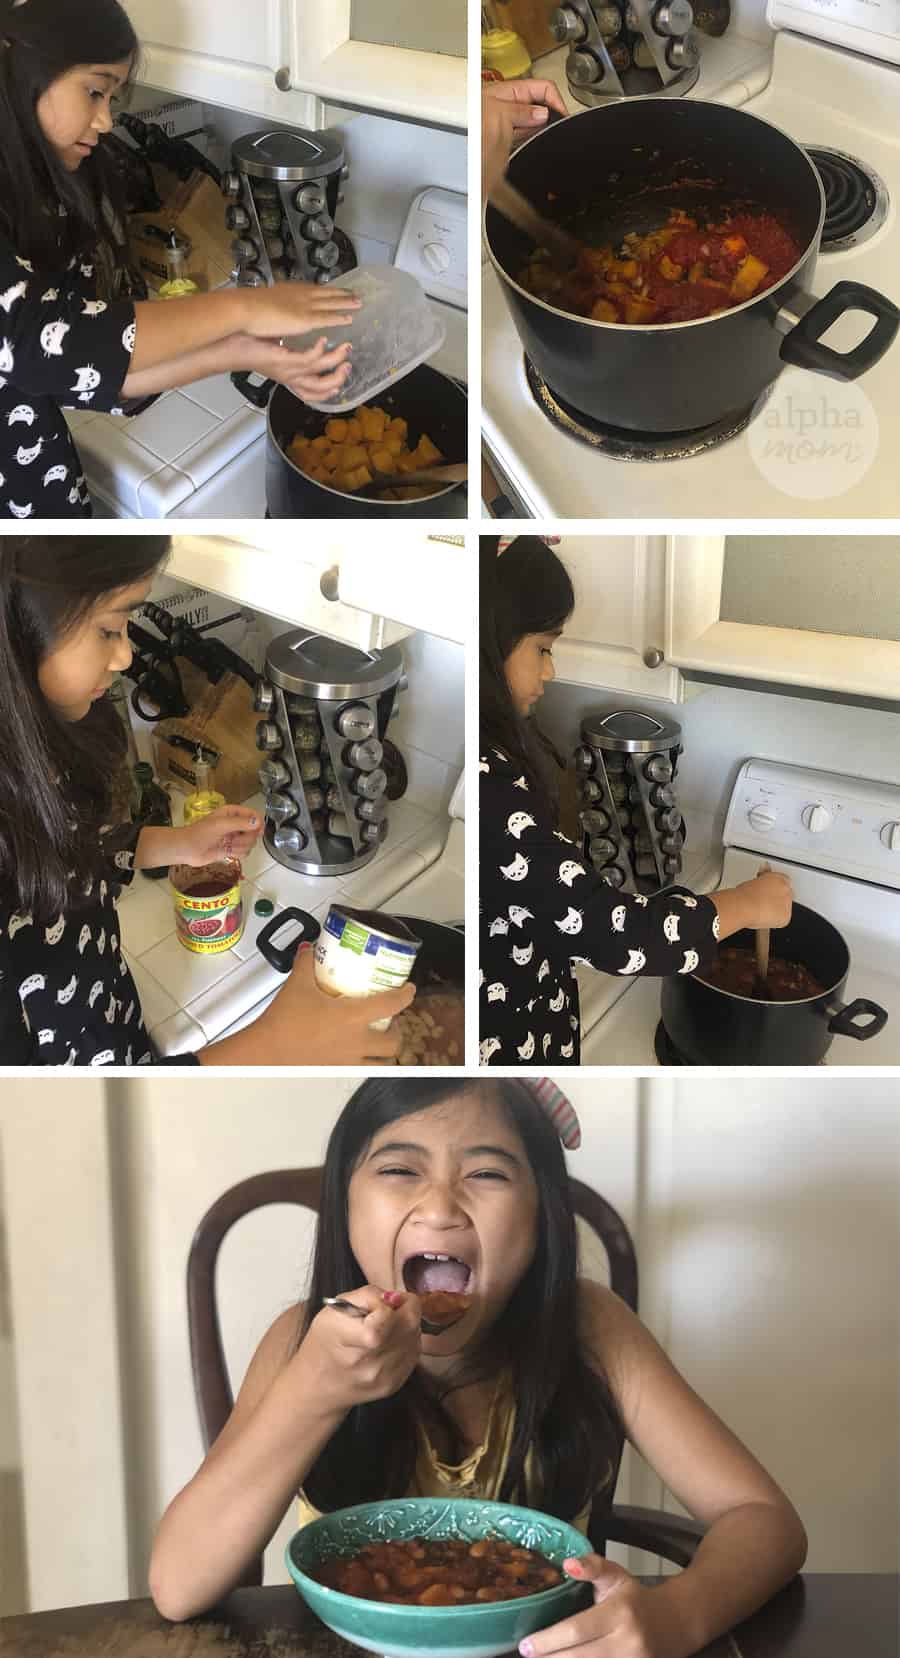
Do you know what’s great about this craft and recipe? Kids can make it too. In fact, they are usually more inclined to eat if they make it themselves or with you. So let your littles help you! It’s great for family bonding.
As your making your chili here’s the kicker: save your “tin cans.” They are going to be your windchime supply materials later! You’ll have one big can (that the tomatoes came in) and three regular 15 oz cans (from the beans and vegetable stock) as well as one small can (for tomato paste). You won’t use the whole can for the tomato paste. Just a tablespoon but a handy tip is to use one spoonful and then put the remaining tomato paste into a container or ziplock bag in spoon-size portions so you can use them again in a different dish (like spaghetti!).
Supplies needed to make Homemade Wind Chimes:
- your “tin cans,” in various sizes
- waxed string or twine
- one bead (or more for decoration) for each can plus one big one for dangling
- a hammer and a nail
- acrylic paint
- painters tape or masking tape
Now let’s get started!
How to make Homemade Wind Chimes from “Tin Cans”:
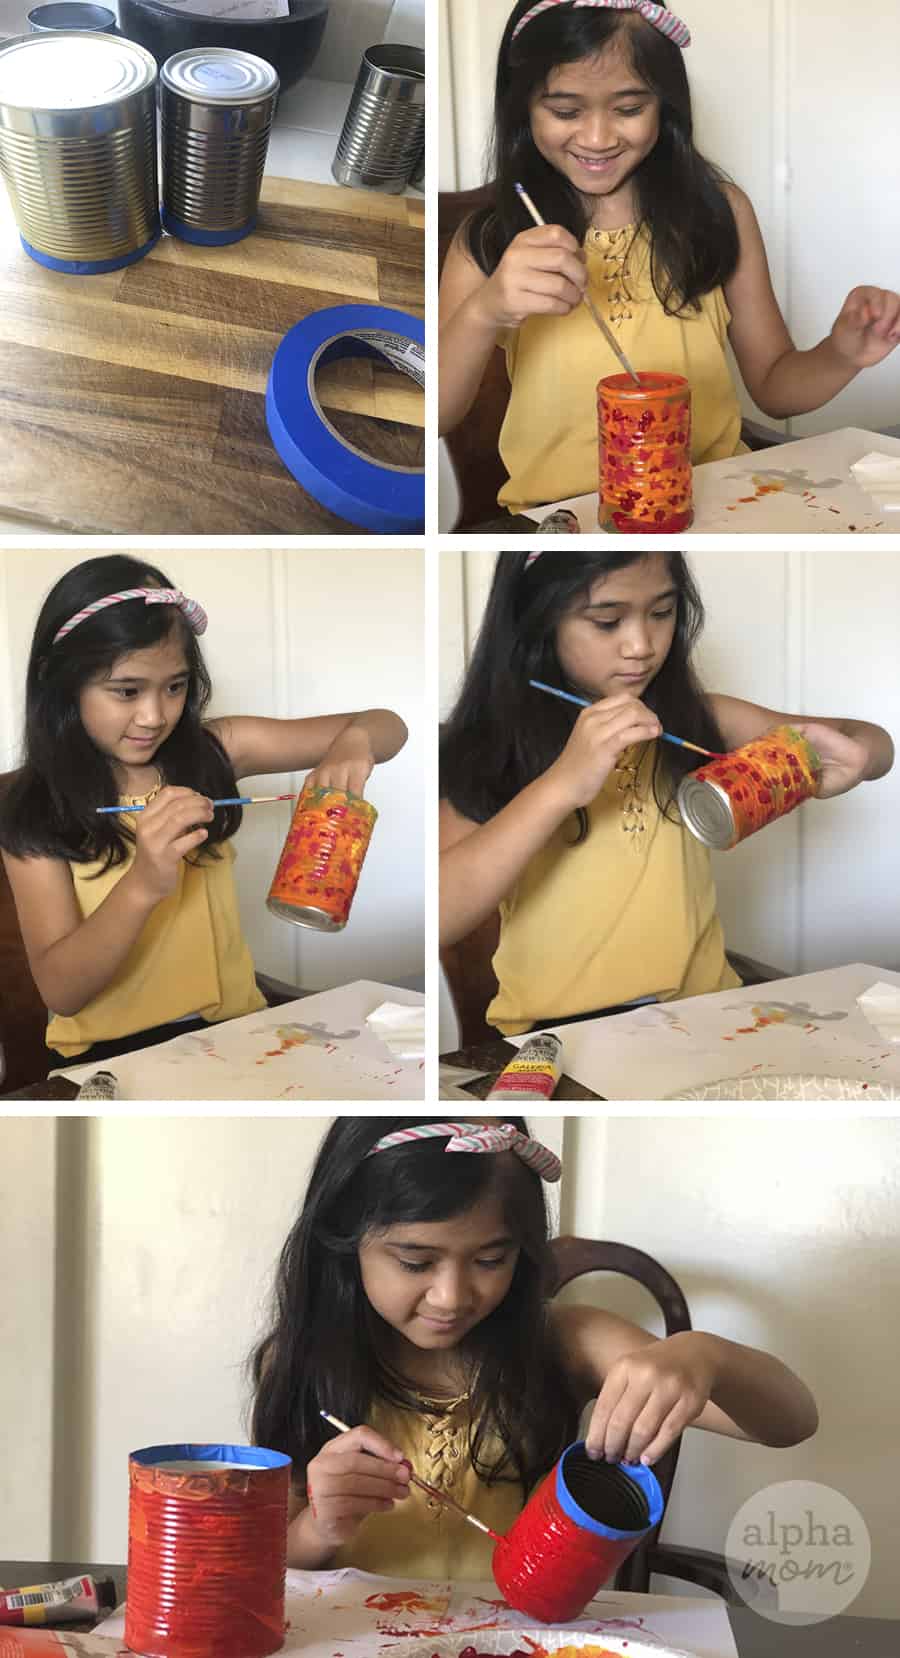
1. First, have a responsible adult tape the sharp edges of the cans with blue painter’s tape. You don’t want little ones to accidentally cut themselves while painting.
2. Then set up your paints. I find it’s better to use level 1 or 2 acrylics and not the usual inexpensive craft paint since these are going to be hung outside and will fade in the sun. But if you aren’t worried about longevity, craft paint is fine. Make sure you protect your surfaces and clothes and get to work! Also, paint outside or in a well-ventilated area.
3. We decided to keep the spicy theme going with our chili inspired wind chimes and painted our cans bright red-orange and yellow. You can decorate your cans any way you like. You could even use glitter or stickers or bejewel them! Once you are done decorating, set the cans somewhere sunny to dry.
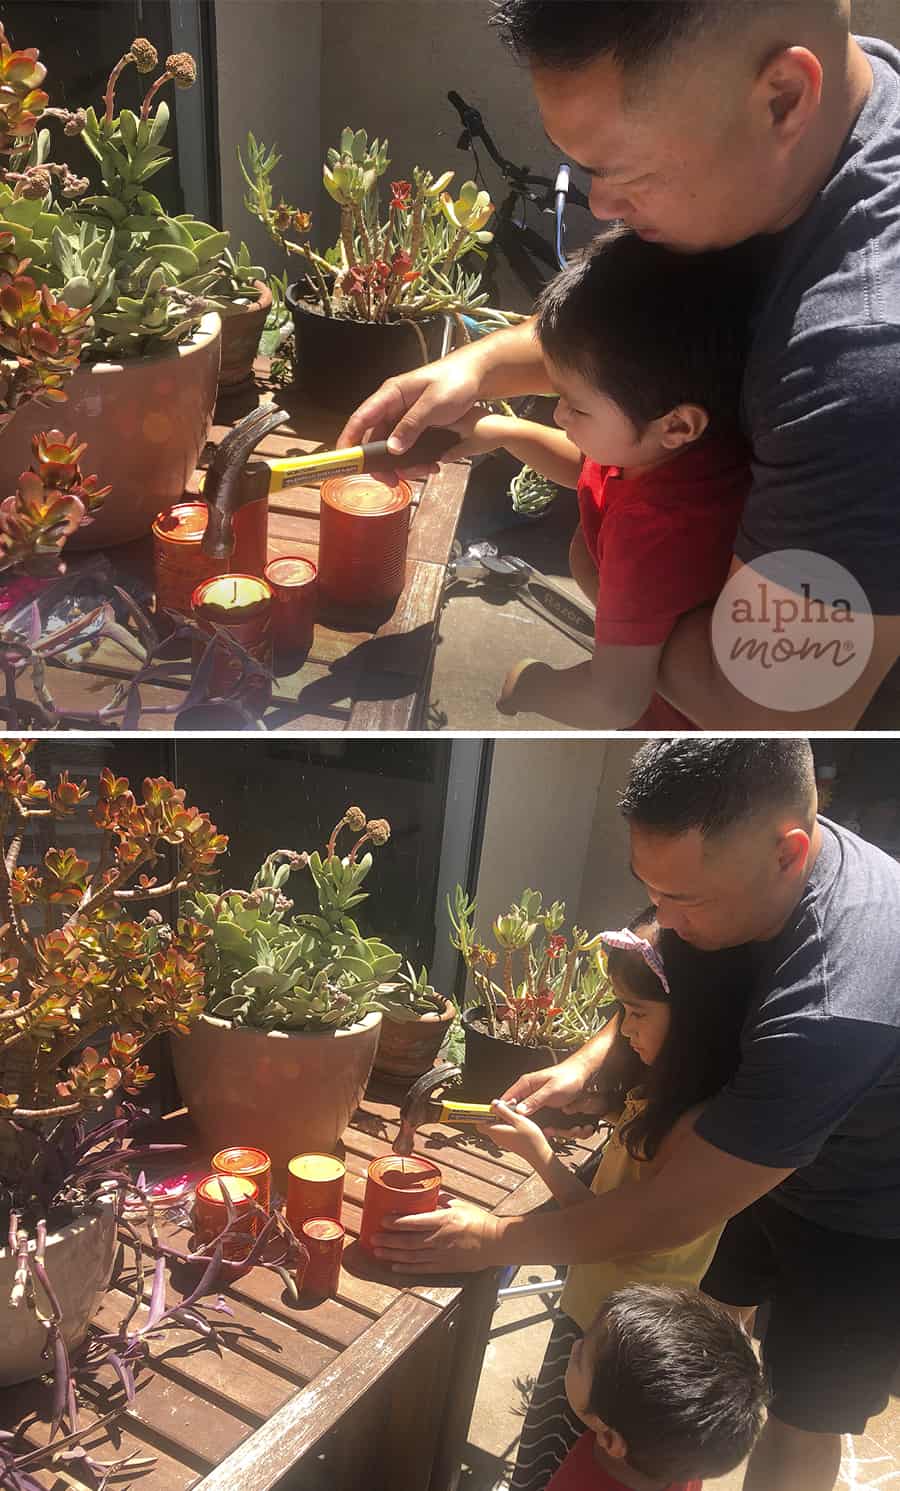
4. Once the cans are dry have a responsible adult help little ones hammer a hole into the bottom of each can and to the sides of the big can. This last step might require an adult but it’s totally doable.
5. Then string your cans with your twine and secure them by tying a bead to twine inside your can to keep the twine from pulling all the way through.
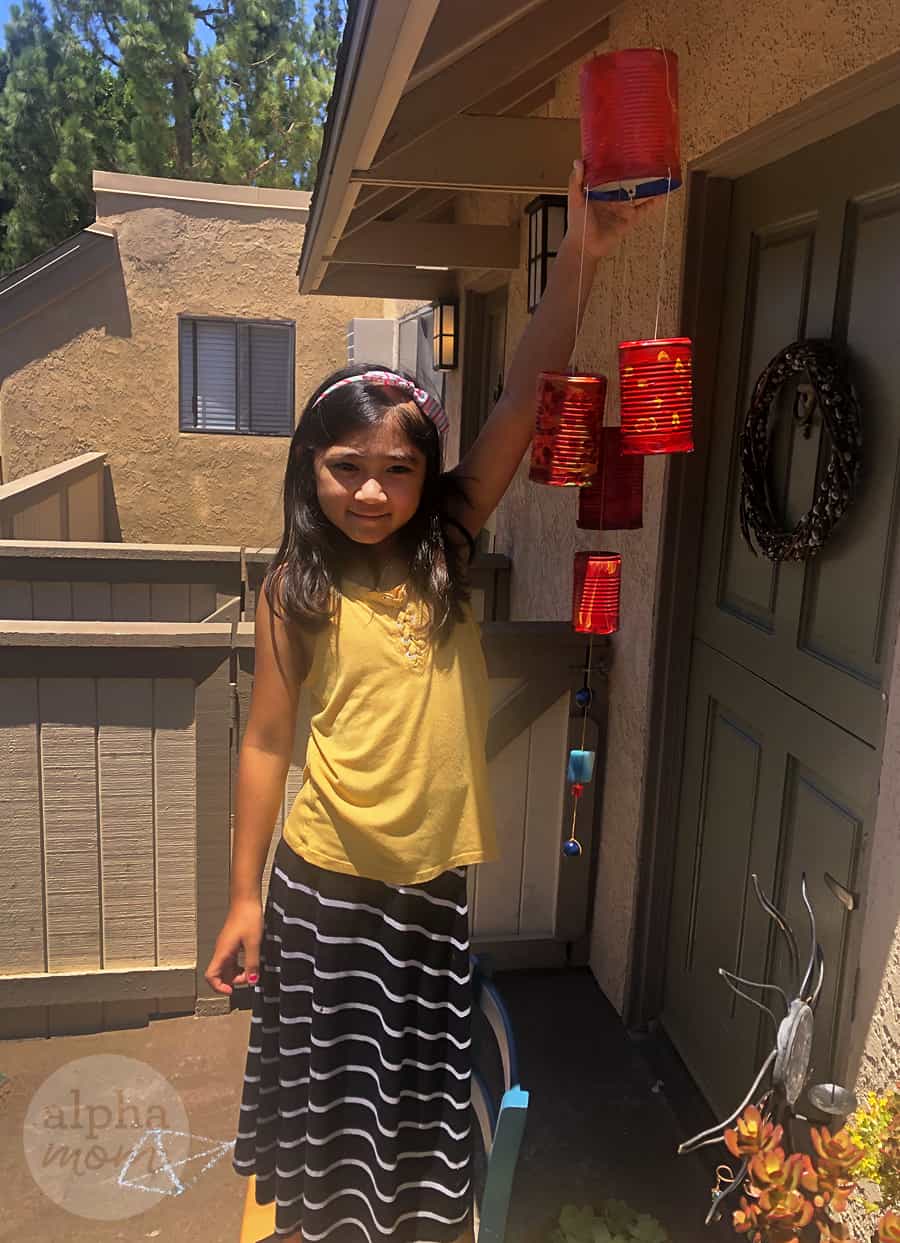
6. Hang the big can at the top and then attach the smaller cans to its sides, making sure to stagger your cans but make them close enough together so that they clang together in the wind.
7. Then attach some beads to the bottom for dangling decoration and weight.
8. Then hang it and you are set!
Every time your wind chime clangs you’ll be reminded of the fun time you spent making chili and it might make you want to cook it again!
Cheers!


