Daylight Savings Crafts
Celebrating Day Light Savings Craft & How to Teach your Child to Tell Time
Setting all the clocks an hour earlier for Daylight Savings Time can sometimes be sort of a pain. I usually forget to do it myself—until I show up an hour late for church, that’s always fun. This year I thought I’d get a jump on the chore and make it into a fun activity for kids. We’ve been talking about time and clocks in my house anyway so this was as good a time as any to start learning how to tell time.
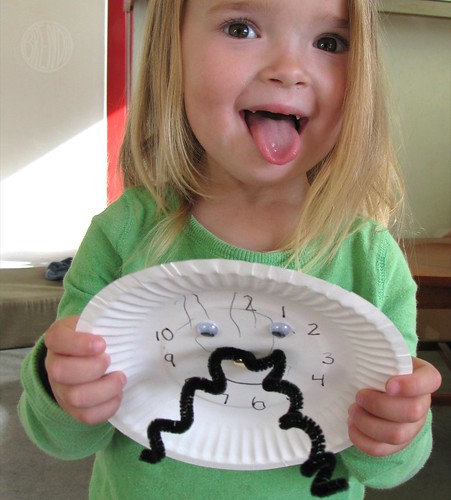
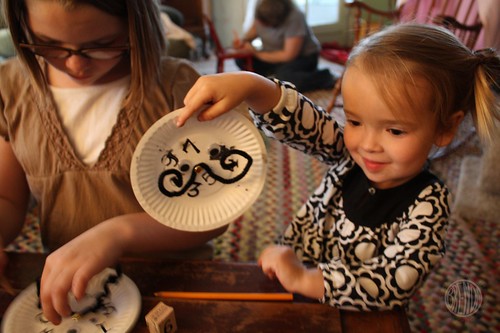
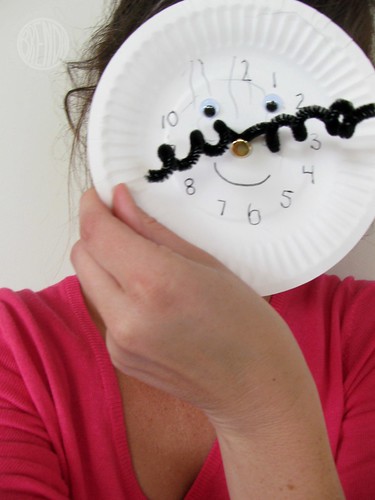
First we made some good old-fashioned paper-plate clocks, the kind with a brad stuck in the middle. I didn’t have any black construction paper for the clock arms so I used the only other black thing I had in the house and twisted some black pipe cleaners onto the brad. This ended up being rather fun because we made the arms of the clock point in all sorts of wrong directions. We stuck some bubble eyes on our clocks and called it “Craaaaaazy Time!” This didn’t really teach us anything about telling time but it was loads of fun for the toddler and me. There’s always time for “Craaaaaazy Time!”
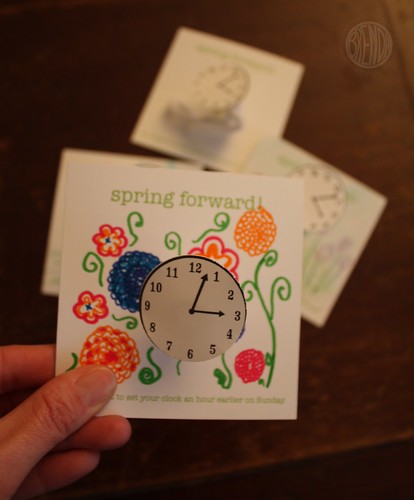
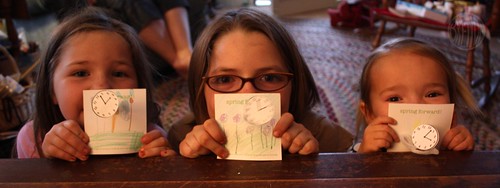
Next we made some cards that I thought we might give out to friends and relatives for fun. I printed up small squares that say “Spring Forward” at the top, with a little reminder about changing the clocks at the bottom. Then we wound a pipe cleaner around a pencil to make a spring and fastened a little paper clock to each of the cards, as if it were “springing” out of the card. My nieces were pretty clever and decorated their cards as if the clocks were springing up out of a spring garden.
You can make cards like mine by downloading the Spring Forward card template.
All you’ll need to assemble them are pipe cleaners (cut in half) and some tape to hold the pipe cleaner to the little paper clock. To attach the clock spring to the card, I just poked a small hole in the card and bent the end over on the back.
When we were done fooling around with our “Craaaaaazy Time” clocks and making fun cards to give out, we set down to do some serious learning about time.
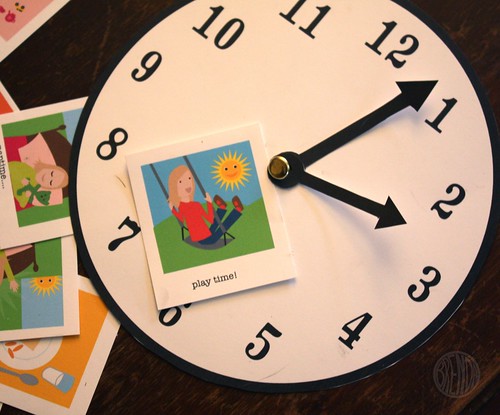
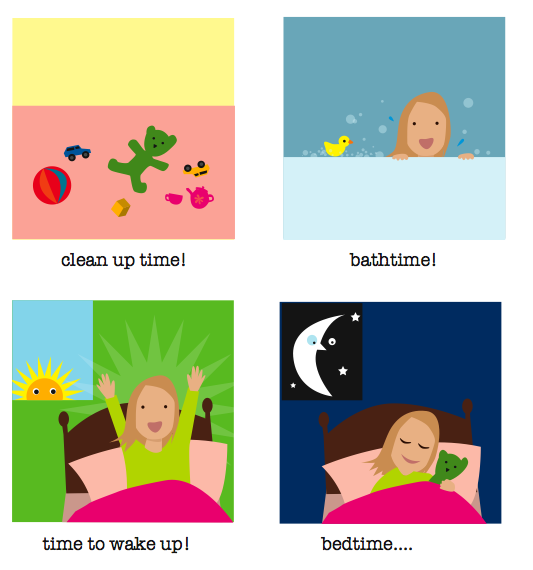
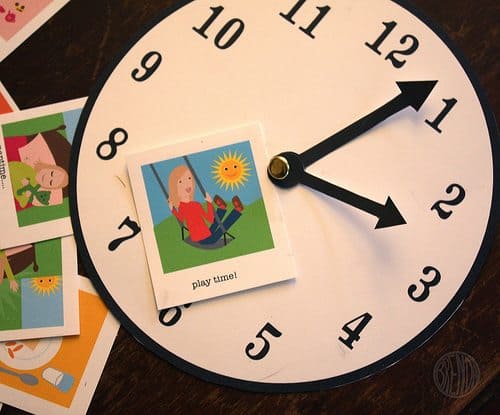
I made up a bunch of small cards with pictures of various things that would signify certain times of day that my daughter would recognize. I actually illustrated the cards but I think cutting pictures out of a magazine would be fun too. For example a girl waking up in the morning would correspond with 7 o’clock, a plate of pancakes for breakfast would match up with 8 o’clock, etc.
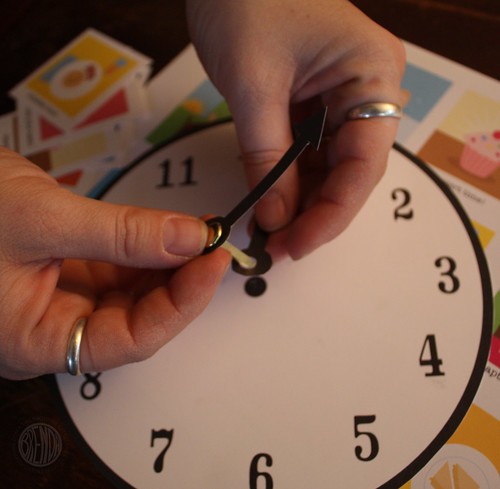
Then I designed a big clock and some hands on my computer and printed them all out on card stock. I cut everything out and attached the clock hands to the clock face with a brad so that the arms were movable. Then we made a game out of it.
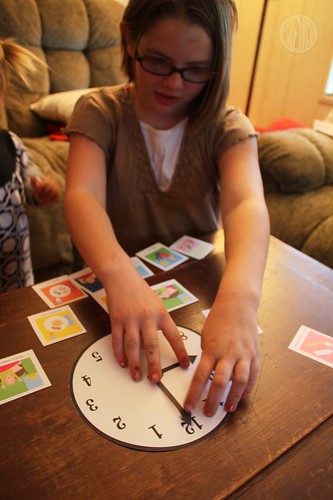
First I moved the arms around the clock and asked my daughter (and my nieces when they joined in later) to find the corresponding cards that would go with each hour of the day. At this point my three-year-old isn’t really memorizing the clock’s arm positions but she’s getting familiar with them.
My older nieces were a little quicker at it and in another round of the game I made them draw a card from the stack and move the clock arms to match the right time. As they got the hang of it, I had them race each other to see who could find the right card the fastest to match a random hour that I set on the clock.
If you think your kids might like to play a game like this, you can download my How To Tell Time designs.
Or make your own with a paper plate, a few quick jotted numbers and a bunch of pictures from a magazine. I’d love to see what you come up with.
But whatever you do, just don’t say I didn’t remind you to turn your clock forward this coming Sunday*.


