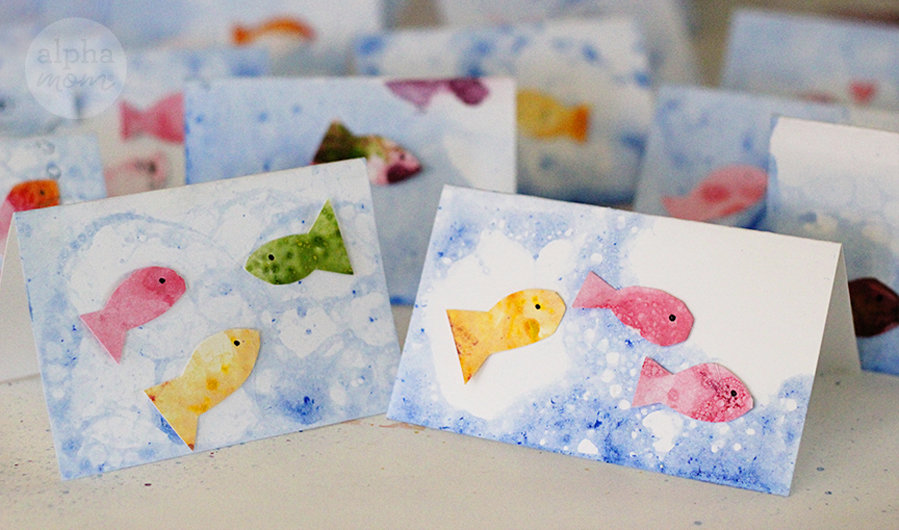
Bubble Fish Art!
What’s more summery than a bunch of fish swimming in some frothy waves? With some soap and some paint and a lot of hot air you can make these really cute cards too.
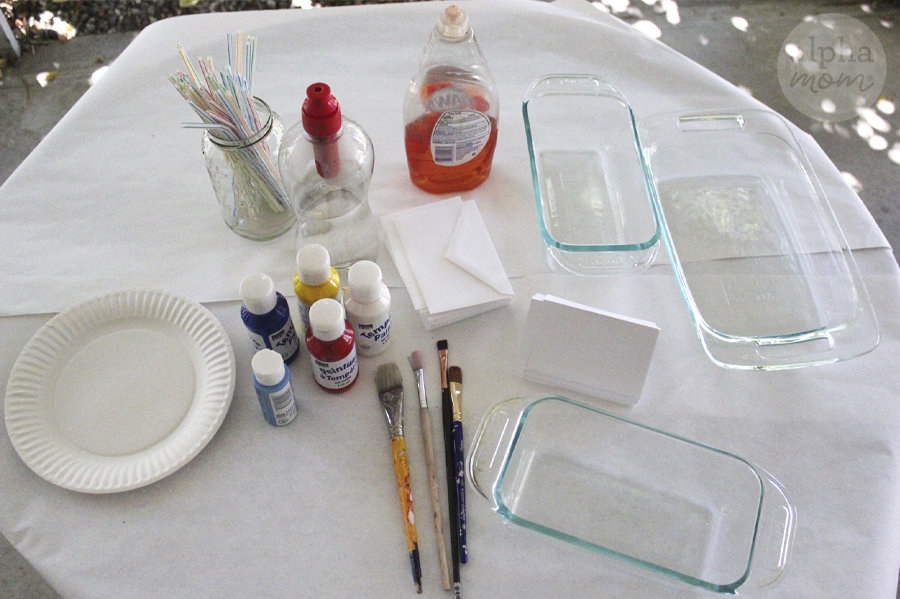
Supplies you’ll need for the craft:
1. cheap non-toxic acrylic paint (water-based children’s paint is safest)
2. dish soap
3. water
4. straws
5. card stock cut into folded cards (and envelopes too if you want to make stationery)
How to Make Bubble Fish Art
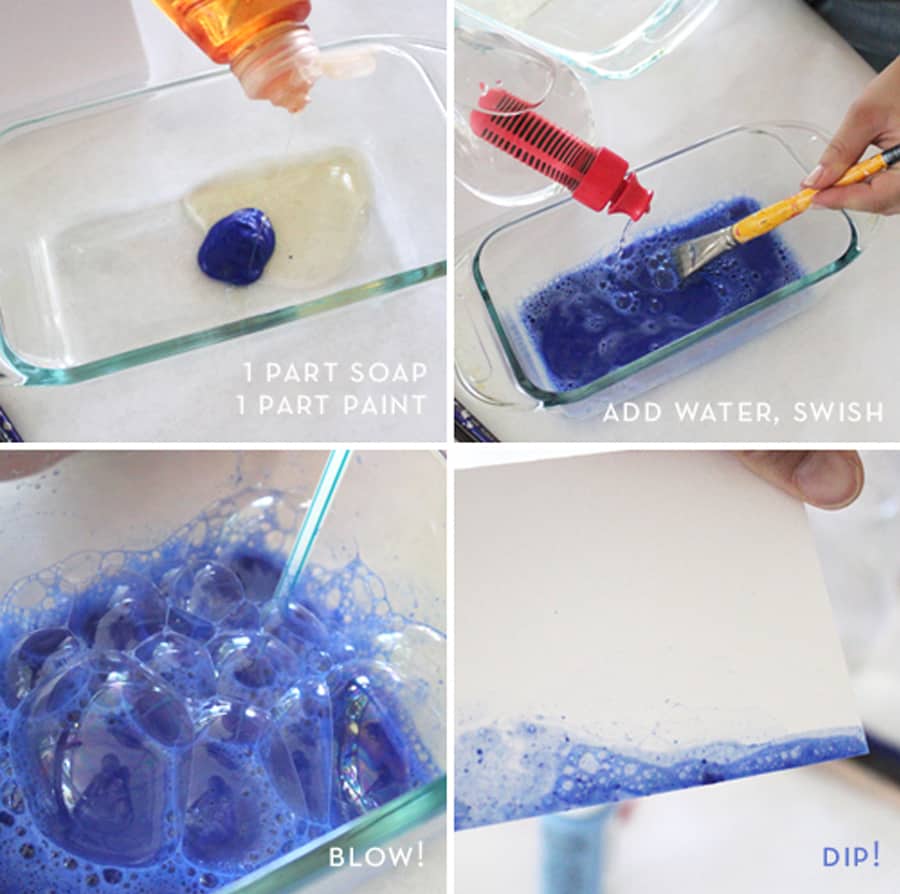
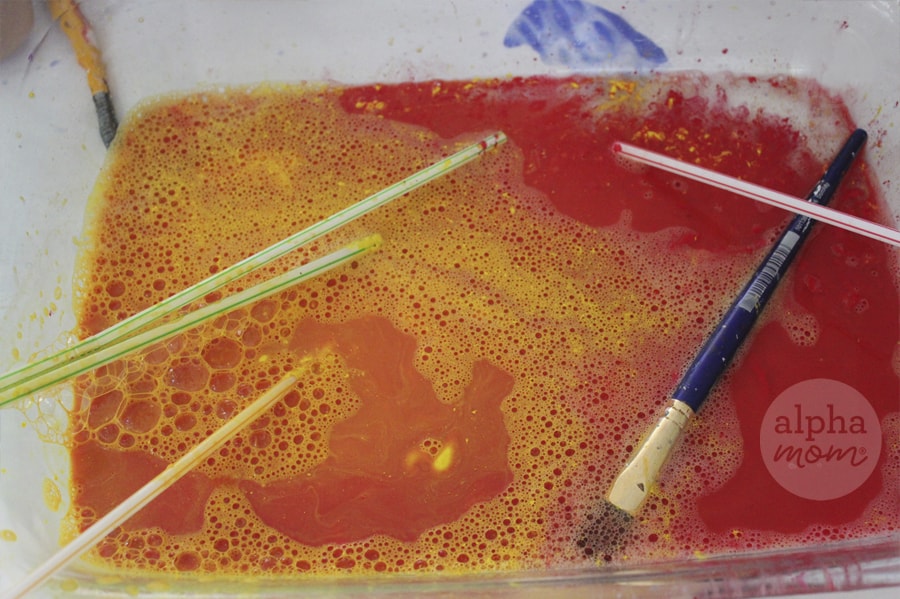
First you need to make your bubble solution. This is really easy and you can tweak your concoction any which way to make the most bubbles but a good start is 2 tablespoons of paint, 2 tablespoons of regular dish-washing soap and about a cup of water. We didn’t really measure. You just need enough water to be able to blow bubbles in.
We started with blue because we wanted to make a frothy ocean for our bubbly fish to swim in.
Special Note:
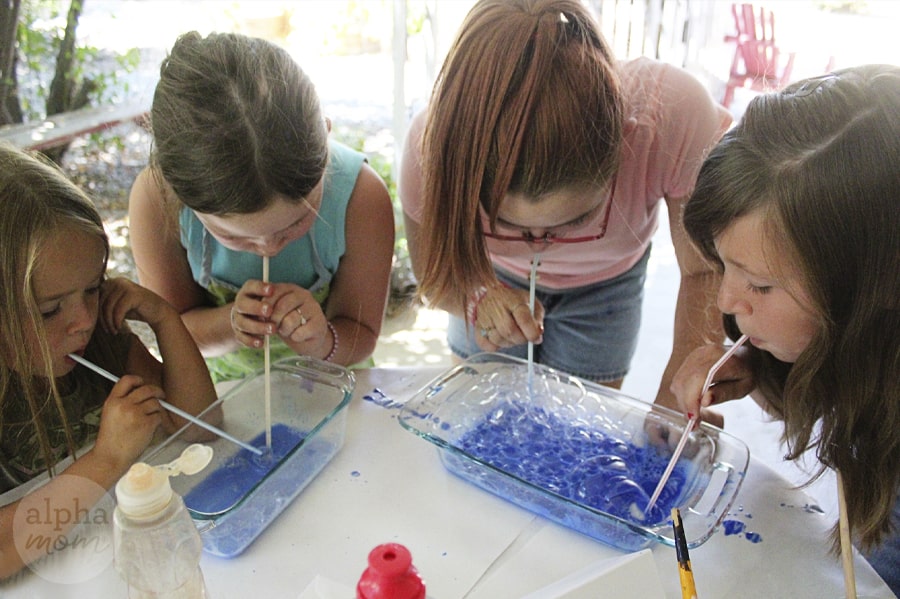
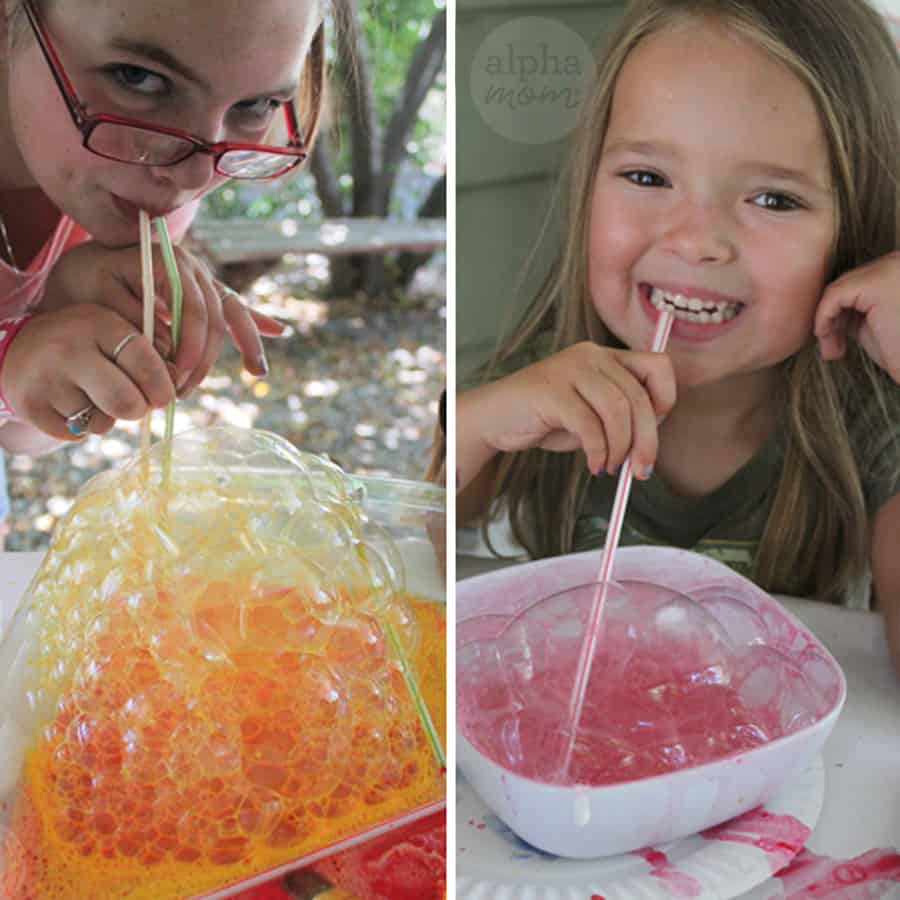
Now for the fun part: BLOW BUBBLES! You know all those times you got after your kids for blowing bubbles in their milk? Well, now they can blow as many bubbles as they want! They can give themselves a headache from blowing if they want. Blow that place up! Just make sure they know to blow out and not suck in.
We had a sucking-in incident but it wasn’t that big of a deal. We just rinsed the little one’s mouth out with water and she never said a colorful bad word again! Just kidding. But seriously, it wasn’t a big deal. Just make sure your paint is non-toxic. (So yeah, this craft is not for (especially young) kids who can’t blow through a straw without sucking in.)
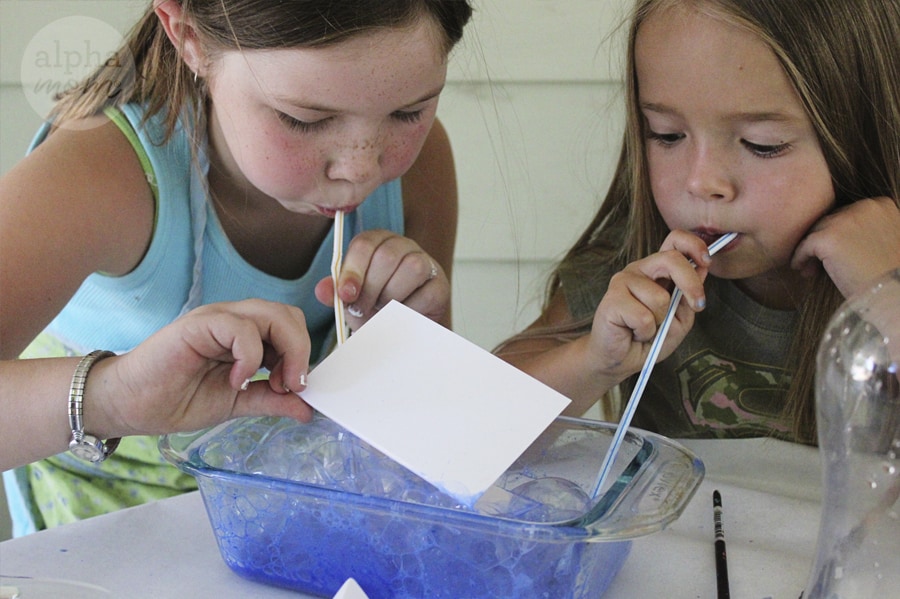
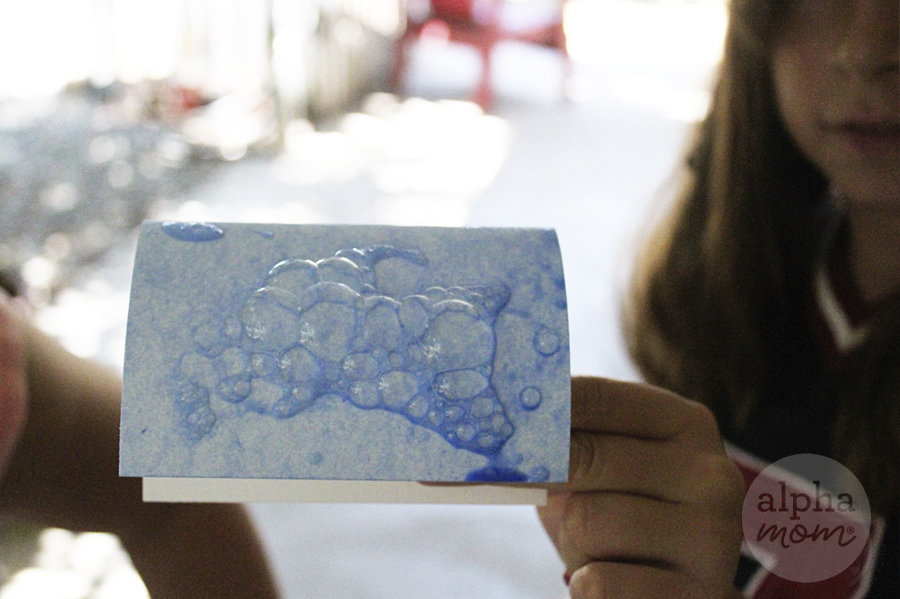
Once you have a lot of bubbles, take your card and catch as many bubbles on the front of the card as you can. The bubbles will pop on the paper and create really interesting circle patterns. The more paint you have in your solution the darker your bubbles will be. Repeat until you are satisfied with your ocean scene.
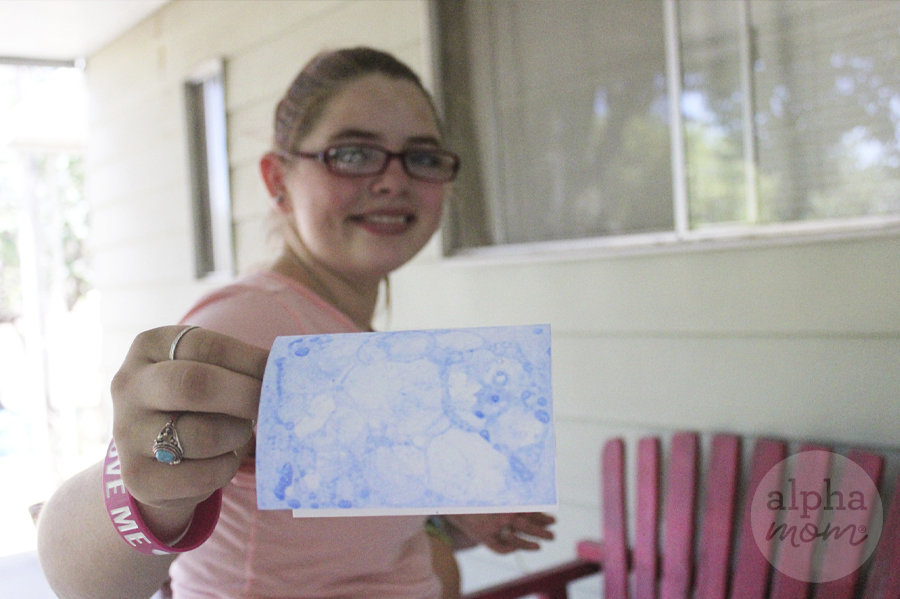
When it’s wet it will look like the card above. When it’s dry it will look like the card below.
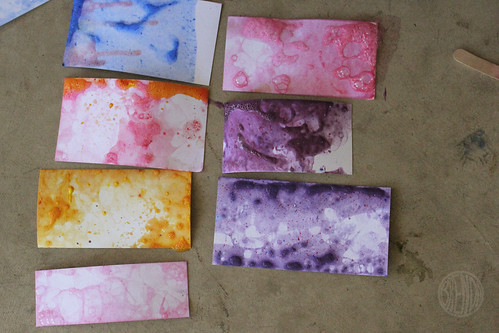
Pretty neat, right? Now set them aside to dry completely and get started on making your color solutions for the fish!
Just remember, even though the paint might look tasty, don’t drink it!
We used the scraps from cutting the cards for making little cards that the fish will be cut from later after it dries.
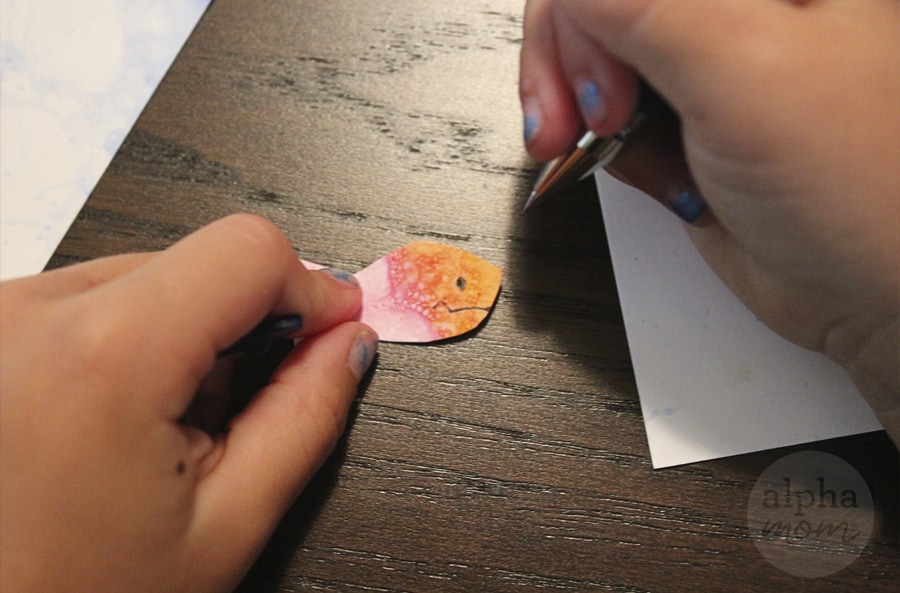
Once everything is dry, cut little fish shapes and feel free to embellish with eyes and smiles.
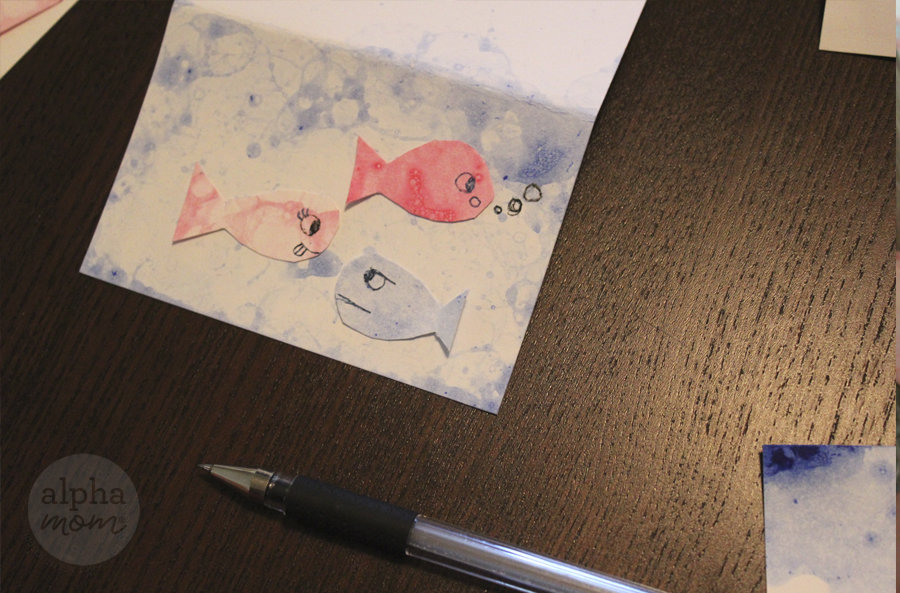
Then glue your fish onto your cards to create a fun ocean scene.
Snail mail anyone?
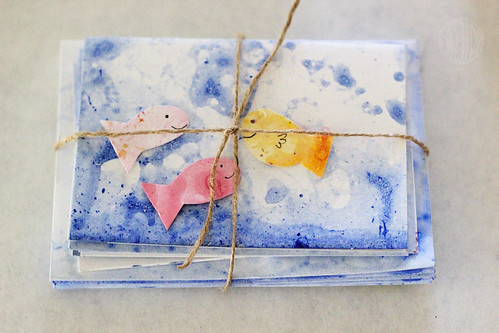
Or package a bunch up and give away as a gift!


