Thanksgiving Craft: Gratitude Centerpiece
Every Thanksgiving table needs a centerpiece. Maybe somebody brings some flowers from the local flower shop, maybe the kids made a turkey out of play dough and popsicle sticks or maybe you just pile up the table with food and there’s no room for anything else.
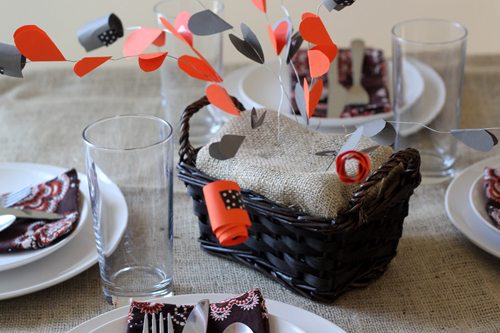
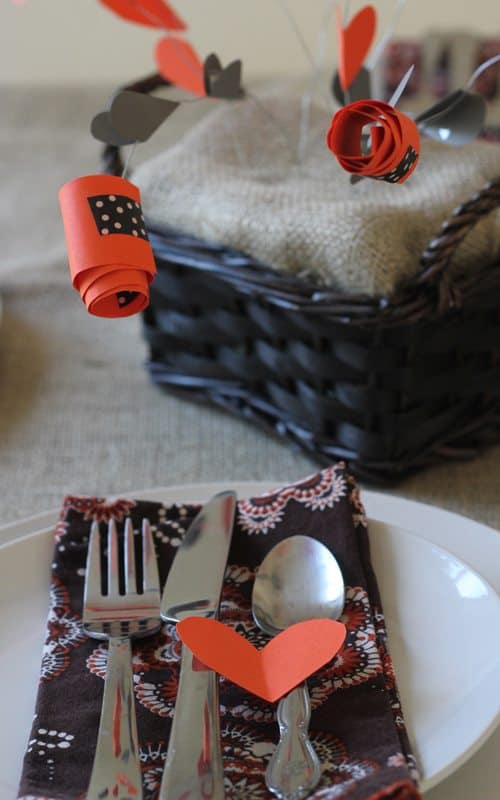
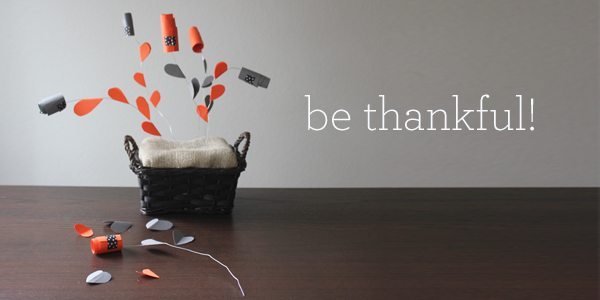
I think it might be time for a centerpiece that says something special. A centerpiece with a message, or many messages for that matter! This simple modern centerpiece actually has little messages– inside each of the rolled-up “flower”– that says something to be thankful for.
You can get the whole family in on the project beforehand and then make it the perfect after-dinner conversation starter while you wait for dessert. Let each family member unroll a flower and discuss. It’s sure to put a positive spin on your holiday and keep those family dramas at bay.
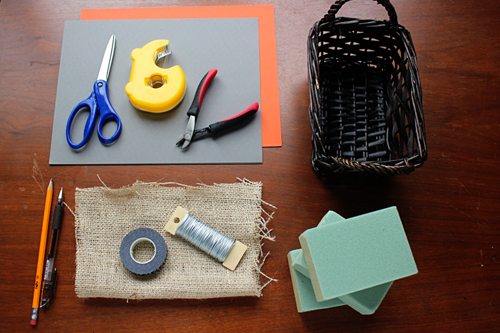
What you will need for this craft:
1. Card stock
2. Scissors
3. Double-sided tape
4. Floral wire
5. Wire cutters
6. Dry Floral foam (or play dough)
7. A small piece of burlap (optional)
8. A small basket
9. Pencil and/or pen
10. Washi tape
A word about the supplies:
All of these things you can usually find at your local craft store. You can also find floral wire, foam and floral tape (that can be used instead of Washi tape) at a floral supply store.
If you don’t know what Washi tape is I recommend you rush out and buy some right now. It’s the best craft supply ever. It’s pretty Japanese tape that is usually decorated on the outside. It’s great for crafts and gift wrapping because it’s sticky but it’s easily repositioned so you can use it on things that need to be rearranged often or opened like gifts. It comes in all sorts of colors and designs.
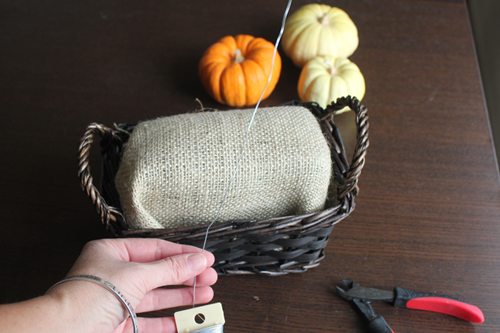
Now lets make a centerpiece! First you’ll need to fit your foam into your basket. This is dry floral foam made for light weight flowers so it doesn’t need soaking like normal floral foam used for live flowers. You can cut floral foam with a kitchen knife to make it fit, just be careful not to breath in the dust when you are working with the foam. If you’re doing this craft with children I recommend skipping the foam and just using play dough. They both work well.
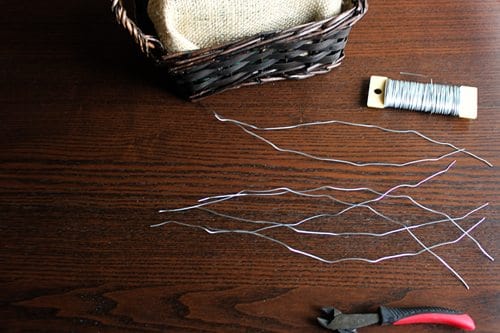
After you’ve fitted your basket with foam and covered it with your burlap or fabric you are ready to cut your wire. I usually just eyeball flower stem length but “the rule of thirds” can help too. You want your flowers to be roughly two thirds of your entire arrangement.
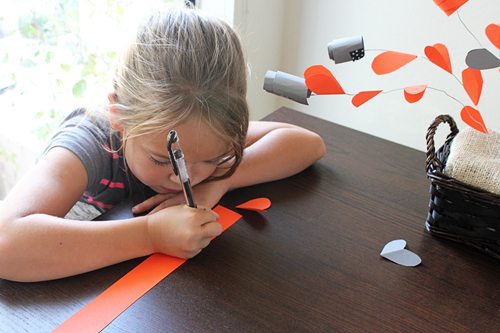
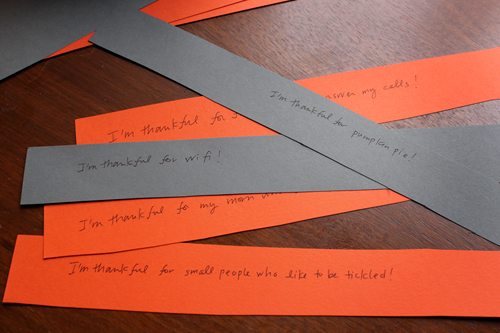
Next you’ll need to create your secret messages. You can get your whole family involved if you like or just fill them out yourself. With a ruler, lightly measure out 4-5 sections, long-ways, on your 8.5×11 card stock. These will create your long strips that will be rolled into flowers. Then write a sentence on each one about something you are thankful for or maybe even a funny memory you’d love to share.
This is really a good exercise for any time of year.
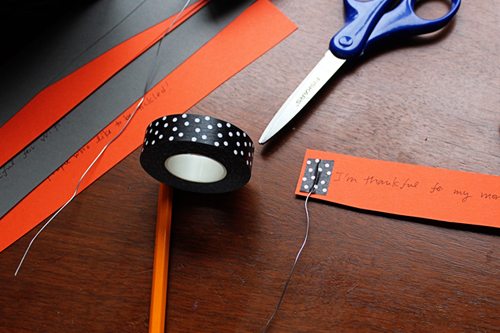
Cut out your strips and then tape a wire stem to each strip using a small piece of Washi tape. You can use regular tape here too since the wire is not going to be moving but I just used Washi tape since I already had it out.
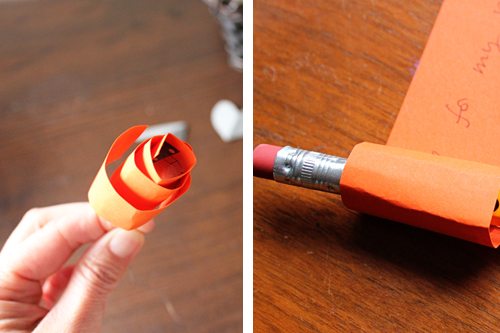
Then roll your flower up like a rosebud with the wire end as the center. You can get fancy here and coil your paper so that the bottom is tighter than the top and the looks like more like a flower but I found that the Washi tape wasn’t quite strong enough to hold the tension. So regular rolls will do the trick. Then close up the roll with another piece of Washi tape.
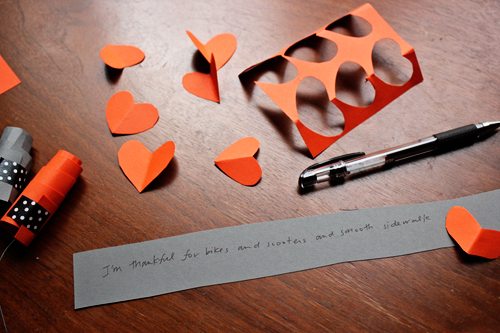
From another sheet of card stock cut out some small hearts. These will be your leaves.
Wrap the heart around your wire and then close it with a piece of double-sided tape. Voila! You have a pretty flower ready for arranging into a bouquet!
Repeat your flower process until you have created enough flowers for your centerpiece. We went the minimalist route and only made a few flowers but if you have a lot time or willing family members, this arrangement could get quite full and big.
When your flowers are done, gently poke them through your burlap or course fabric and arrange until pleasing! Floral wire is easy to bend and position.
Then set your table and get ready to enjoy!
******************
Difficulty Level: Relatively easy though the steps are involved.
Appropriate Age levels: Different steps are appropriate for different age levels. Small children can help write their own message and roll their strips into flowers but working with wire should be left to older children and adults. Floral wire could easily be replaced with chenille stems to make this more child-friendly.
Discover More Thanksgiving Crafts on Alphamom:
- Simple Fall Leaf Craft for Kids
- Give Thanks Bunting Thanksgiving Day Craft
- Thanksgiving Crafts for the Kids’ Table


