DIY Paper Bag Candy Bowls for Halloween
By Ellen Luckett Baker
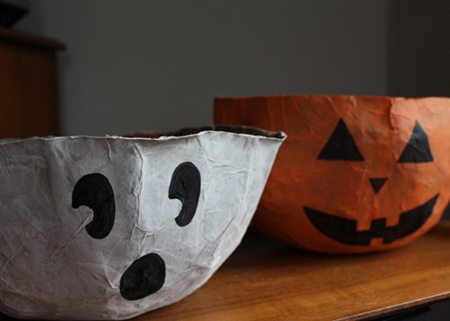
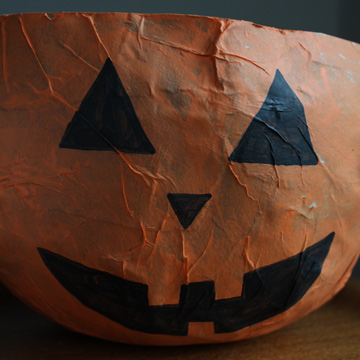
Serve up your candy this year in these fun papier mâché Halloween candy bowls. Made from paper bags and recycled tissue paper, they are a fun and messy project for the kids. This project uses some recycled materials and others that can probably be found around your house.
For the base, we used a metal bowl for the ghost and a real pumpkin for the pumpkin bowl. If you decide to use a pumpkin, you’ll need to cut the top off at the widest point. You’ll also want to find a space that can get messy, or cover your work surface before you begin. Lots of drippy glue in this project. The drying time for the bowls will be about 48 hours, so make some time.
Supplies (for one bowl):
-paper bags
-plastic bag or plastic wrap
-bowl or pumpkin for the base
-tissue paper
-white school glue (one medium-sized bottle)
-old paint brush for applying glue
-acrylic paints
-paint brushes
Instructions:
1. First, cover your base with plastic wrap or a grocery store plastic bag.
2. Then mix one part of glue to one part water in a mixing bowl.
3. Rip the paper bags into long strips and dip them one at a time in the glue mixture, running your hand along the strip to remove excess glue. It might take your kids a few tries to get the hang of this.
4. Place the strips overlapping all over the bowl. Allow the bowl to dry for at least 24 hours and put your remaining glue mixture in an airtight container to save for the next step.
After the paper bag layer has dried for 24 hours, you’ll move on to the tissue paper step. With an old paint brush, apply the glue mixture directly onto the bowl and lay the tissue paper in strips. Again, allow to dry for 24 hours. You can trim the top edges or leave them ragged. Once dry, remove the bowl from the base and paint it. Have a spooky, sugary Halloween!

Discover More Fun Halloween Ideas Here:


