Create a Life-Size Gingerbread House!
A Gingerbread House You Can Get Inside of!
By Brenda Ponnay
Making a gingerbread cookie house can be a bit of a PITA. (I don’t mean a sandwich with hummus and sprouts…more like a Pain In The…well, you know where.) First there’s the mixing with sticky molasses, then there’s cutting perfectly square walls that bake into uneven trapezoids. Then there’s the gloopy icing that runs all over the place and only holds when you don’t want it to. Don’t even get me started on trying to position everything with soup cans and cutting the gumdrops into slivers. Imagine me acting like a mouse stuck in a glue trap and you’ll pretty much get an idea of how my gingerbread-cookie-house project went down.
Making a cardboard gingerbread house is definitely more my style. They don’t call me the “cardboard whisperer” for nothing. It was really easy, actually. To start, you’ll need two large boxes big enough to crawl into. You might also want a small box if you want to add a fancy window box for flowers. You’ll need some paint in gingerbread-house colors (I opted for brown, white, pink and green) and a hot-glue gun (for adult sue only!) to glue your candy pieces on. It’s a cinch.
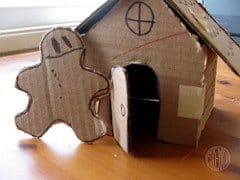
First you need to make a plan. We decided to keep it simple. For kicks we made a cardboard model. You don’t need to do this but drawing out your ideas will definitely help and get you in the mood. We made a cardboard gingerbread man too. He might not be very tasty but he sure is cute!
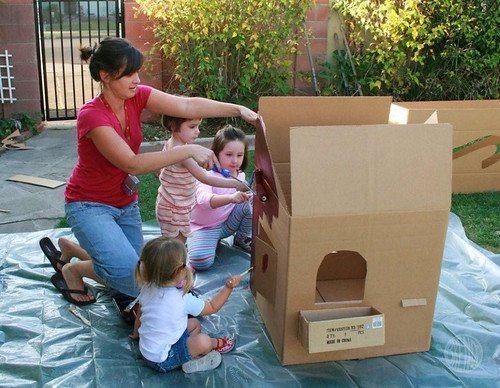
Now it’s time to cut the big boxes. Break out the box cutter and make sure all little fingers are safely out of the way.
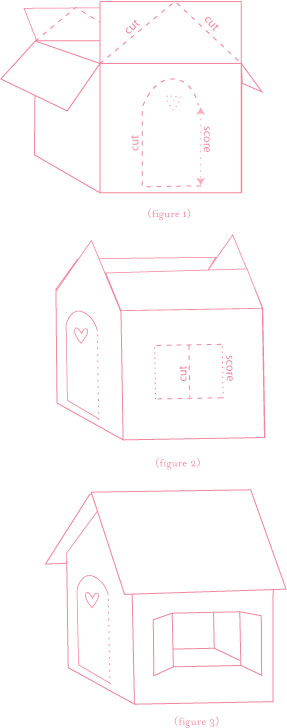
I actually had two different sized big boxes. One was 20×20 and the other was 24×24. I used the larger one for the roof so it would have an overhang. I cut the bottom first. I cut a triangle out of two of the top opposite closure flaps to create a gable. The remaining flaps won’t be big enough to reach the top of your gable triangle but that won’t matter because you’ll cover them with your roof piece.
Then I cut a rounded door (be sure to score the folding side so the door opens evenly) and two capital “I”-shaped windows on either side that opened into shutters. On the other side I made a small rounded window and cut a hole to stick my small box into for the window box.
I collapsed the larger box and cut it in half (along one long-ways fold) so it could sit like an “A” shape on top of the bottom box. Then I taped the two boxes together from inside the house with strong duct tape. I trimmed off the excess roof, leaving enough for an over-hang that I would later scallop for that “gingerbread” look. With the leftover half of the big box, I cut out shapes for round candies, some gum drops, a gingerbread man and a couple of candy canes. (I may have used some extra cardboard that we had lying around so if you run short, grab another box.)
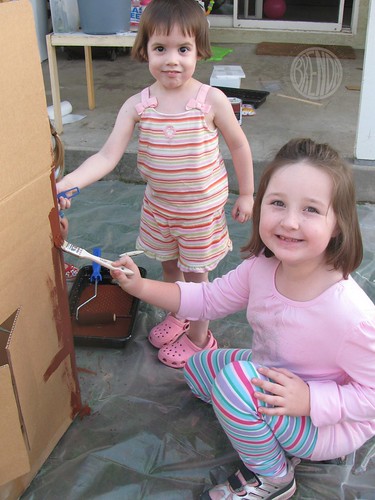
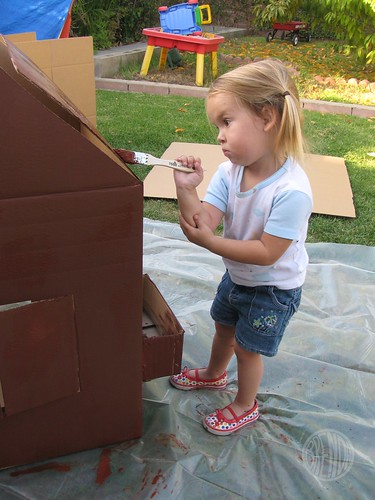
Then we painted! This was the fun part. Who says two-year-olds are too little to paint? (FYI– we used house paint BUT water-based children’s paint is the safest option.) We did this at my friend’s house and the whole family pitched in. It was great fun.
A paint roller is an excellent investment. It made painting the base brown color go quickly without any drips or streaking. I let the little ones fill in the edges (and pretty much anywhere they wanted) with smaller brushes.
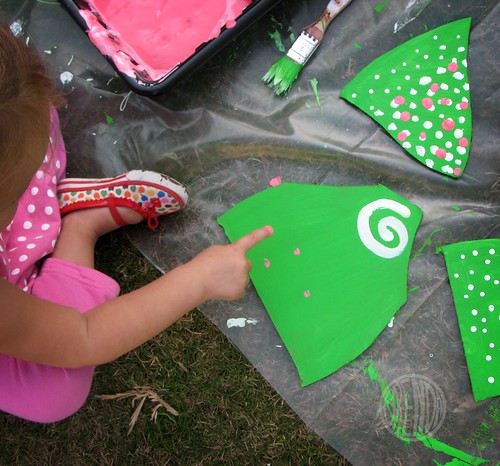
After the house was painted brown and put safely away to dry, we broke out the other colors and had a blast painting the bigger-than-life candies. My daughter and her friend especially enjoyed adding the “sprinkles.” A swirl here and a dab there and we were done! Then I chased all the kids away so I could add the white-paint icing detail and glue everything onto the house without anybody getting burned by the scary hot glue gun (again, for use by a responsible adult only). I wanted to add yarn strings to the round lollypop shapes but my daughter did away with that idea with one guitar-string-like pluck. It didn’t matter in the end. The round candies looked like peppermint star candies and turned out just fine. Almost good enough to eat!
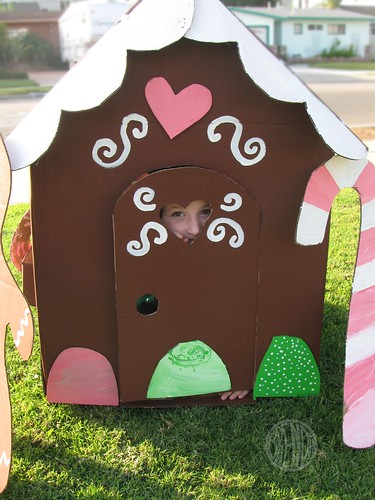
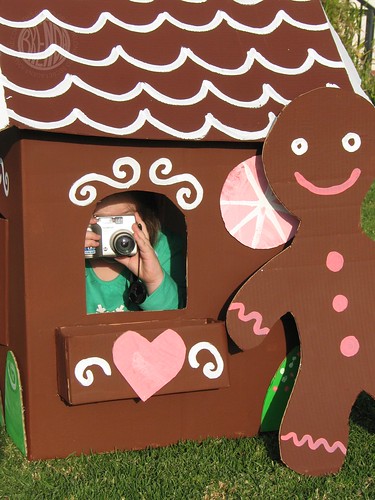
Front view.
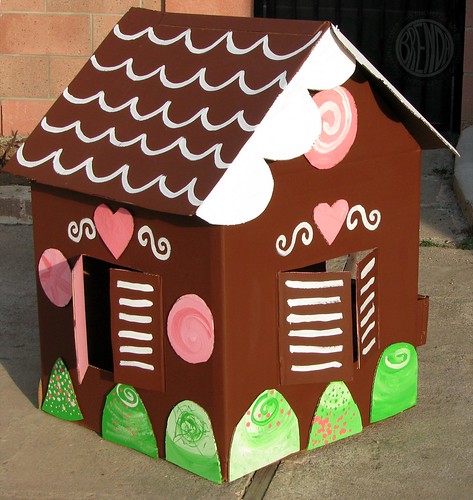
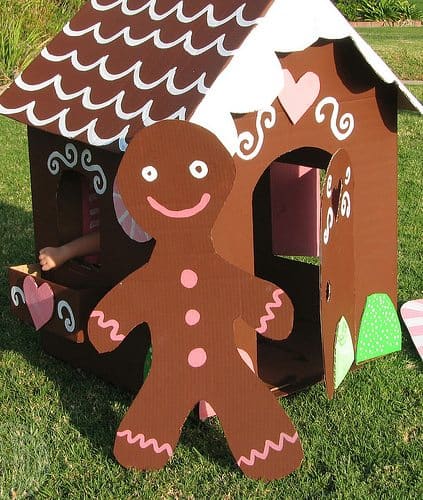
Side view. Oops, I lied. I didn’t put the shutter windows on opposite sides. But it really doesn’t matter. Just go with the flow. Kids will love it no matter how you much you stray from the plan.
The other side with the optional pop-out flower box.
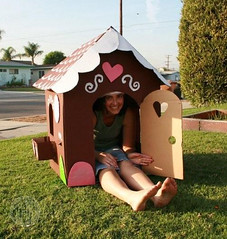
And lastly, me, not fitting very well. Perhaps a height-restriction sign might be a nice addition.
Find More Christmas Crafts


