Lunchbox Napkins for Back-to-School
Each year I make my kids new napkins for their lunchboxes.

In addition to being more eco-friendly, I have to admit that I love to make cute patterned napkins to add something special to their lunch away from home.

This is an incredibly simple project and a great one for beginning sewers.

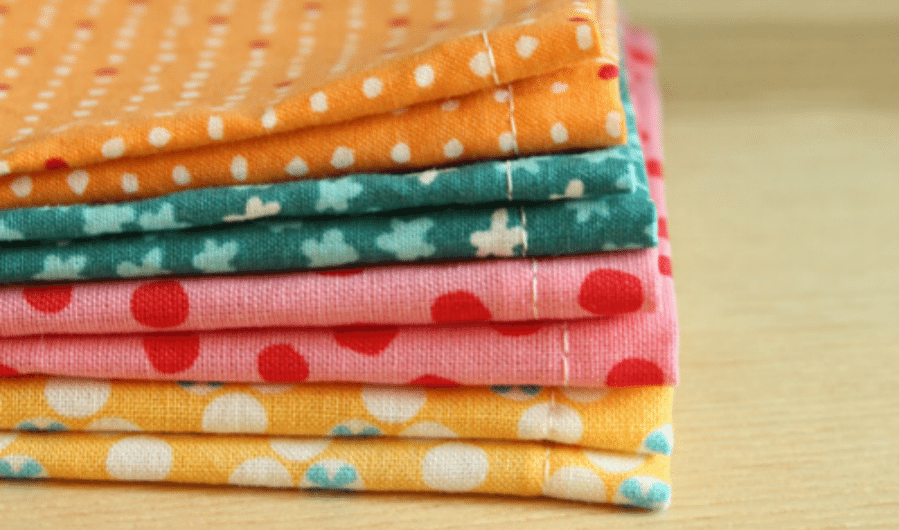
My napkins keep getting bigger every year as the kids grow, so this year I made 12″ squares for my 6-year-old and 8-year-old, but you can make them any size. These have simple folded corners, but as you become more advanced in your sewing, you can learn to make mitered corners for a professional finish. You could make these extra fun by hand embroidering or stamping the days of the week, initials, or a name.
Supplies (for six napkins):
- 1 yard cotton fabric
- iron
- scissors
- ruler
- sewing machine
- matching thread
Instructions on how to make hand-sewn napkin:
Step 1. Cut the fabric into 13″ squares.
Step 2. Next, fold and press opposite edges of the square by 1/4″ towards the wrong side of the fabric. Fold and press again again by 1/2″ and sew a straight stitch 3/8″ from the edge of the fold on the right side of the fabric on each of the opposite sides of the fabric square, sewing from edge to edge.
Step 3. Once you have sewn down two opposite sides, take the fabric back to the ironing board and press and fold again on the two remaining raw edges. Sew along these sides as well, forming folded corners on the back side.
For more fun and simple sewing projects, check out Ellen’s new instructional book 1, 2, 3 Sew.