Tiny Holiday Matchbox Greetings and Place Cards!
Here’s something new to try, for the crafter who loves to make little models: Tiny Holiday Matchbox Greeting Dioramas! They are perfect for gifting and decorating with. Set your holiday table with these matchboxes, used as place cards and your guests will treasure them. My favorite part: they don’t take up very much room.

Supplies to make your Tiny Matchbox Greetings & Place cards
- matchboxes
- acrylic or craft paint
- our printable (see below)
- glitter
- glue
- an exacto knife or blade
- self-healing mat
- metal ruler
- tiny paint brushes

Matchboxes are surprisingly in expensive. (We bought these ones in bulk.) You can even order them plain like these ones.
Click and print our printable here.
How to make your Tiny Matchbox Greetings & Place cards
Step one: paint your boxes!
I used a heavy acrylic paint so I didn’t have to do more than one coat but you could use spray paint or any craft paint. You just want to cover up the branding on the matchboxes so they are plain. If you bought plain matchboxes you could leave them white or paint them a pretty color. Your call.

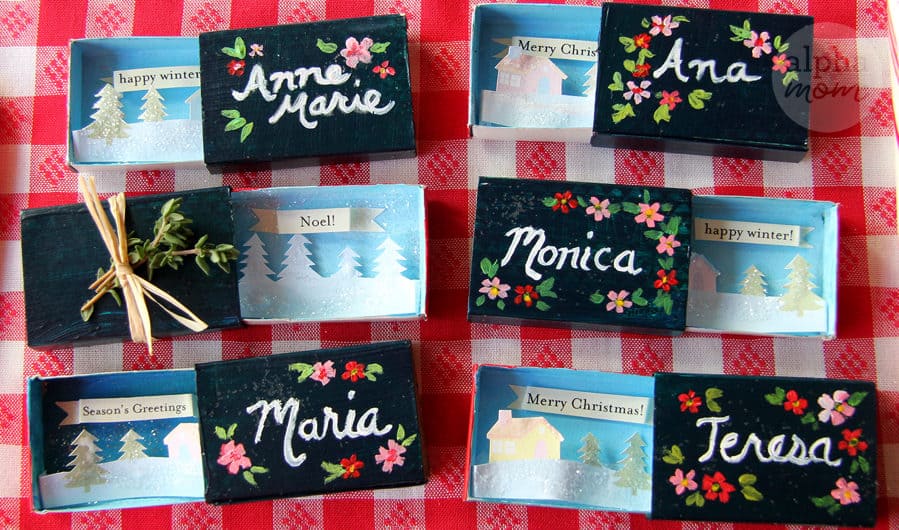
I painted the outside of my boxes a dark green and the edges of the inner box red to be festive.
While the outside boxes dry, paint the insides a pretty sky blue. Have fun with gradients and swipes of snowy glitter. This will be your sky so you could even make it dark like a cold winter night or light and bright.

Step two: Now you are ready to assemble and add glittery detail.
Cut out the little scene and your greeting banner from our printable. Fold the scene along the dotted line. If your boxes are a different size ignore the dotted line and just fold it so that it fits just inside the box. Glue the small tabs and insert carefully into your box and attach on both sides. I found using tweezers or the back edge of my exacto knife to be really helpful with placing the tiny scene but if you are an experienced model builder this will be easy for you.
Then add some swipes of glue with your tiny paint brush and add glitter.
Fold the greeting at the edge of the words and then once more so that it creates a little pop up. Then glue it to your box sky.

So cute, right?!

Step three: add final touches.
You can paint names on the outside of your boxes or just tie them with a bit of raffia and a sprig of fresh herbs. Then set your table with your new matchbox place cards or gift as is. Either way these tiny boxes are guaranteed to bring big cheer!