Repurposing Your Leftover Halloween Candy
What to do with all that Halloween Candy
By Brenda Ponnay

I’ve been thinking about Halloween candy a lot lately. That’s probably because it is on sale everywhere and I keep buying it like the idiot that I am. I know I only need one bag since we hardly ever get any trick-or-treaters at our second-story apartment down a dark alley on the wrong side of town but I keep buying more because it keeps getting eaten! I wonder who is eating it? Hmmmmm….
I can’t even keep myself away from the candy we have before Halloween. What am I going to do with all the Halloween candy that we have AFTER Halloween? I’m sure my little goblin is going to make out like a little bandit on trick-or-treat night. What am I going to do about her mommy who will be gobbling it up all the way to Thanksgiving? This is a problem. A problem that needs to be solved with a little creativity! Something I have more of than willpower!
How can I make the candy fun for my kid and not have it so readily available to me? Putting it in a pretty jar on top of the refrigerator is just not going to cut it. How can I spread it out so that we are not eating it every day all the time? How about an Advent calendar! Why not start counting down to Christmas in November?
Make a Candy Calendar
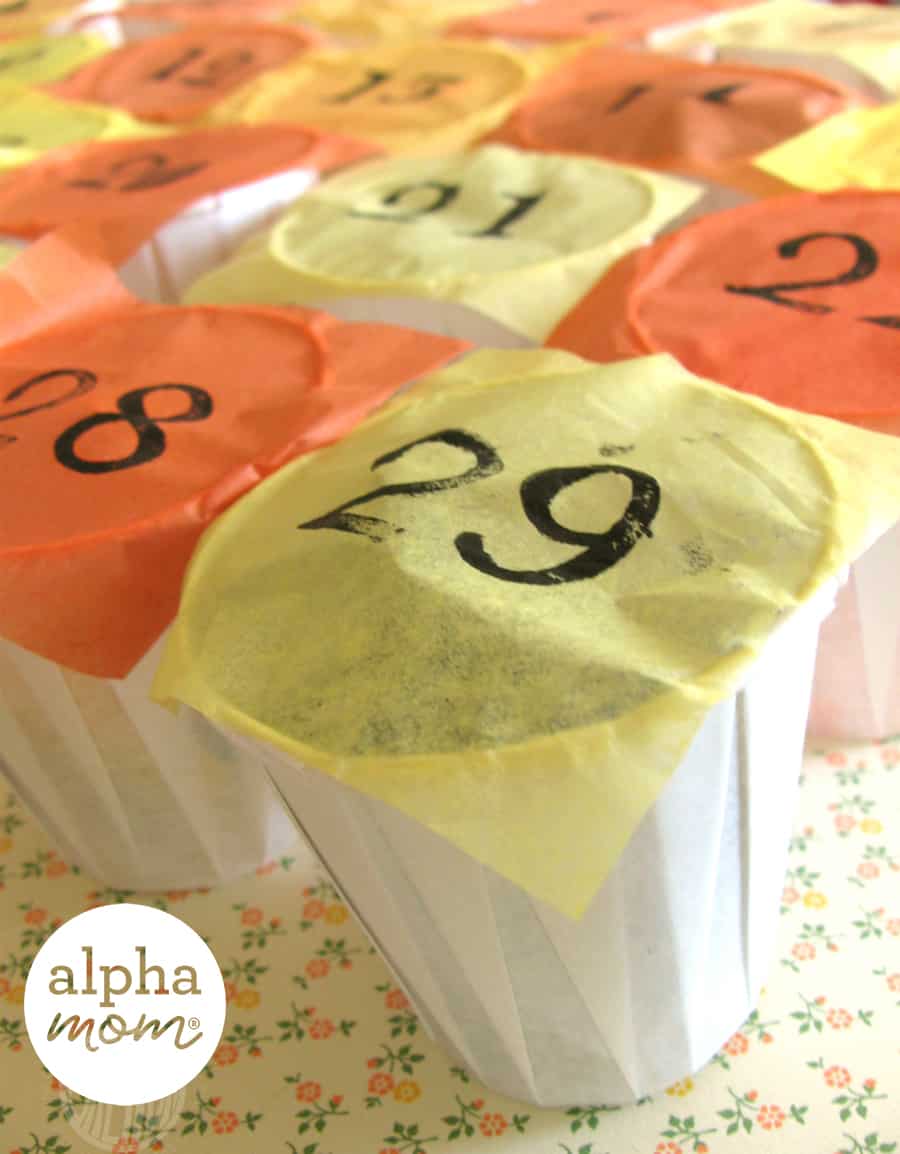
To make a calendar like this, buy yourself some small paper cups. You’ll need 30 for the month of November. If you want to make a calendar that goes all the way to Christmas, you’ll need more. I bought a box of 100 at a restaurant supply store for $3. The smaller the cups are the better, but they need to be big enough to hold your favorite kind of candy. We’re partial to peanut butter cups in our house so I made sure these cups could fit a peanut butter cup.
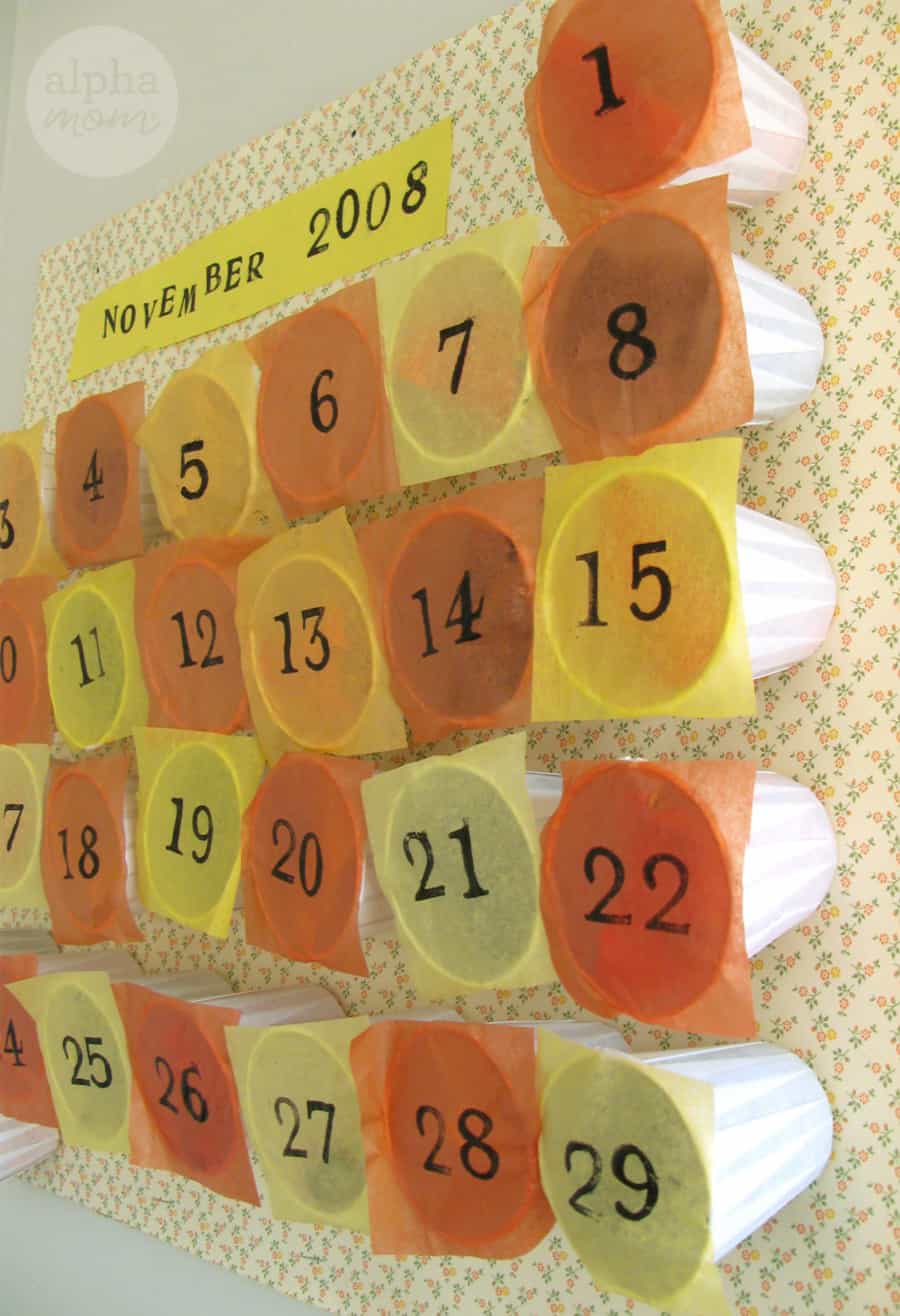
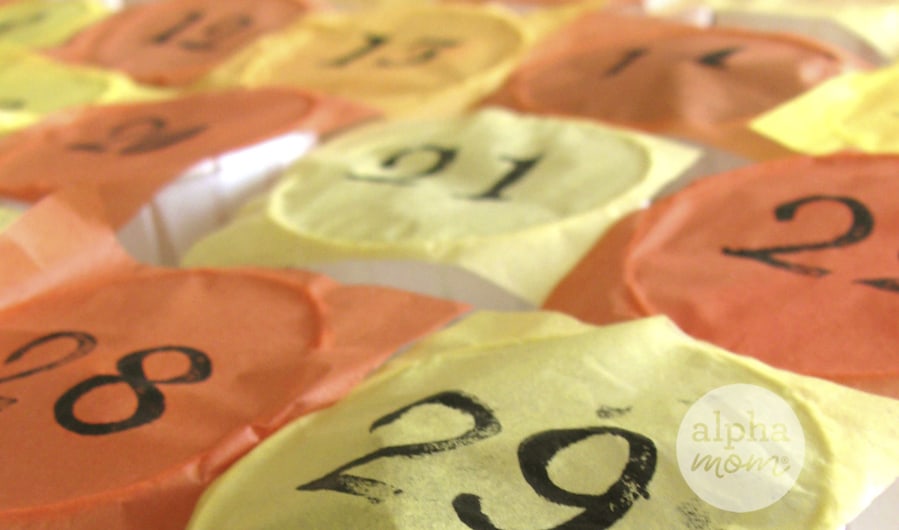
I attached the cups with brads in a grid-like pattern to a piece of decorative paper, then glued the paper to cardboard. I set the board on a table and filled all the cups with candy. Then I carefully sealed each one by painting glue around the rim and gently placing a piece of number-stamped tissue paper on top of each cup. I love these stamps that I bought at a stationery store but I’m sure hand-numbered cups would look swell too.
Once it they were all sealed, I gently hung it up on the wall out of reach of my nimble toddler. We admired it for a few hours and then I let her puncture one of the cups for a picture.
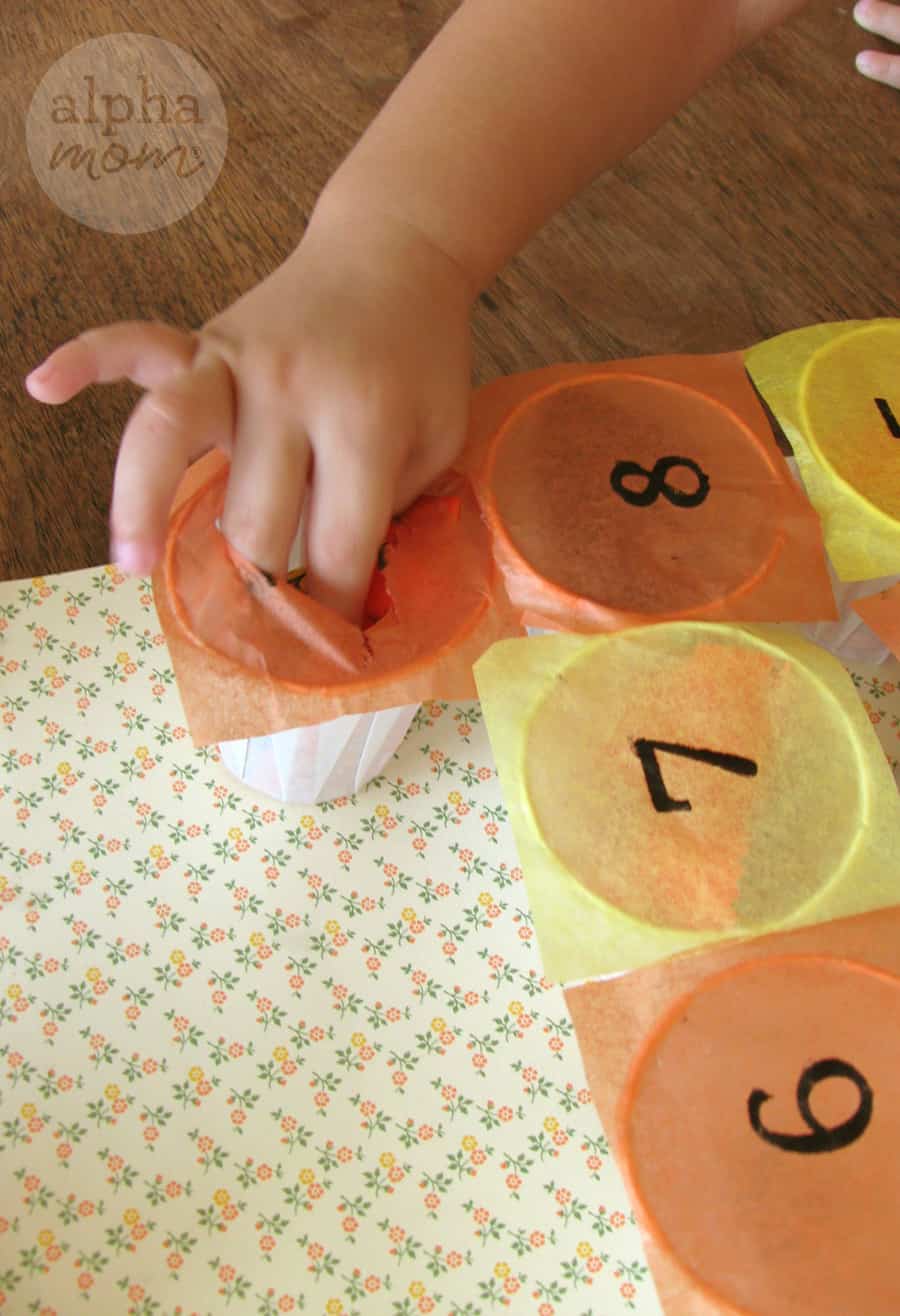
That was the best part. There is something so satisfying about popping a piece of taut tissue. It’s like popping bubble wrap. Kids love it. Even I love it. Getting candy out of the cup was just gravy after that. It does take a lot of work to finish each cup but I can tell you, the reward is worth it! Plus, it works pretty well keeping me out of it. I’m not too keen on doing the whole job over again if I happen to get a craving for a peanut butter cup in the middle of the night. It’s like the candy has its own alarm system.
Make a Harvest Tree

My next idea for hoarding away Halloween candy is what I like to call a “Harvest Tree.” This is actually an idea my friend Bethany told me about. She suggested a mobile made out of tissue-wrapped candy but I decided a harvest centerpiece might suit me better.
How much better is it to look at cute little packages of fall-colored tissue instead of the in-your-face green and yellow wrappers that are the usual Halloween fare? Wrapping something like a present always improves it, I think. Like the advent calendar it slows down the eating process too. Though I don’t think it will slow kids down much. My toddler figured out how to unwrap the candy that was dangling within her reach in two seconds flat.

You might want to save this idea for Thanksgiving day. It will certainly make a great conversation piece for family to bond over.
Make a Turkey Piñata

If those ideas don’t float your boat, what about stuffing all your leftover Halloween candy into a good old-fashioned turkey piñata that you break open on Thanksgiving day? How’s that for a festive twist?
I’ve been wanting to make a homemade piñata for years. Once we spent most of a birthday party hacking away at a tissue-covered cardboard box, and it still wouldn’t break until we sawed it open with a hack saw. Since then, I’ve been thinking there has to be a better way.
There is! Paper maché! Paper maché is very easy and fun to do with kids. It’s sloppy and messy and there isn’t really a wrong way to do it. Sure you’ll be filled with doubts as your project seems too soggy or too gritty or just plain wonky but give it time and it will be worth making the mess.
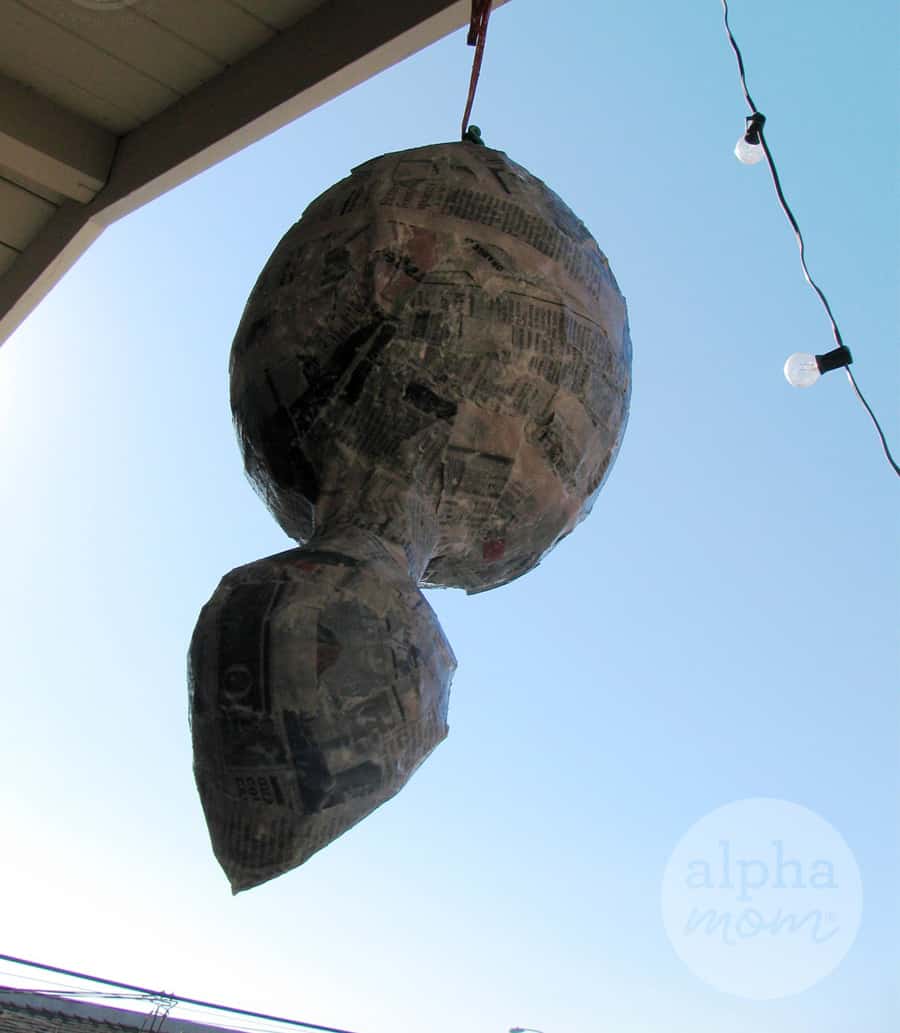
To make a turkey piñata like mine, blow up two balloons. Make one big for its body and one small for its head. To make a neck, you can use a toilet paper roll. Use scissors to make a few short cuts around each end. Splay the ends of the toilet paper open so it looks like the petals of a flower and then tape them in between your head and body balloons. It will be a bit top heavy at first but once you fill the turkey with candy, things will even out.
You don’t have to make your bird sculpture like I did. You can use any materials you have on hand. I wanted my turkey to be round and fat so I used balloons but if you want to make it easy on yourself, try a gallon milk jug or a tissue box. Who knows, square turkeys might be all the rage this year.
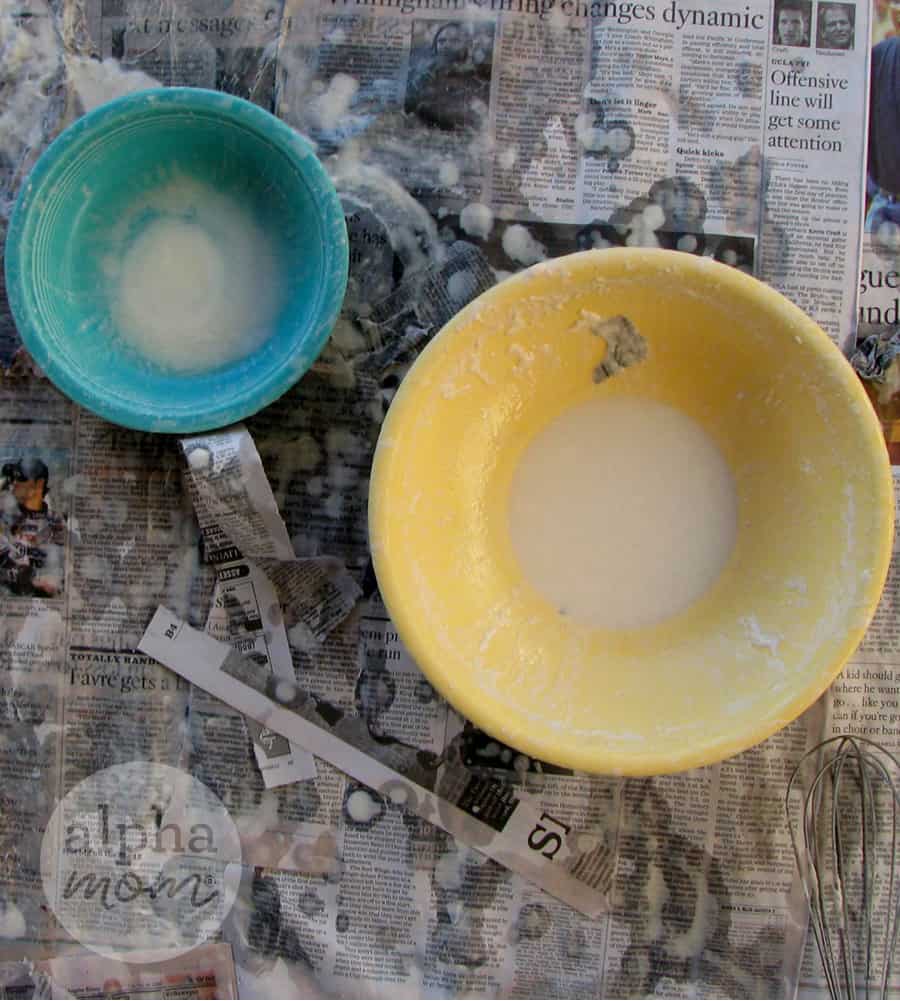
After you have your sculpture ready (don’t forget to make a loop for hanging your turkey), then it’s time to mix up some paste. This part is very easy and fun for kids to help with. Dump one cup of flour into two cups of water in a medium sized bowl and then mix out the lumps with a wire whisk. You can also add a tablespoon of salt to keep your project from molding if it’s going to be sitting around for a long time.
Next you’ll need strips of newspaper. You’ll need a lot, so rip up an entire day’s newspaper if you have it. Junk mail works well too. This is a great recycle-reuse project. Some people like to use white paper if they don’t want the newsprint to show through their paint. I personally didn’t mind and thought the smudgy words gave my turkey texture.
Now the fun part: Dip a strip of newspaper into your paste, slide off the excess paste by running it through your fingers and slap that puppy onto your sculpture. You’ll need to do at least two coats of newspaper but I personally wasn’t very methodical about it. As long as it’s covered.
Let it dry for at least a day (this will vary depending on the humidity where you live) and when it is hard and hollow-sounding to the touch, it’s ready to paint! I punctured mine with some wire for feet. Then I added cardboard wings and a cardboard wattle. I painted on its beak and glued some bells on for eyes. I’m sure googlie eyes or buttons would work great too. Construction paper feathers or even real feathers would also work for the tail. Cut a small hole big enough to fit one piece of candy through near the turkey’s behind and fill with candy. Cover the hole with tail feathers and you’re done!
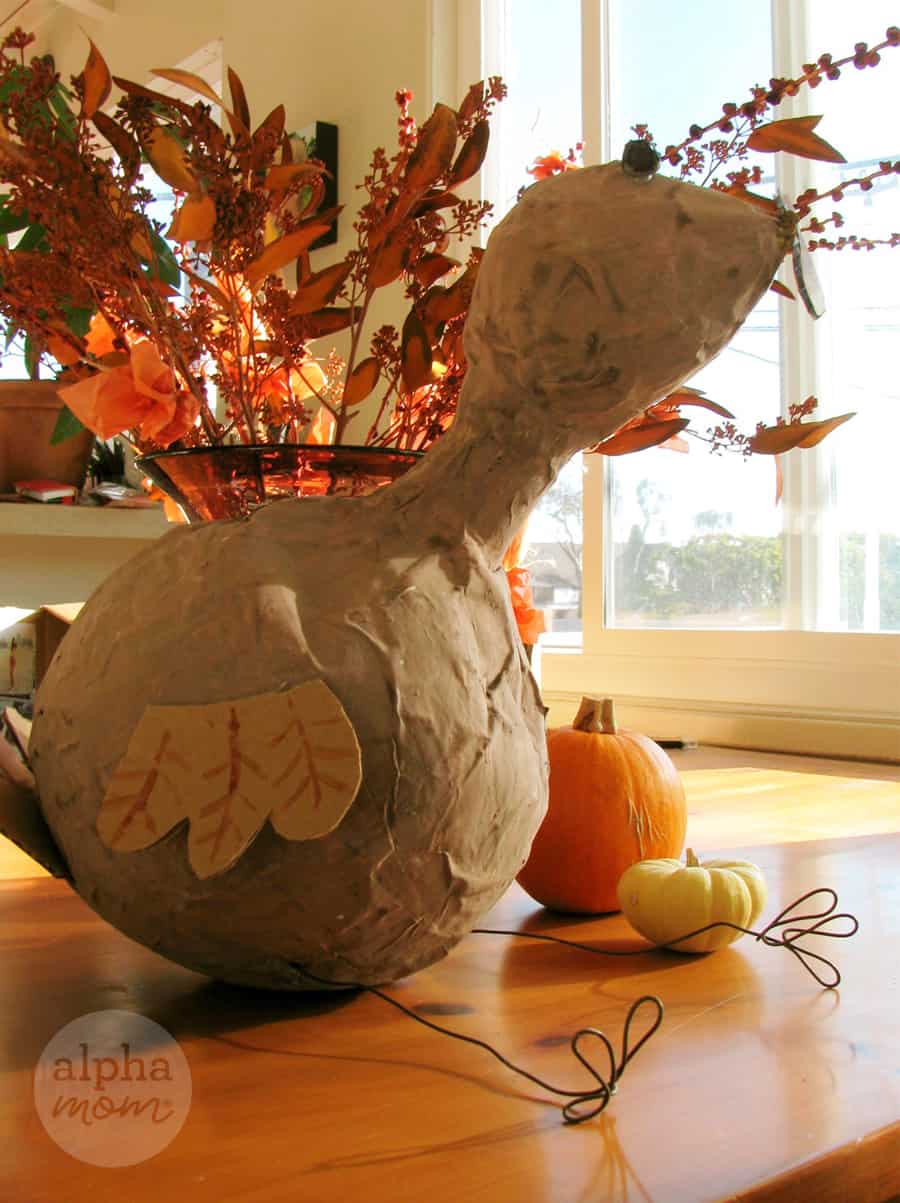
There you have it! A turkey piñata to whack to death with a baseball bat—as if turkeys didn’t already have a complex about violence. Or you could be like me and keep your turkey around as a pet.