Turn up the Color this Easter: DIY Neon Eggs
Neon has been turning up everywhere lately. Fashion, food…crafting supplies! And why not? Life is vivid we say, seize the day! Trends are fun so why not set your Easter table this year with your best crisp white linens and then add just a touch of unexpected color!
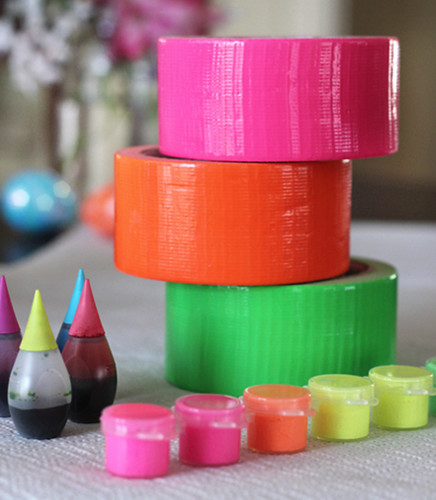
Below are three different methods for coloring your eggs neon: some with neon food dye, some with neon craft paint and lastly for a no-fuss no-mess method we wrapped some with small strips of fluorescent duck tape.
Neon Food Dyed Easter Eggs
For this method you will need:
• hardboiled eggs
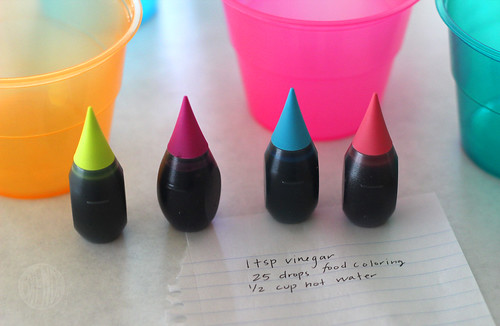
• neon food dye found in your local grocery store (25 drops of each color)
• 1 tsp of vinegar
• 1/2 cup of boiling hot water
• an egg dyeing kit or a muffin tin and strips of tape
• a drying rack
• tongs for handling they eggs when they are hot
Before you begin you might want to prepare your area for possible spills. Cover your table with newspaper or butcher paper and make sure you have gloves if you want to keep your hands pretty. Food dye is non-toxic but it can turn your fingers a lovely shade for a few days that might not go with your pretty Easter dress.
If you’re like us you’ll plow on through and not be afraid of a little color.
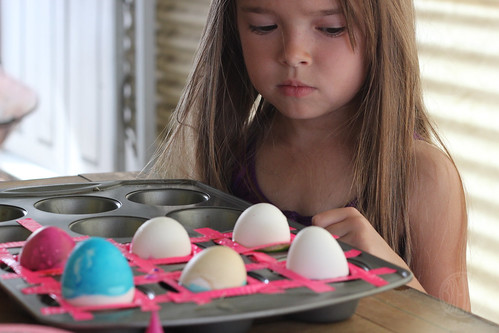
Next set up your coloring receptacles: You can buy an egg dyeing kit at the grocery store that comes with handy little egg-shaped cups or you can use small drinking glasses or even a muffin tin. We taped off our muffin tin with strips of duct tape (any kind of tape will work) so that the eggs would stand up on end and we could color them half one color and half another on the other end. All your traditional egg dyeing methods work here.
Add your boiling water to the receptacles then add 25 drops of neon food dye and 1 teaspoon of vinegar. When that is ready, let your egg sit in it’s tiny little dunk tank of color for a minute or more. The longer you let the eggs sit, the more intense the color will be. We let some sit as long as 15 minutes!
As you can see we got all kinds of great results.
Neon Craft Paint Easter Eggs
For these eggs, since they are not edible, we opted to hollow them out. That way we could make a few omelettes and not waste the eggs themselves. This can be done by carefully poking a small hole in each end of the egg with a thumb tack or needle and then blowing out the egg into a bowl. If you’re super handy you might even have a drill for this step. We did not.
You will need:
• hollowed out eggs
• craft paint in neon colors
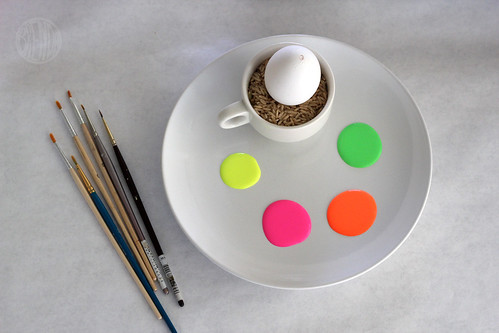
• paint brushes and a cup of water to wash your brush with
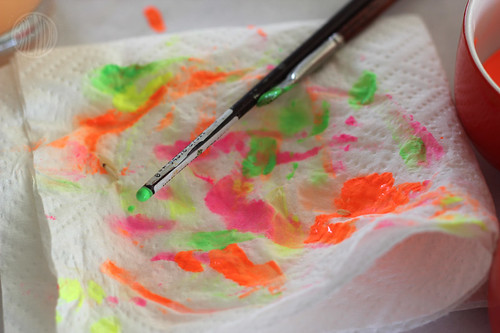
• a paper towel to blot your paintbrush dry
• optional: small cup filled with rice
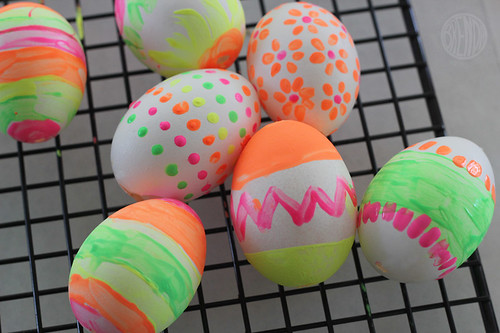
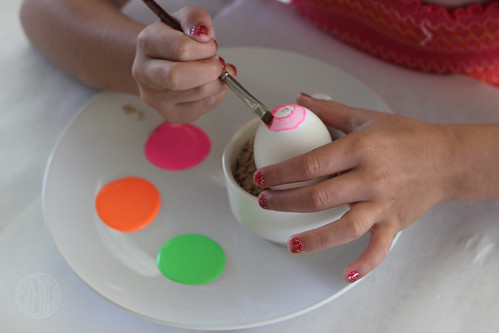
Painting with neon craft paint on eggs is a little like painting your nails with fingernail polish. The paint goes on thinly (requiring extra coats) and doesn’t always want to stick to the egg. Stripes are possible but we found that the easiest way to get most the saturated color was to dab it on in dots and dashes.
Since holding the egg while painting can be tricky, we propped our eggs up in little cups of rice. We only painted one side at a time and waited for the paint to dry before moving the egg and painting the other side. Who am I kidding, we totally smudged things up by moving them around with our hands and getting rice stuck in the paint but if you were SMART this is what you would do. Take your time and let the paint dry. It actually dries pretty quickly.
Another way to get nice even dots is to use the other end of the paint brush. Whatever you do, don’t get frustrated. This method is messy but totally worth the effort.
Not to mention the mess is quite pretty to clean up.
Neon Duck Tape Easter Eggs
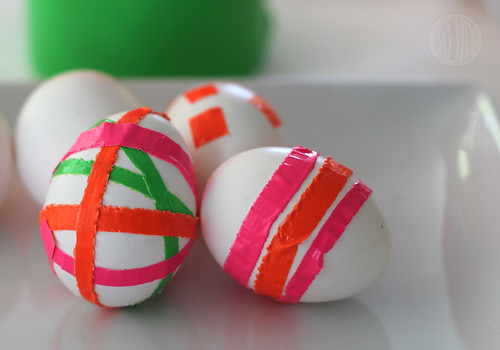
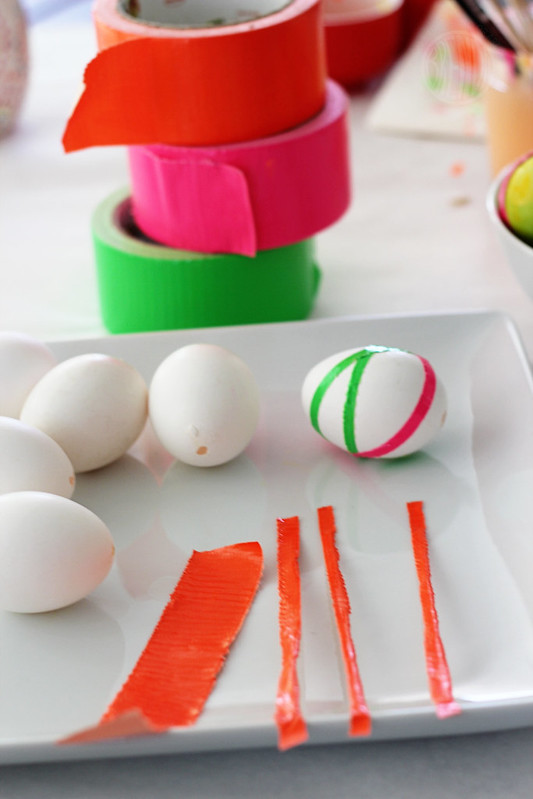
This last method is a cinch and looks pretty fantastic for how simple it is. You can even combine this taping method with the other methods above and really knock people’s socks off. You might even have to hand out sunglasses at your Easter dinner.
You will need:
• fluorescent duck tape (found in hardware stores and craft stores)
• scissors
• mad tearing skills
You probably know from experience that duck tape does not like to tear horizontally but lucky for us it does like to tear vertically. So first you will need to cut a small strip about 4-5 inches long and then take your scissors and cut a small 1/4 inch cut at one end of your tape strip. Then give that little tab a good tear until you have a tiny 1/4 inch strip. Sometimes the tape will want to curl so experiment with widths until you get a strip you feel comfortable handling. Once you have a few strips in the colors of your choice simply wrap them around your egg in your desired pattern. You can also cut small squares of tape and press them on the eggs too.
However you end up coloring your eggs neon, you can pretty much guarantee they won’t be boring.
More Easter Craft Ideas Here:


