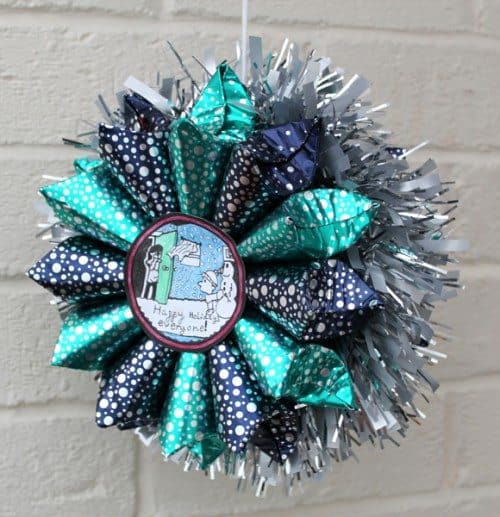
Star of Treats Advent Calendar Craft
When I set about figuring out this advent calendar, I was aiming for a few things:
• Something that could be reused for a few years.
• Something compact that wouldn’t take up a huge amount of space and could be hung up like a decoration and look nice from all angles.
• Something the kids could help make and personalize with their drawings.
• Something that would fit multiple treat candies for each day, so I only had to have one calendar, rather than one for each child.
• Something nice and inexpensive to make.
Each side of the star is made from twelve folded toilet roll tubes that can be opened and closed to house candy or messages. If this sounds like your kind of advent calendar then read on and I’ll show you how it’s put together.
Things you will need:
• Hot glue gun. There’s no way around this. It takes the magic of hot glue to hold this bad boy together. White glue just isn’t going to be able to handle it. (hot glue guns are to be used with caution by responsible adults.)
• Pieces of wrapping paper big enough to wrap toilet roll tubes in. If you want to make this for next year then don’t throw out your scraps of gift wrap this year!
• a bit of tinsel to put on at the end.
• String to hang it from.
• a print out of the pdf template provided here (Advent Calendar Letter Template & A4 paper template) that has the central circles and numbers (The numbers are hidden by the tinsel in the top image because you have to hunt for the right day to open) and scissors to cut them out.
• Sticky tape to wrap the toilet roll tubes.
• 24 toilet roll tubes. Yeah, I know, not something you tend to just have at hand and you’re not exactly going to go through that many toilet rolls in time to get this made for Dec 1st (unless you are very unlucky), but fear not, you can always chop up the long cardboard tubes from inside the holiday gift wrap, or just make some tubes out of random cardboard like cereal boxes. They do have to be roughly the size of a toilet roll tube for the geometry of the star to fit together though.
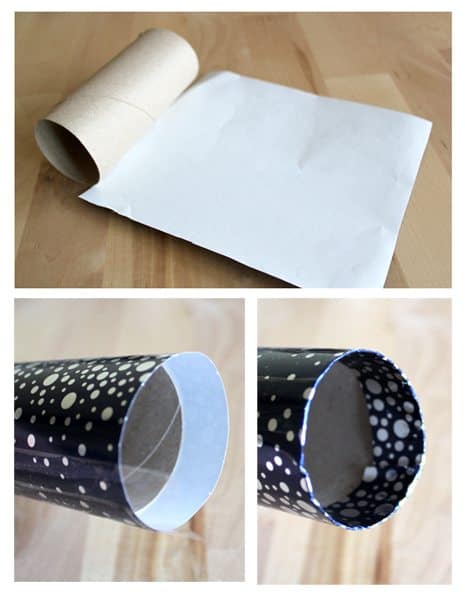
The first step is to make the 24 wrapped and folded tubes. Each one is made by first wrapping a toilet roll tube in wrapping paper that is wide enough to leave half an inch or so at either end that can be folded in and secured with some sticky tape.
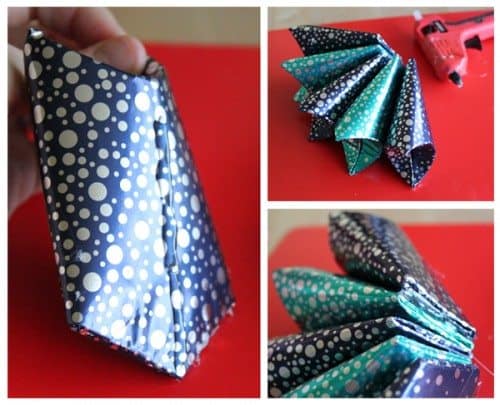
Then you will need to pinch the roll flat on one end so that you have two little fold marks that divide your tube exactly in half. Now you can bend in one side as shown in the photo and bend in the other side to meet it. This forms a nice neat seal that will not just fall open.
Then you need to do the same thing to the other end of the tube, but rotated 90 degrees to the first end, as shown below. One end can then be pressed flat and glued shut with a bit of hot glue. The glued shut end will be at the center of the star and the other end will be the opening that you put the candy in.
Now make a whole load more!
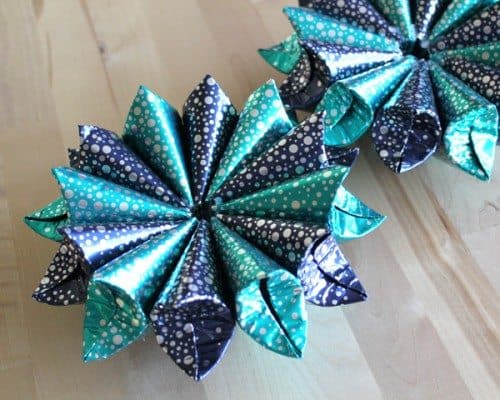
Next you’re going to hot glue all these little parcels together into two matching stars. Each star is made from twelve pieces. The way I glued them together was to just drizzle a line of glue down the center of the flat side and keep adding them around into a circle. Once you have a few glued in this way, you can start gluing together one of the sides of the pointed end, so that the star kind of tilts inwards and is able to form a structurally secure circle of twelve parcels.
Here you can see the two stars glued securely.
Now, if you turn the star over, on the back you will see the other side of the pointed ends of the packets sticking up, these will interlock with each other to make the two separate stars into one interlocking, double sided advent calendar. Again I used hot glue to hold the two stars together.
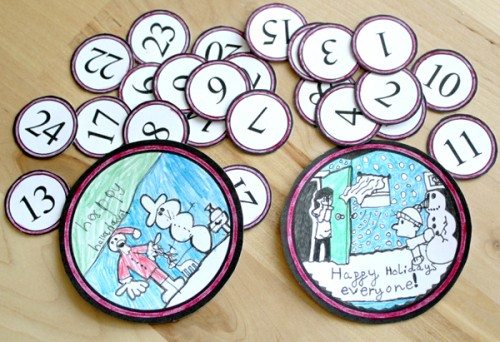
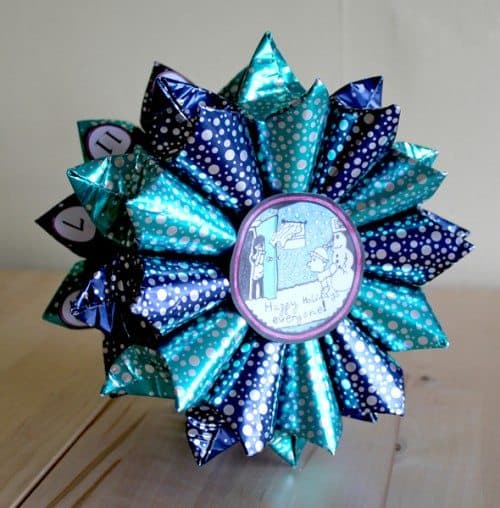
That’s the main structure of your advent calendar complete, now you need your printed sheet of numbers and center circles and a willing child or children to decorate them. This was ideal for my family because my two older children got to decorate a side of the calendar each. I like the idea of them making a new center circle for the calendar next year and just gluing that over the top of this year’s. You might be able to tell that my eight year old is a bit of a Calvin and Hobbes fan from her picture! I did think about making a design that could be colored to go on here, but really having it blank gives the kids so many more options to personalize it.
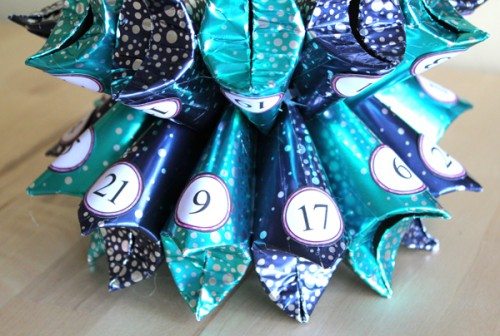
The number circles are glued onto the backs of the star packets, so that they are not visible from the front, but you have to peer into the tinsel when it’s completed to search for the number you need each day.
Then glue your decorative center circles onto each side of your star.
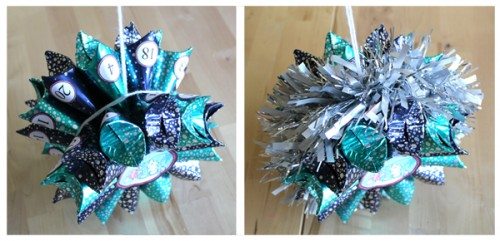
Finally, tie your string around the center, so that you have a secure thread to hang it from, and wrap and secure some tinsel on top of it.
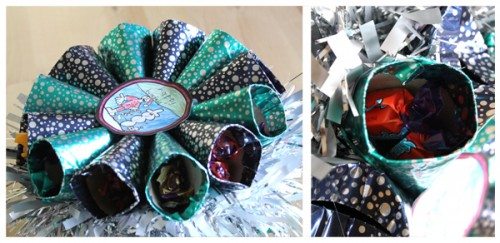
You’re all finished and now you just need to open the tube ends and fill them with candy before closing them back up again.
We always have a go at making advent calendars of one sort or another in our house, but this is the first year that we’ve made one that can be kept and used again another year. I hope some of you feel like giving this a try too. Happy Holidays!


