
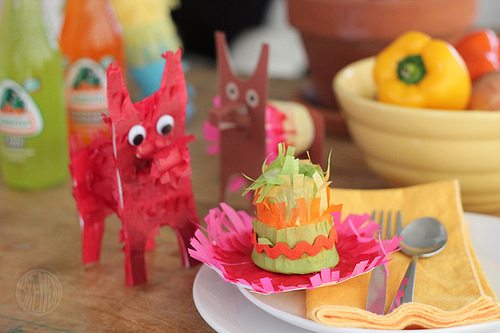
DIY Mini Piñatas for Cinco de Mayo!
If you’re planning a Cinco de Mayo fiesta this year you might just want to add some mini piñatas to your table decor! They’re fun to make and you can hide candy inside them! Don’t worry, you don’t need to break out the mini baseball bat and blindfold to open them. They simply pop apart to reveal their candy inside.
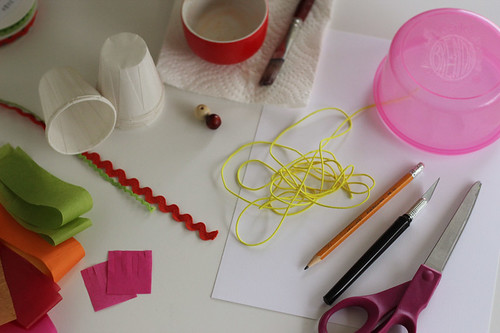
First you’ll need to gather your supplies. You will need:
1. small 3 oz paper drink cups or snack cups
2. elastic string
3. 1 small bead (per piñata)
4. tissue paper in festive colors
5. white glue and a paintbrush to apply it with
6. decorative ric rac (optional)
7. card stock
8. scissors
9. a pencil
10. an exacto knife or something sharp to poke holes through paper (the pointy end of your scissors will do)
I’ve designed two kinds of piñatas to make. We’ll start with the mini sombrero or Mexican hat.
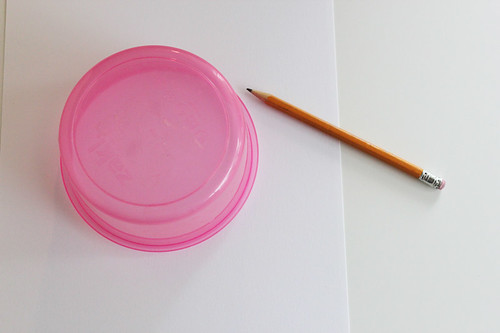
First you’ll need to cut a circle out of card stock for the brim of your hat. It needs to be bigger than your drink cup so grab a bowl and trace around it. Any size will do as long as it’s at least an inch wider than the drink cup.
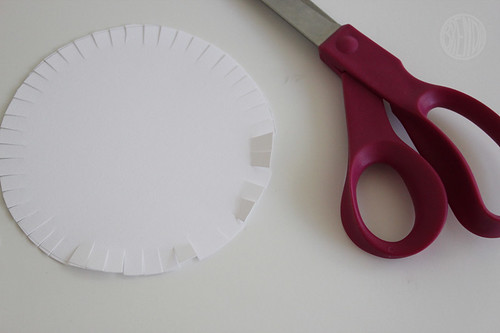
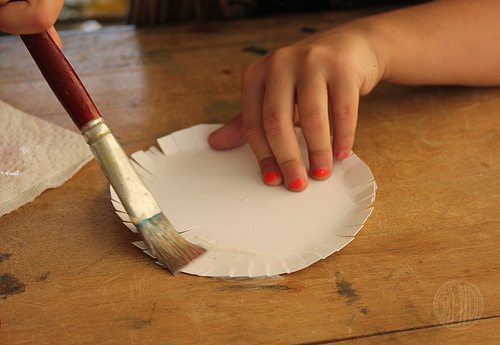
Next cut tiny little hatch cuts all the way around the card stock circle. These will bend upwards later to create that curled sombrero brim look.
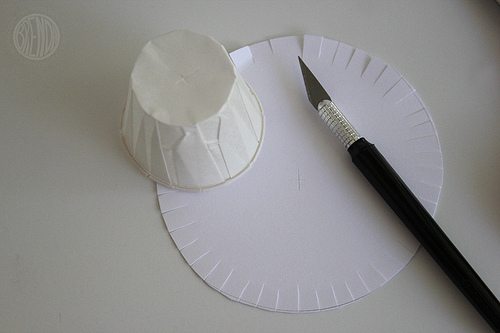
Now for assembly: Cut tiny little “x” marks in the bottom of your cup and in the center of your card stock circle.
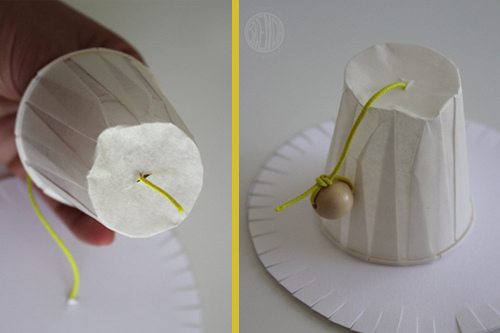
Take your elastic thread (about 10 inches worth) and punch it through your holes in both the round circle card stock and the cup. You shouldn’t need a needle but if your thread doesn’t want to go through the hole, give it a little push with your exacto knife or end of your scissors. Please note that children should not use sharp knives or scissors. Make sure a responsible adult is on hand for this step.
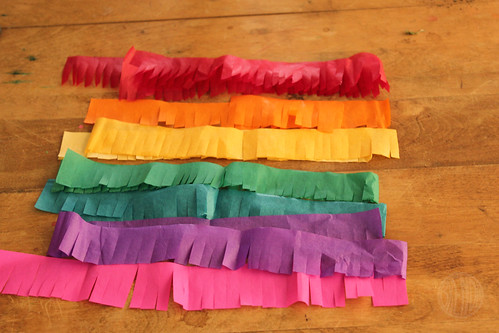
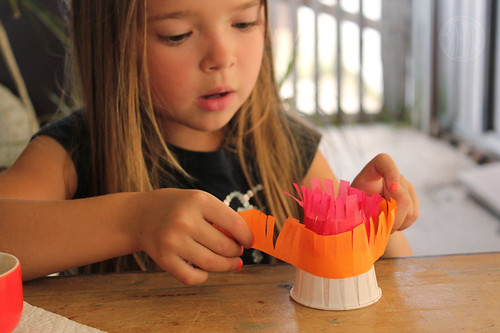
Now for the fun part!: Decorating! It is easiest if you prepare your fringed tissue strips first before your hands get sticky with glue. Cut a one-inch wide strip of tissue paper in various colors. You will need some long ones (5 inches long or so) and some small one inch squares. Make sure you make plenty. To create the fringe look just cut into the tissue paper 3/4 of the way through. You can save time by folding your strips and cutting through more than one layer at a time.
The next steps are photographed for the kid-friendly version without the elastic string and bead but you can follow them the same instructions for decorating, you just won’t be able to pull your hat top and hat bottom apart as far and you’ll skip the last part where you glue the top of the hat to the base.
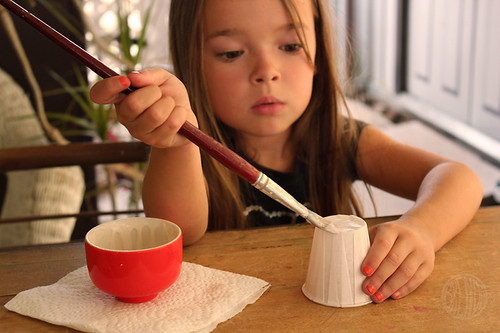
Now take your paintbrush and lightly paint a stripe of glue around the top of your drink cup.
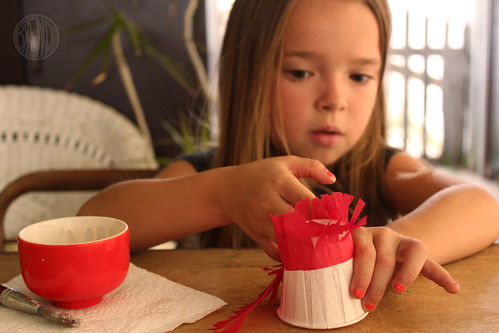
Add fringe in your first color making sure the cut edges are facing upwards. Trim off excess.
Add stripes, working your way downwards.
When the cup is done set aside to dry. Then paint a stripe of glue around your card stock circle.
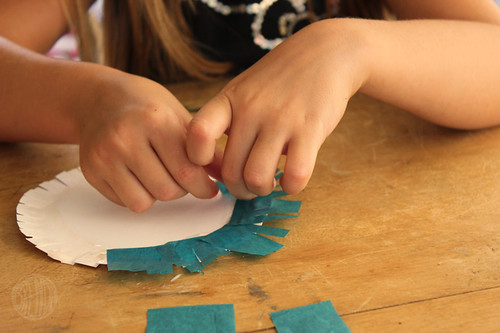
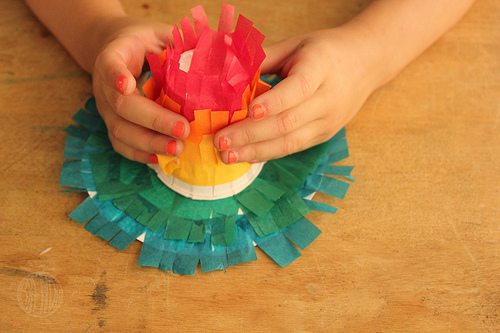
Add your one inch squares of tissue around the edge, rotating so that the fringe covers all the way around.
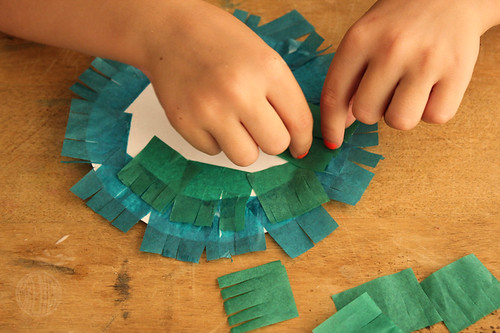
When you are done adding fringe all the way around add a second layer on top. This should reach far enough into the center to be covered by the cup but if not, add another layer. When you’re done curl your brim upwards.
Now add some glue to the edge of your cup and affix securely to the hat base. Make sure you let the glue dry.

For the elastic string version, when you are done decorating tie a knot in the top and attach a bead to the bottom. This is so the base can be removed by simply pulling on the bead. Trim excess.

Hide candy inside and you’re ready to party!
Now for the burro!
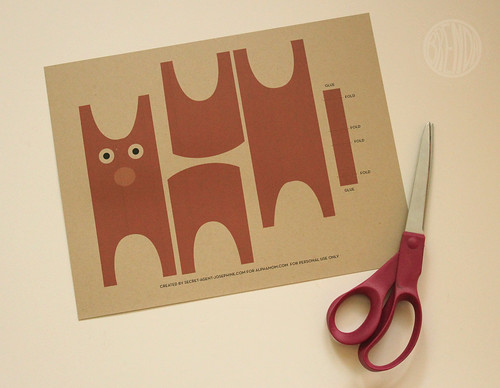
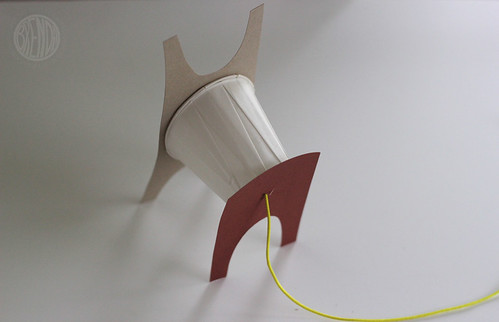
First you’ll need to print out your handy dandy template. Make sure to use the stiffest card stock your printer can handle. If it’s not that thick, don’t worry you can double up. That’s why there are two bodies to cut out.
Cut out your parts.
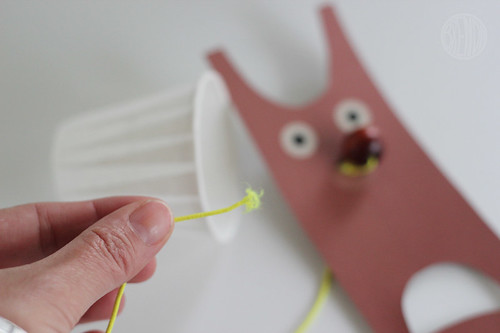
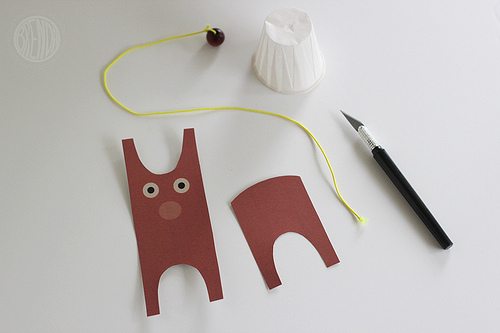
If you want to hide candy inside your burro, simply cut out your “x” mark on the burro’s nose, on the bottom of your cup and on the end piece where the burro’s tail would be. Thread your elastic string through all pieces making sure that the cup is facing so that the side end is towards the front of the burro. Attach a bead for a nose (or just knot it if you’d rather make a paper nose) and tie a knot for the tail:
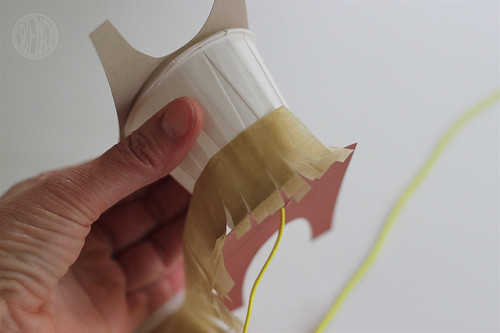
Now decorate with fringe the same way you decorated the sombrero.
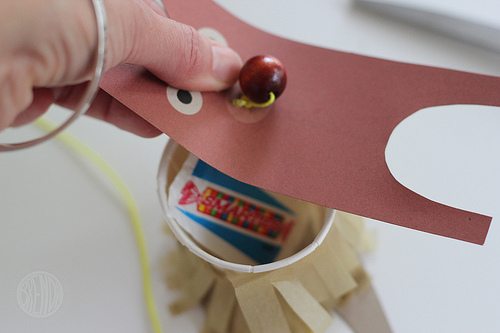
To add candy simply pull the burro’s head away from it’s body and add candy inside.
If you want to get really fancy you can add fringe to the burro’s entire body. I’ve included a nose piece in the template just in case you want to go that route.
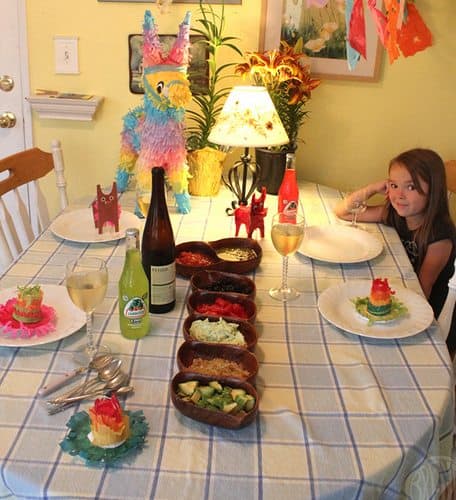
Now set your table and get ready for your fiesta! Tacos anyone?
******************
Difficulty Level: Medium (tissue and glue requires some patience)
Appropriate Age levels: School Age and Up