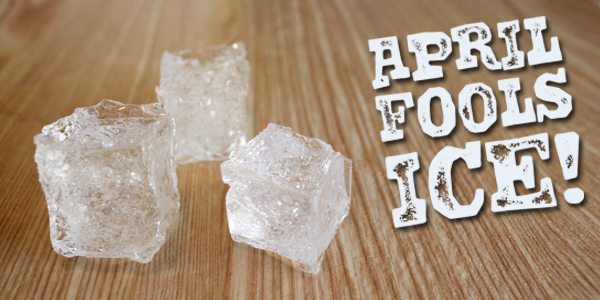
April Fools’ Ice!

Picture this: Dad comes home from a long day at work and the kids are anxiously waiting for him at the door.
“Dad! Dad!” they exclaim the minute he walks in. “Would you like a glass of ice water?”
He gives them a funny look. This is strange. Children don’t usually clamor to hand out refreshments. Really, he’d like a glass of scotch on the rocks, but he tells the kids he’d love some ice water. They rush off to the kitchen and come back with a nice tall glass of water, crystal-clear ice cubes clinking as they hand it over.
“Ahhh,” he says, sinking down into his favorite chair. The kids look on, eagerly waiting for him to take a sip. Slowly he takes a big draw…
“WHAT!!?” he sputters, nearly spitting water all over the floor. “This is not ice-cold water!”
The kids erupt into uncontrollable giggles. “April Fools, Dad!”
The ice was plastic and the water was warm! What a fun joke, right? Guess what! You can make fake ice right at home with supplies you probably already have on hand. Photographers have been making fake ice this way for a long time. Why not bring it into the kitchen for the kids to have some fun? All you’ll need are:
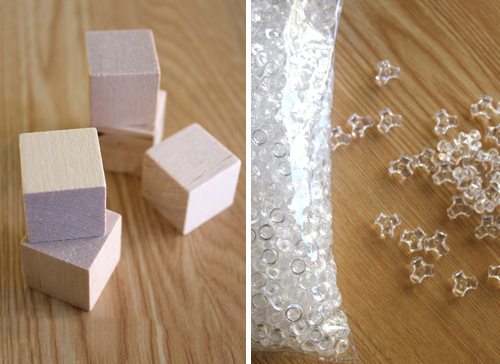
1. some blocks (the size of ice cubes)
2. some clear plastic beads (any old kind you can find at a craft store)
3. tinfoil
4. an oven!

Take your blocks and stack two up. You’ll need to do this because the beads melt down by half. Now, this is the tricky part. You need to carefully wrap the tinfoil around your blocks, leaving the top open. Try to wrap it as neatly as possible without wrinkles. This is pretty much impossible of course, unless you are an origami master or very anal, but do your best. The reason you don’t want to just bunch up the tin foil around the blocks is that the beads will melt into the many crevices and then be very hard to remove later. So neat and tidy folds are best, kind of like how you’d wrap a present if you worked at a fancy department store. Don’t wrap them too tight though because you will need to empty the tinfoil molds of their blocks when they are done.
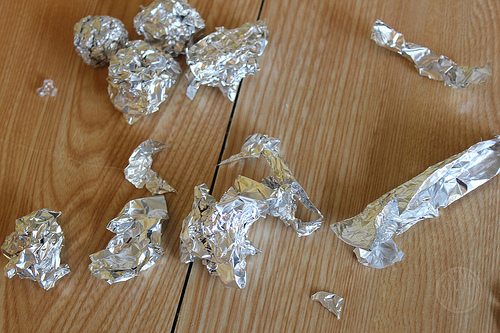
We had to do this several times until we got it right.
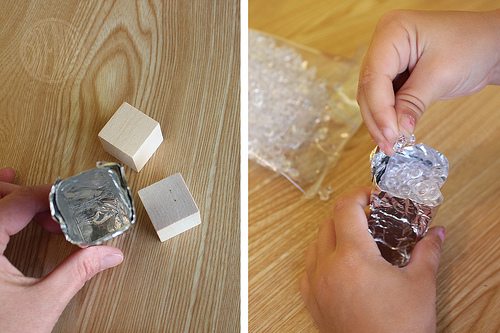
Once you’ve wrapped your blocks, dump out the blocks leaving an empty mold. You can go back and smooth out wrinkles and re-form the mold into a nice cube. Next, fill the mold up with clear plastic beads.
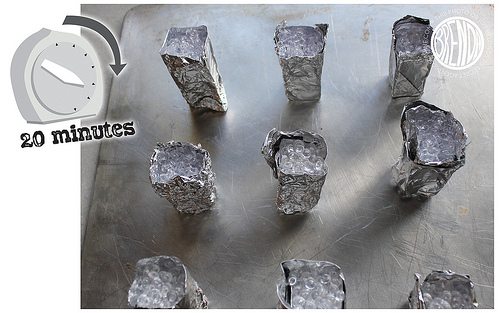
Then pop them in the oven at 375 F for about 20 minutes, or however long it takes your oven to get the beads nice and melted.
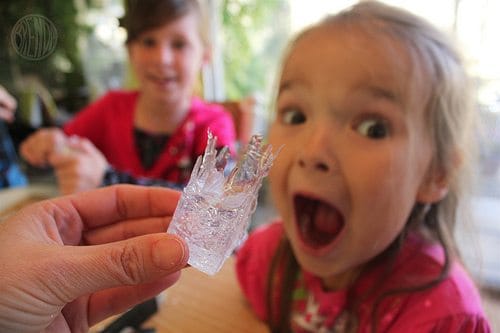
When they are done, let them cool and then unwrap! This is the fun part.
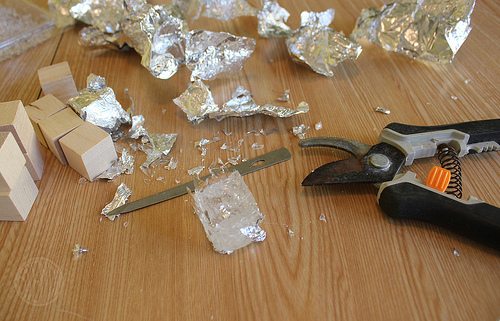
Some cubes will need rough edges filed off or even clipped off with some heavy-duty yard clippers. Just be careful to clip away from any eyeballs, since sometimes the plastic pieces will fly crazily all over the room. I found it best to hold them out the door and clip. If the edges look too rough, you can put them back in the oven by themselves and melt them down a bit more. We thought they looked just fine with imperfections.
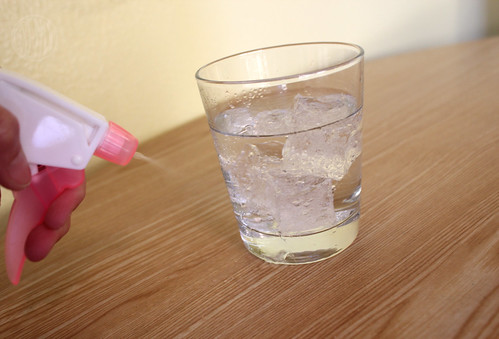
Put your cubes in a glass of warm water. Maybe spray some water on for fake condensation and you’re ready to play some April Fools’ jokes!
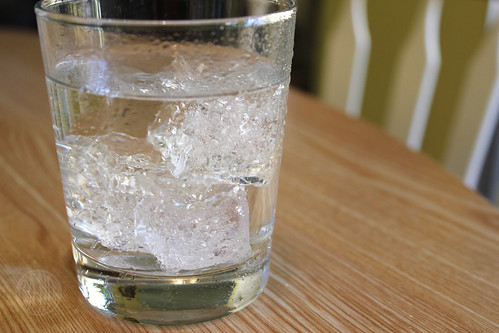
Ice water anyone?