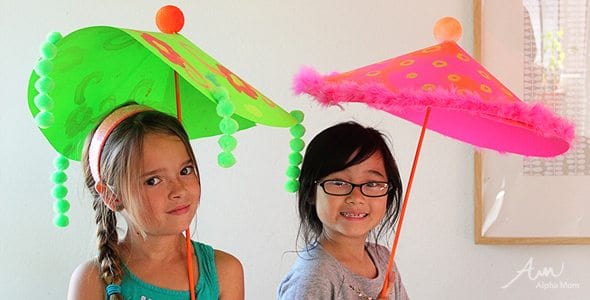
Giant Paper Parasols for Spring
Ever since I saw a post about making my own drink umbrellas I’ve been wanting to make some life-size. Why not? They seem so easy to make and with the weather warming up it seemed like the perfect time to try it out.

Supplies for Spring Paper Parasols
1. poster board (or stiff paper in the biggest size you can find)
2. paint, crayons, markers…anything you’d like to decorate with
3. two styrofoam balls, size small
4. a dowel rod, 1/8th inch or so, something that feels light and easy to hold
5. scissors
6. stapler
7. hot glue*

Directions for Making Paper Parasols
First you need to cut a great big circle. If you have a lid that is very big you can use it to trace. I didn’t so I used the old string attached to a pin tied to a pencil way but really it doesn’t matter. Just make a circle as best you can. It doesn’t have to be perfect (unless you are a perfectionist and in that case you probably know a better way to make a perfect circle than I do).
After you’ve cut your big circle, cut a slit from the edge to the middle point. This is where you will overlap your circle sides to create a cone.
Now it’s time to decorate. We had a lot of fun painting flowers and even a scene on our paper parasols. Pretty much whatever strikes your fancy will look lovely on these.

After your paper circle is decorated and the paint is dry, overlap your sides where the slit is about an inch or more (whatever feels parasol like to you) and then staple. You’ll only be able to staple from the edge so you’ll have to secure the rest of the seam later with glue.
Now it’s time to attach your dowel rod. First insert your dowel right through the middle of one styrofoam ball. This will be the support that holds the bottom of your paper parasol. Push your paper parasol over the top of your ball (right through the middle, you might have to wiggle a bit to get through the slit) and then top it all with the other styrofoam ball. Make sure you don’t push the dowel all the way through. This top ball is the decoration as well as the lid to keep your dowel attached to the paper parasol. When everything is where you want it, use hot glue* to secure it.
Now you’re ready to go bask in some sunshine! Enjoy!
***********
Difficulty Level: easy
Appropriate Age levels: Five years old and up for the painting and decorating. Break out the crayons for younger ages.
* Have an adult use hot glue. Glue guns are not appropriate for children. You don’t have to use hot glue if you have patience. Regular white glue will work fine but you’ll just need to allow more time for drying.
** When painting always paint in a well-ventilated area.